- The construction details of the Lego designer are good in that you can create any models of equipment from them. There is no need to strictly follow the finished instructions.
- The process of creating a machine from the Lego designer is fast and simple. It will be interesting for beginners to design equipment, improve their skills in construction. Skillful builders will also find new design options for themselves.
- The popularity of the Lego designer does not give up its positions, despite the variety of models of toys, cars and robots.
The content of the article
- How to make a simple machine for children and beginners from the designer of Lego: instructions, scheme, description
- Video: how to make a wheelbarrow from a lego?
- How to make a small machine from the designer of Lego: instructions, diagram, description
- How to make a large car from the Lego designer, truck: instructions, scheme, description
- Video: How to make a lego truck?
- Video: homemade #5 (truck)
- How to make a cool machine from the designer of Lego: instructions, diagram, description
- Video: How to make a steep wheel of Lego?
- How to make a racing car from the designer of Lego: instructions, scheme, description
- Video: Lego Racing Car Formula 1
- Beautiful cars and cars from Lego with your own hands: photo
- Video: We make a mini-carrier with a trailer from Lego
How to make a simple machine for children and beginners from the designer of Lego: instructions, scheme, description
Children of any age collect cars with interest according to ready -made instructions, but more joy will deliver to young designers the assembly of a car model invented on their own.
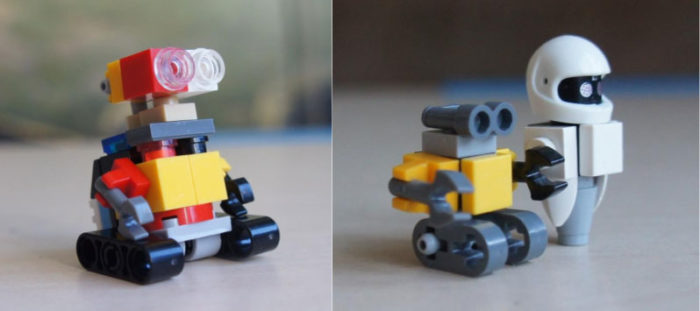
Simple robots from Lego
One set includes details from which you can make several models according to the instructions. However, the assembly scheme may be lost. In this case, it is worth experimenting and trying to assemble your own model. Based on the presented step -by -step descriptions, you can make several different machines from the Lego designer at once, provided that you have enough different details.
Of the many options and ways to create simple cars, we will consider several, because the principles of construction are common for all models. Let's start designing our unique machine!
The Lego company set provides instructions for designing machines. Before work, check if all the details are available.

Lego details are blocks, plates and various accessories
If you like your own models of cars more, you will need many different parts of Lego. Therefore, it is better to make sure of their presence.
To make a simple Lego machine, we take the following details:
- 4 identical wheels
- suitable axis sizes - 2 pcs
- long detail (we will use it to connect the axes)
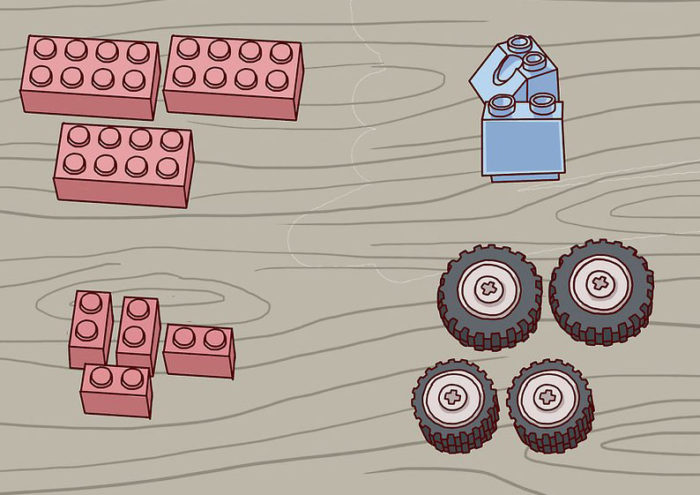
Before work, decompose all the details by color and size
Choose the rest of the details at your discretion. The Lego company produces a large number of elements for designing cars. Among them are various seats, steering wheels, windshields and doors.
- Selecting the missing link for his own model, the child will enjoy it: after all, the completed image of the machine completely depends on his imagination.
- It will not work to collect the machine quickly. Therefore, from our schedule we cut out free time and a convenient place to design a car.
Where can you conveniently sit with Lego designer?
- Suitable for designing a car with a “site” will be a table or desk. It is better to arrange a bright light source nearby.
- The next step towards design will be the rash in front of all the details of Lego. We sort them to facilitate the selection of the necessary (in shape, size).
- It is better to immediately choose the same or one color and fold together. Then you don’t have to rummage in a pile of details in search of the necessary. Instructions, if any, are also placed in our field of vision.
Important: try to collect all the details of Lego after collecting the machines in a box or plastic bag specially designed for them. Small brightly colored elements may be interested in small children and pets, which are a danger of strangulation for them.
Leaving the details everywhere on the floor, you or your households risk stepping on them. And such an obstacle can cause pain! So, we follow the simple rule: if we are engaged in the design of the car on the floor, then, having completed the work, we will definitely remove all the details in one place.
We got acquainted with safety precautions, decide with the location for design, we proceed to create a simple car.
- Details for a simple machine can be selected from any set of Lego. The various elements necessary to create a machine can be vary, depending on what is available and what needs to be obtained in the end.
- The size of the lego block depends on the number of “protrusions” (“point elements”). The part, consisting of two protrusions and a length of 4-re, is called 2 × 4.
What will be needed for a simple machine
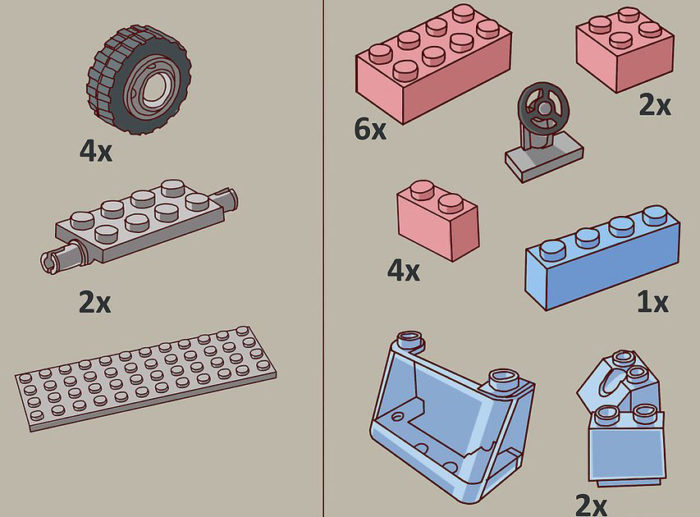
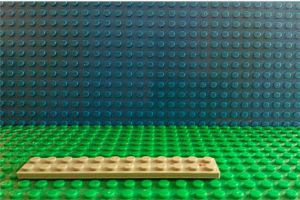
So that our car has axis, we take 4 identical wheels and 2 rectangular axes (also the same in size), a thin part (plate) 4 × 12.
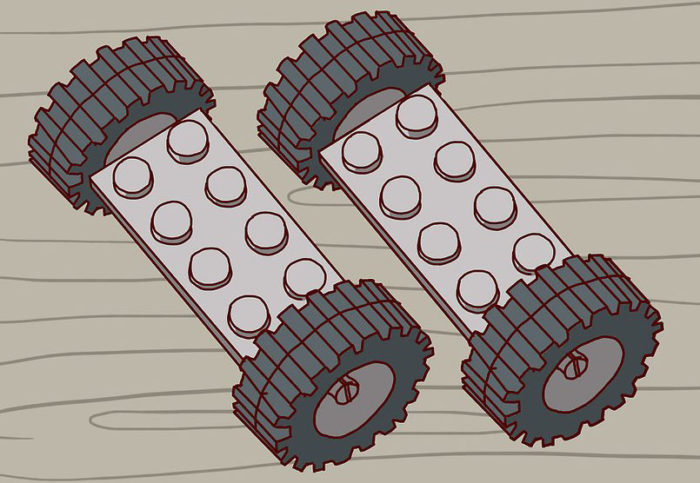
We make the axes for the car, focusing on the size of the other parts
We will fold the body from:
- 2 blocks 2 × 2 blocks
- 6 blocks (we need 2 × 4 parts)
- 4 blocks (select 1 × 2 size)
- 1 block size 1 × 4
- 2 corner transparent blocks 2 × 2
- 1 lobe glass Lego
- 1 steering wheel Lego
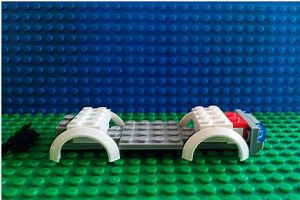
Build the front hood
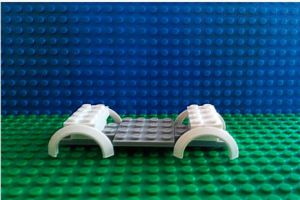
We begin work with fixing the wheels to the details of the axis - rectangular or square blocks with teeth on the sides. The teeth are needed to fix the wheels. Install them and get two parts with the wheels connected by bridges.
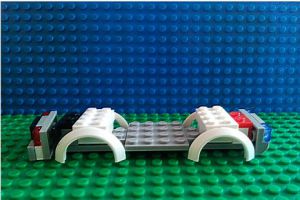
Install the windshield
- In order for the machine to retain the shape, the axes and wheels must fit tightly to each other. Let's check whether the wheels are freely rotated and whether they are securely fixed. We also check the proportionality of the wheel location relative to the body.
- If you decide to make a large machine, then for it you need to select the wheels of the corresponding size. Too small wheels will not be able to hold the body. The speed of the machine also decreases due to the fact that the wheels will prevent movement.
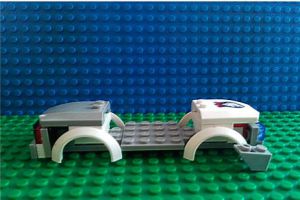
We build a cab
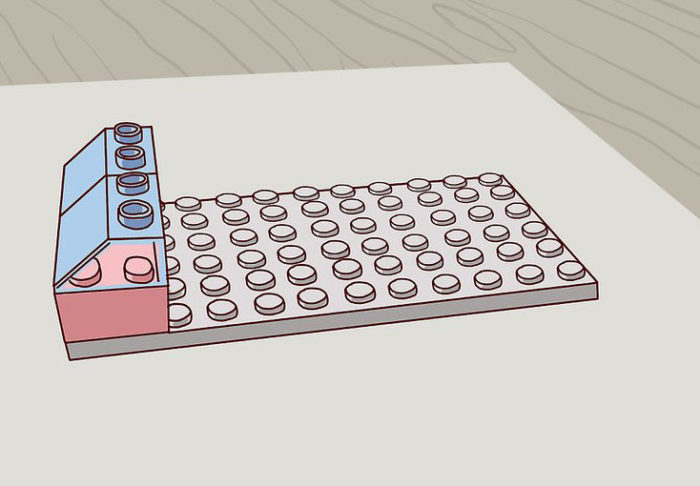
We focus on the construction of the front hood. To do this, select the details:
- 2 blocks (2 × 2)
- two angular transparent blocks (2 × 2) (this part can be replaced with one 2 × 4 block and two corner parts 2 × 2)
- We install transparent blocks on top on square blocks. We fix the resulting part on the front of the car. Now you need to check how we fixed the end of the plate. It should take a position at the level of the edge of the attached part.
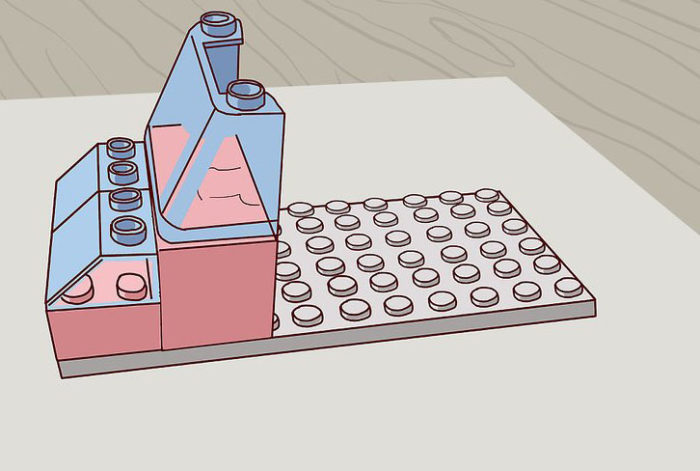
- We build a windshield: set the part behind the already finished hood.
We take these elements of the designer:
- 2 blocks 2 × 4
- windshield 2 × 4
We fix the 2 × 4 blocks together, and add the windshield, connecting this module directly to the plate, behind the element fixed in the previous step.

We build the back of the car
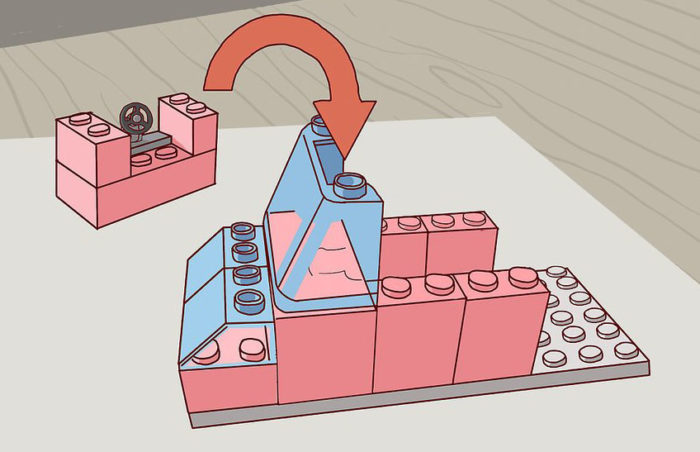
- We build a cabin of 1 rectangular part 2 × 4, two 1 × 2 blocks and an element of the steering wheel (1 × 2).
- Install 1 × 2 blocks on both sides of the 2 × 4 unit. We get a figure resembling the letter “U”.
- Between the two blocks of 1 × 2 we fasten the steering wheel. We turn the detail with a wide base to ourselves and fix the wheel on the back row of protrusions, turning the steering wheel so that it is turned to us. We press this part of the car.
- We apply the module made in the previous step to the windshield and fix the part.
The upper parts are well pressed to the plate
- We build a car body from a 2 × 4 part and two parts 1 × 2. We connect them in such a way that the details form the letter “U”. We install the finished module on the plate that is located behind the cab.
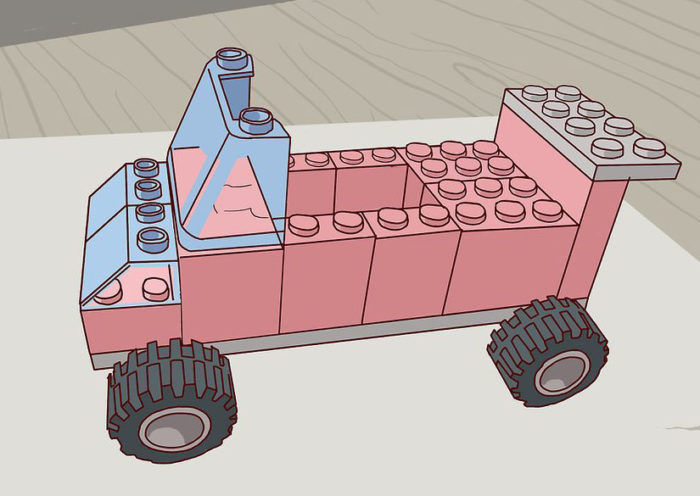
- We pay attention to the back of the car. We take 2 blocks 2 × 4, 1 block 1 × 4 and 1 plate 2 × 4 (the plate should be thinner than the blocks). Connect the same in size 2 × 4 blocks by attaching a 1 × 4 block on the back of the finished module.
- The plate should fit the 1 × 4 block so that its edges go beyond the boundaries of the structure a little. We need to create something reminiscent of the “wing” of the back of the car.
- We install the module in the back of the body at the very base.
- On the bottom of the plate we press the details of the axes, placing them in such a way that the front part of the base is obtained from one, and from the other - the back.
- The front part of the base part is set at the same level with the front edge of the wheels.
- The edge of the rear wheels at the same time coincides with the back of the base.
- The wheels can rotate with difficulty. In this case, you can replace the part of the base of the wider or choose the details of the axis longer.
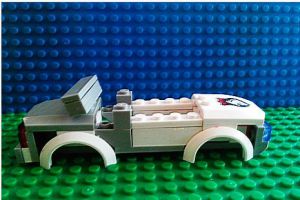
- It remains only to choose from other designers of Lego the driver’s figure and “sit” behind the wheel.
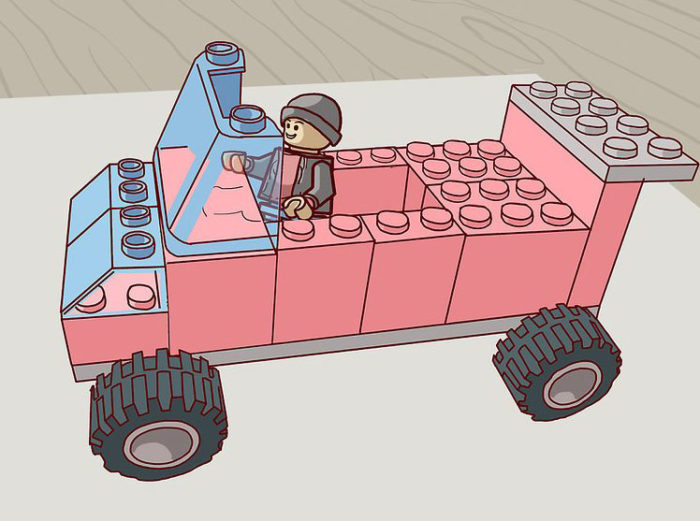
We sit the driver's figure on the seat
Tips for the design of LOGO machines:
- If the machine turned out to be very “slow -moving”, or rather slow, then the situation can be corrected by replacing the body.
- Just assemble the smaller body, focusing on the size of the base and wheels.
- The design and power of the machine can be changed by experimenting with different designs.
Video: how to make a wheelbarrow from a lego?
How to make a small machine from the designer of Lego: instructions, diagram, description
Sequencing:
- We select the detail that will serve as the basis of our car - the axis. To this part, we attach the wheel suitable in size, after installing the mounts (front and back).
We select the lower plate for the car
- Now pay attention to the front of the body, select the headlights.
- Let's work on the back of the car, constructing it like the front - the body.
Install the mounts for the wheels
- We will select the right parts for the hood and trunk cover. We install them on top of the trunk and hood.
Now you need to choose parts for the doors and install this part of the car on our model.
We fix the headlights
We collect similarly the back of the car
Add the covers to the hood and trunk
We select parts to indicate doors
Install the windshield
- We pick up the used windshield in size, set the wheels.
- If in the available set there are additional accessories of a suitable size, then we will fix them on our car.
We select a driver for a car
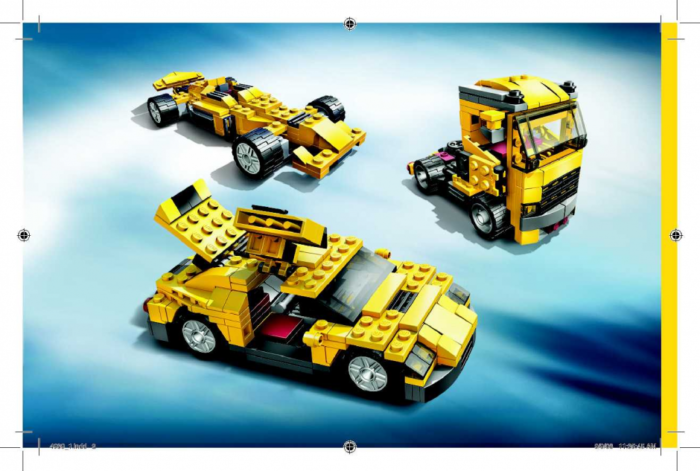
How to make a large car from the Lego designer, truck: instructions, scheme, description
Having a small number of details of the Lego designer, you can make a small truck with a closed van. In order for the appearance of the machine to correspond to the original as much as possible, it is worth making sure that our model is equipped with wheels, headlights and other inserts.
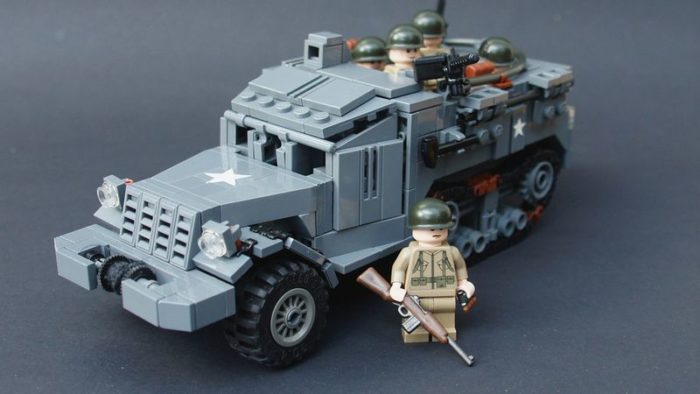
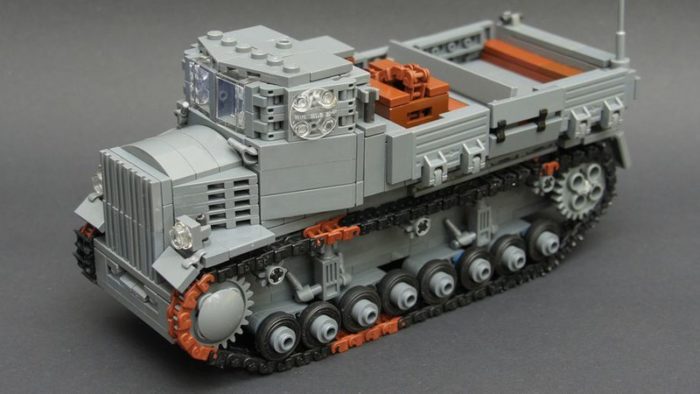
Military truck from Lego
- A van is designed from the same details - bricks and plates. Choose the color of the parts so that all the collected modules look in proportion to (visually do not differ in size).
- Since you will have to choose details from the available ones, you should immediately decide on the type of van: you prefer a closed or open van or it depends on the available details.
Video: How to make a lego truck?
Detailed truck assembly schemes you can see in our article.
Video: homemade #5 (truck)
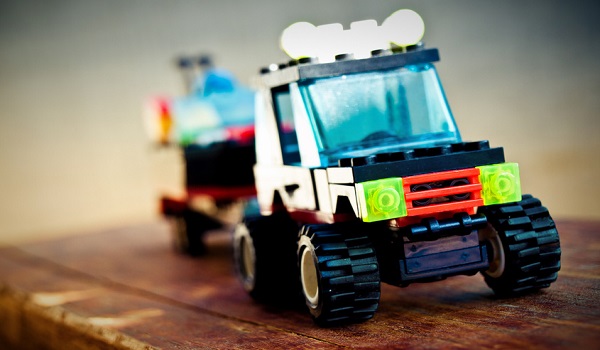
How to make a cool machine from the designer of Lego: instructions, diagram, description
Detailed video will help you make a cool car from Lego.
We will need to make a machine:
- Two axes with wheels fixed on them. The axis itself consists of a base block and several details that will create the desired volume. You can assemble the axis of the car in another known and tested way.
- We fasten the axes on the plate-renewal. Please note: the rear wheels in size larger than the front. We fix the rear wheels in the first place.
- In the central part of the base plate, we set an additional module-the lower part of the cab.
- We fix the front wheels.
- At this stage, you can fix the elements that will serve as a decoration of our car - a number and reflective plates.
- We fix the other element - on the front of the car. If your collection does not have a corresponding part, then it can be replaced with another module.
- It remains to make the upper part of the cab and our car is ready.
You can repeat all actions to design a car, guided by the video.
Video: How to make a steep wheel of Lego?
How to make a racing car from the designer of Lego: instructions, scheme, description
How to make a jeep of Lego, look in this article.
To make a racing car, you will need many details. You can choose them from several Lego sets.
Let's start assembly:
- We install 1x4 blocks on a square plate. We fix on the sides of 2 parts 2x1, and install 4 slides in the corners.
- From the plate 2x2 and 2x1, we make a small module and fix it on the edge of the plate.
- Cook the axis. We fix the wheels. On a 2x1 plate we install a slide. We make two identical details. On the upper part of the module with two wheels, we install additional blocks.
- From the beveled plates we collect the bow of the racing car.
- We connect with the module that we did earlier. We complement the lego sides of the car.
- The basis of the rear of the car will be a 2x6 plate. We fix the 2x4 plates.
- We make the lower part of the module and install the slide at the top.
- Having fixed the wheels of the last module, we connect it to the front of the car. We select the rider and seize it on the seat.
Video: Lego Racing Car Formula 1
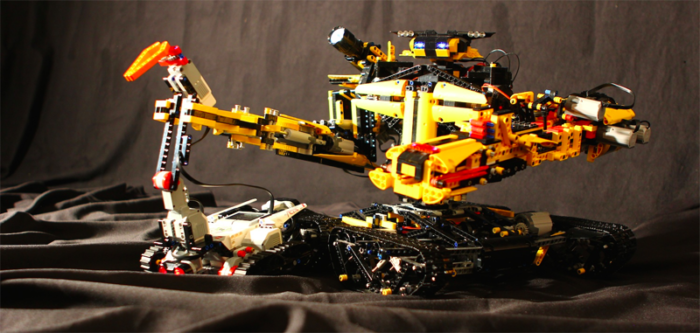
Beautiful cars and cars from Lego with your own hands: photo
We offer you a photo selection of beautiful Lego cars.
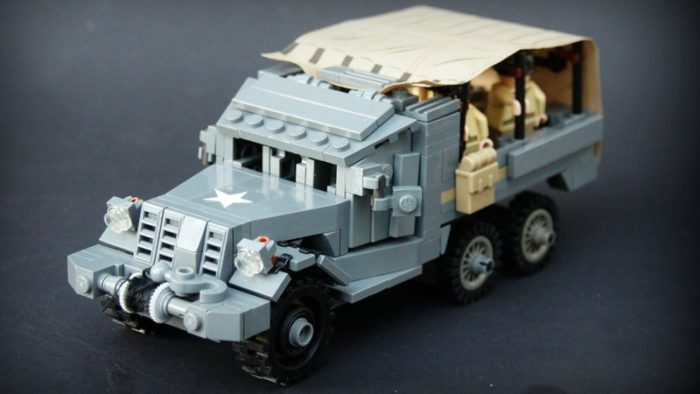
Military truck from Lego
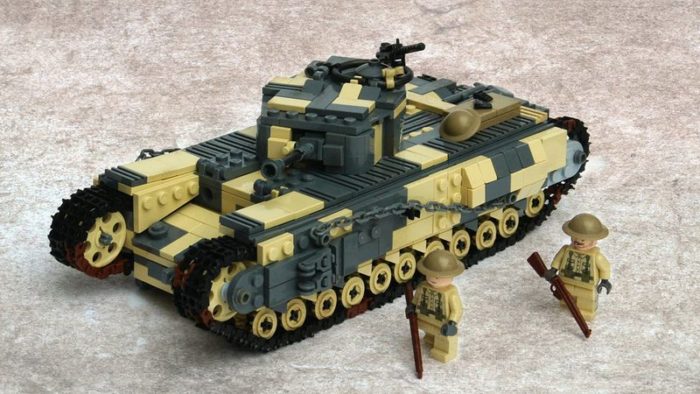
Lego tank
Military armored car from Lego
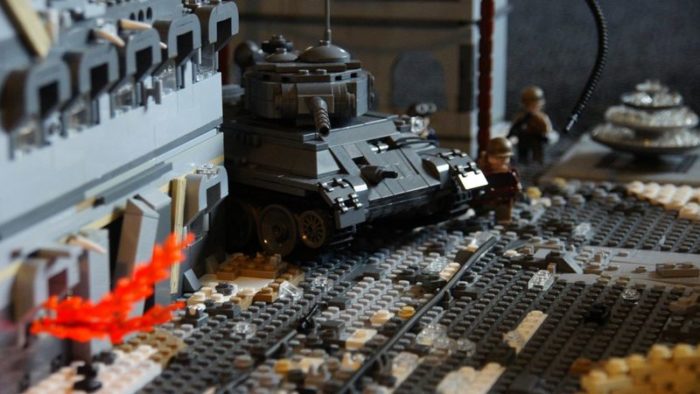
Military town from Lego
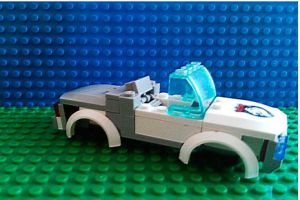
A convertible from Lego
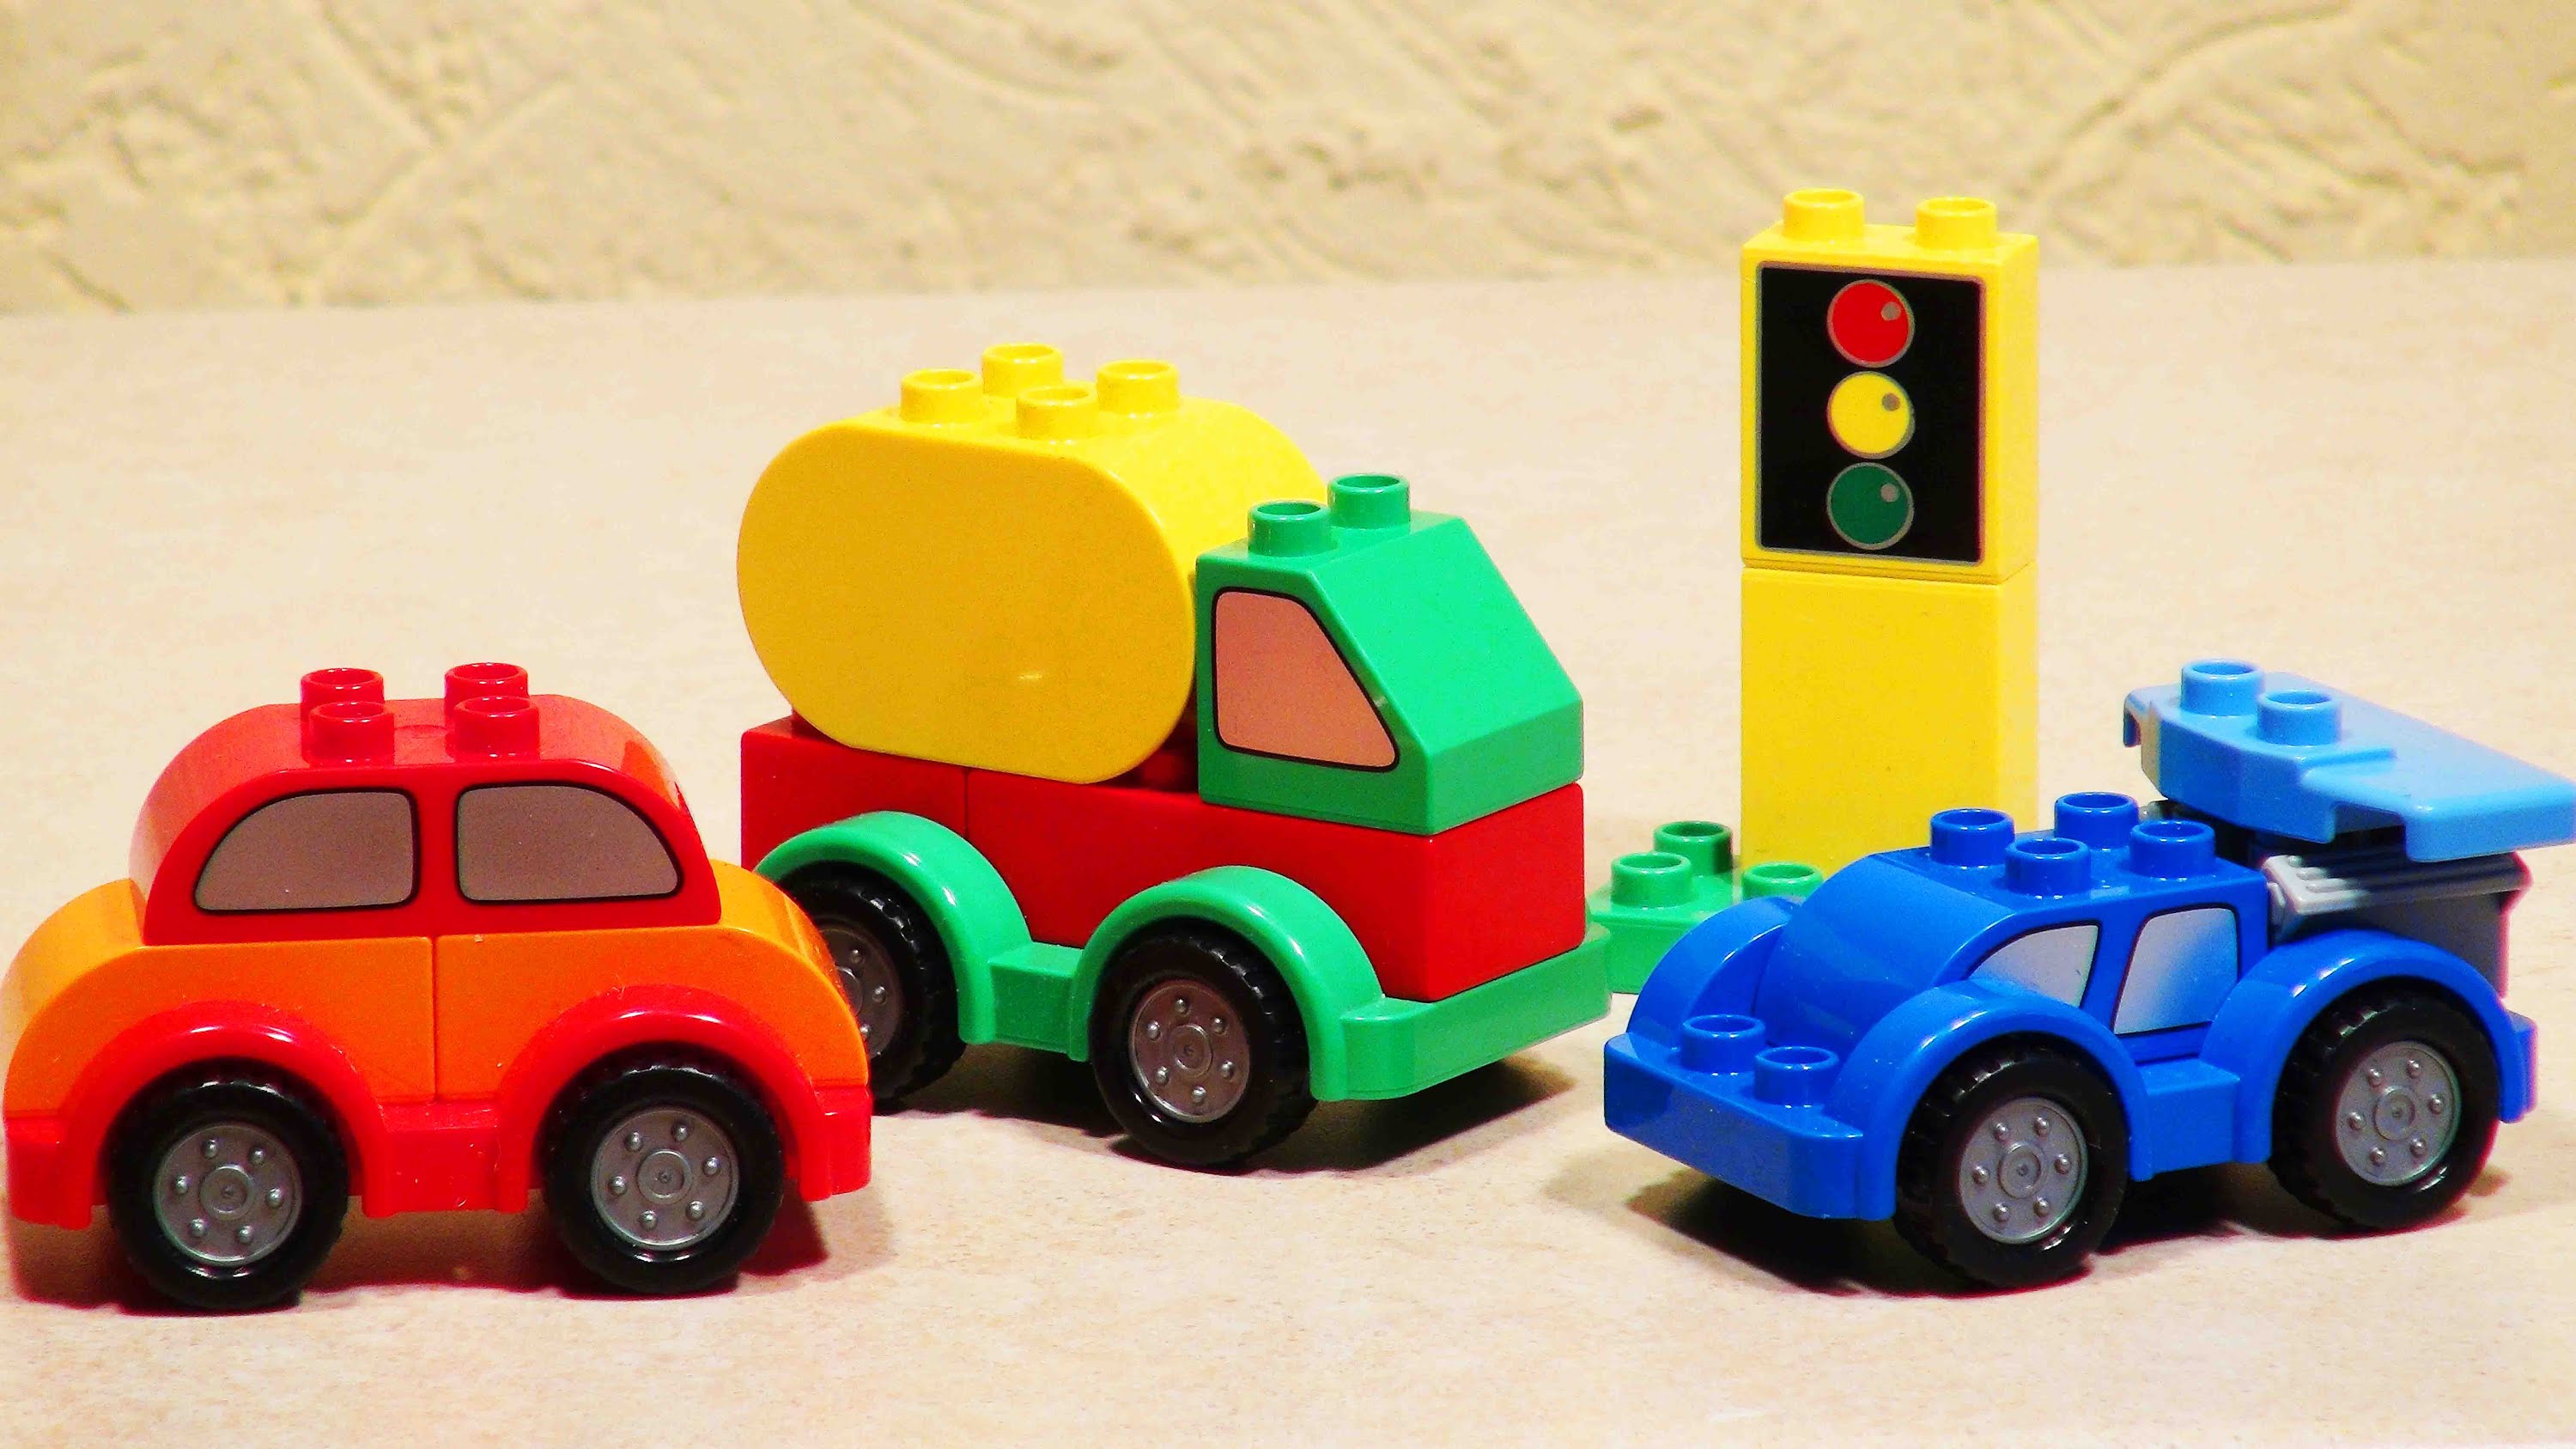
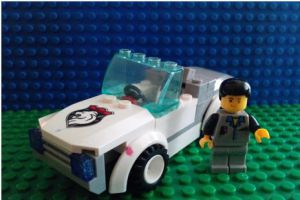
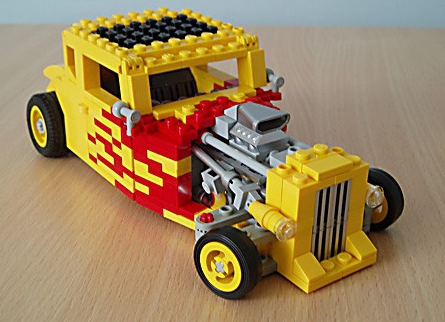
Beautiful cars from Lego
Simple Lego cars
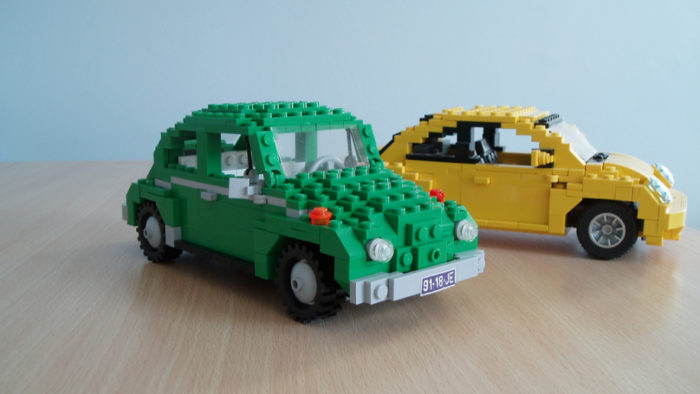
Lego cars
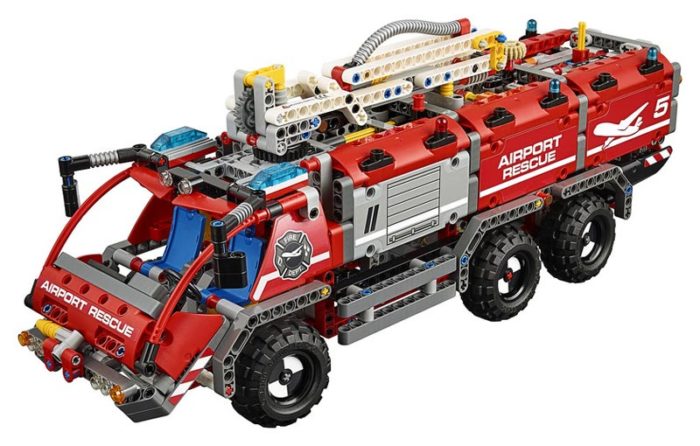
Lego rescue service car
What else can be done from the Lego designer