Make from Lego Machine jeep just and fast. Follow the instructions that the beautiful car turned out.
The content of the article
The creation of objects from the Lego Designer develops prerequisitive, resourcefulness, attention and fantasy. All children love this constructor, because it is so interesting to create a cool car with your own hands, and when you already get tired of playing, you can disassemble and collect a new one. Even competitions take place on the assembly of structures from the lego designer. Try and you collect a jeep of Lego, and you may be the next champion you will be.
How to make a simple jeep for children and beginners: instructions, scheme, description
If your baby only meets the designer of Lego, then he needs to begin to make the simplest toys, and only then when he learn to cope with a large number of details, move to complex schemes. Below is an instruction that will help make a simple jeep for children from the designer. Here is a scheme and description:
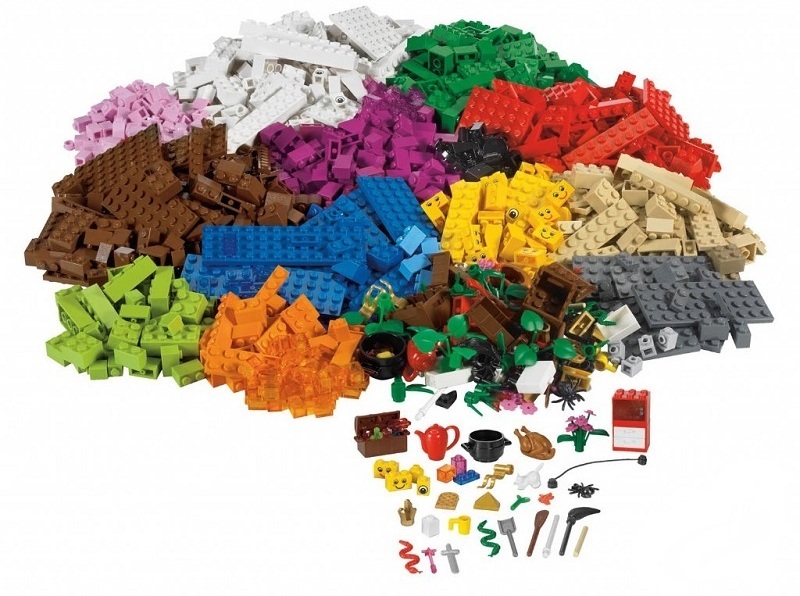
LEGO Block Set
After opening the box, you do not need to pour out all the details in one pile. The manufacturer usually packs items in a specific order. Just check before assembly to have 4 wheels, steering wheel, doors and universal body elements. All details decompose in size. Check the main positions of your list with a list in the manufacturer's manual. When everything is ready, you can start assembling.

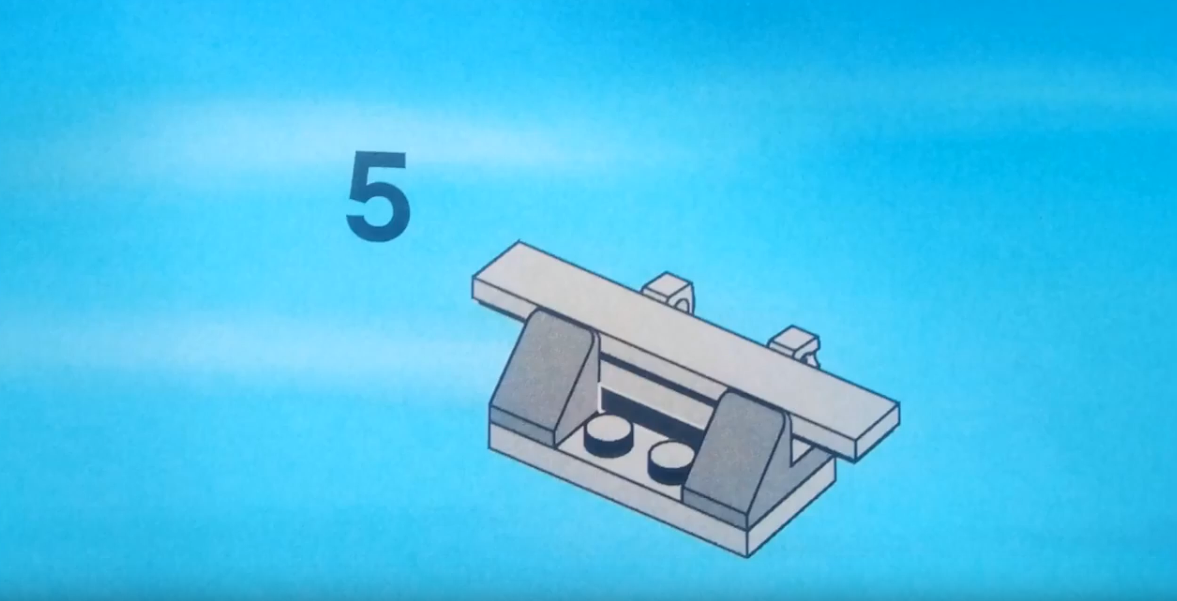
Simple jeep lego
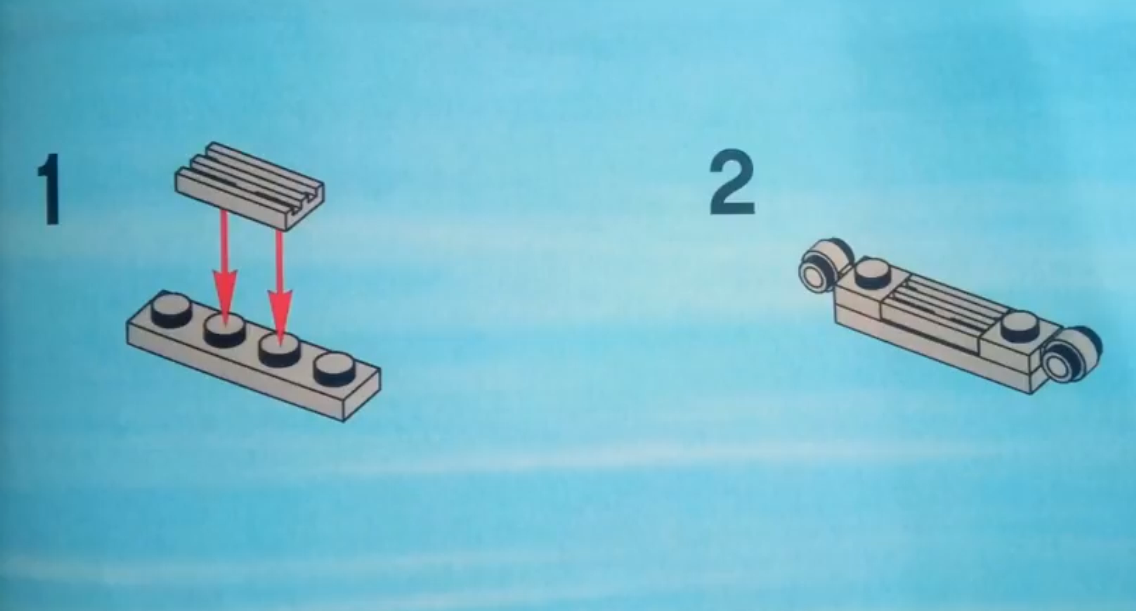
Find a detail. All the main parts of the body will be attached to it.
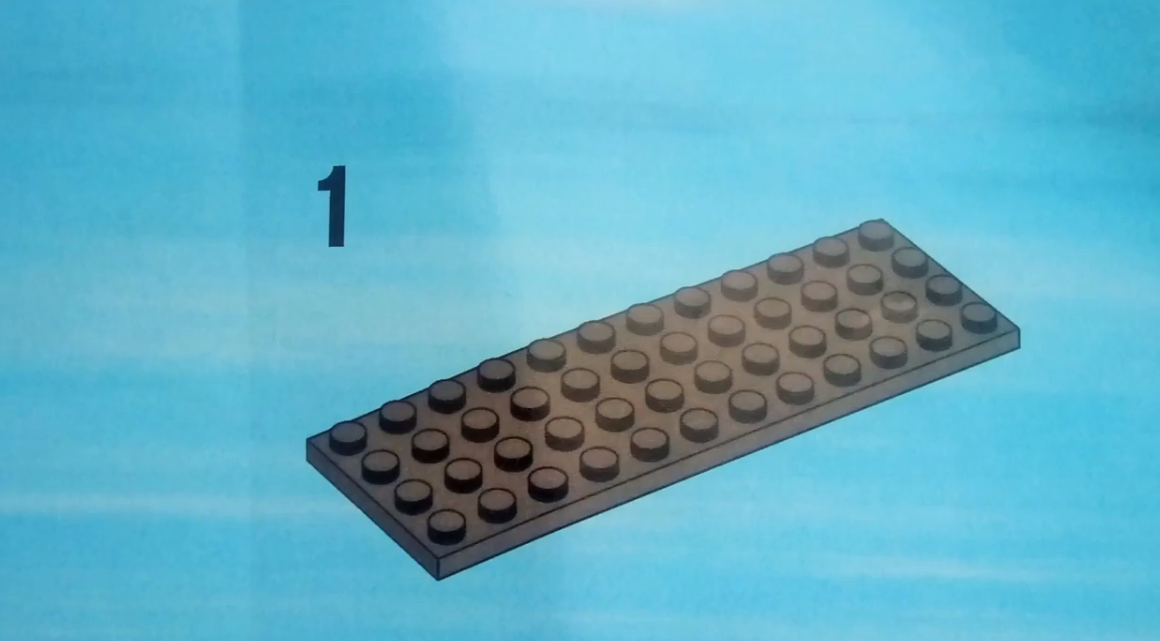
Take the first detail
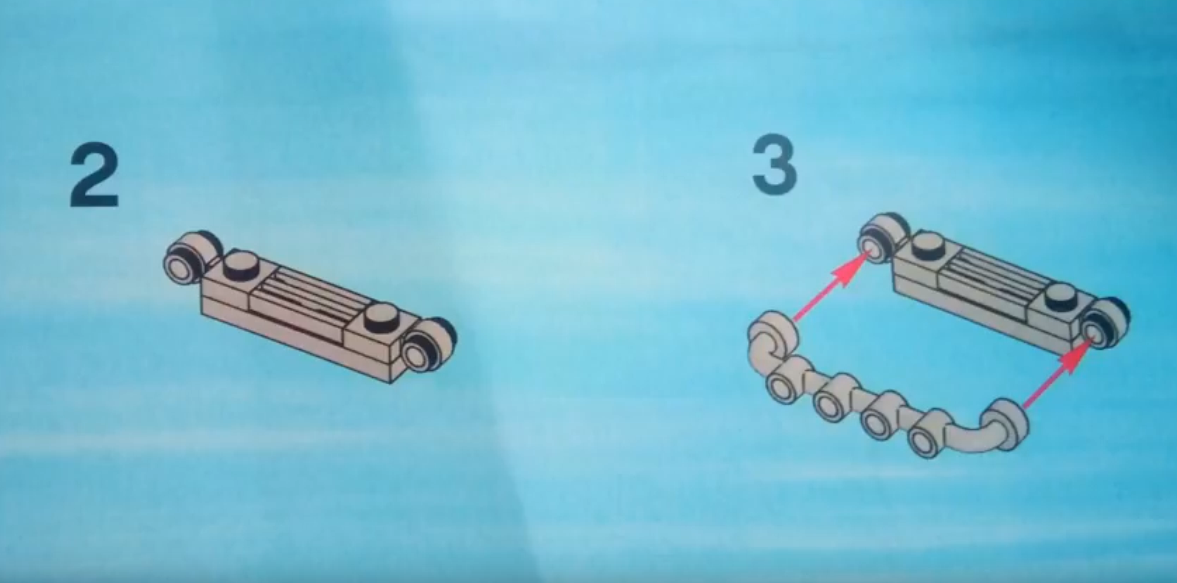
We start collecting the back of the car and body.
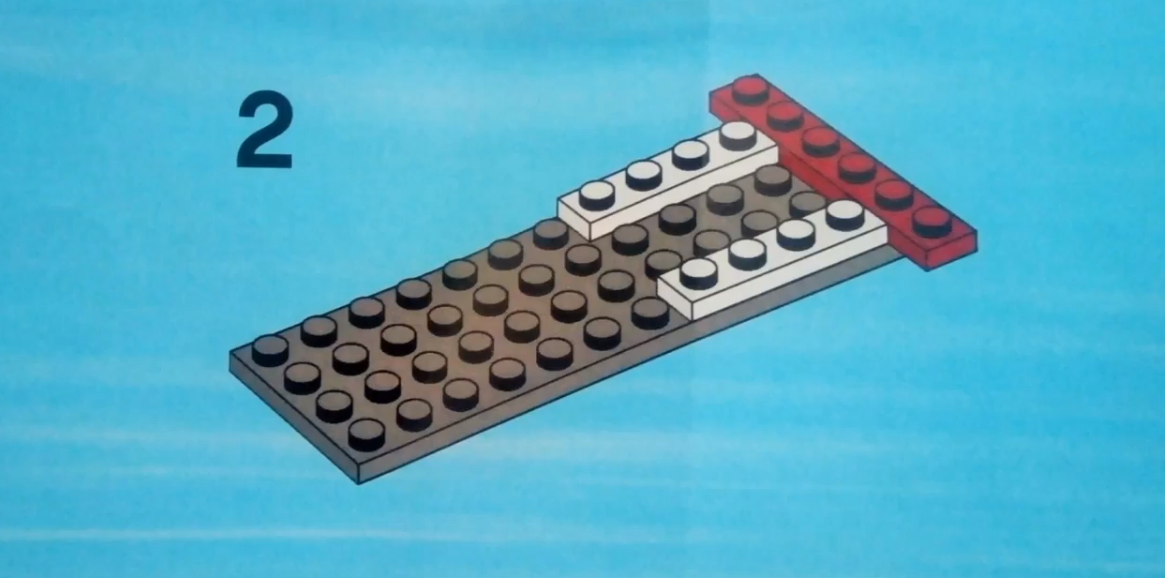
Attach 3 blocks
The order of fastening of parts at the first stage is not particularly important. The main thing is to find the right parts and attach them to your place.
Attach more details - start doing body
The basis of the body is almost ready.
The base of the body is ready
Insert the block 1 to 4 and attach it from the bottom of the body base. This is the missing element that keeps the front hood.

We continue to assemble the base of the body
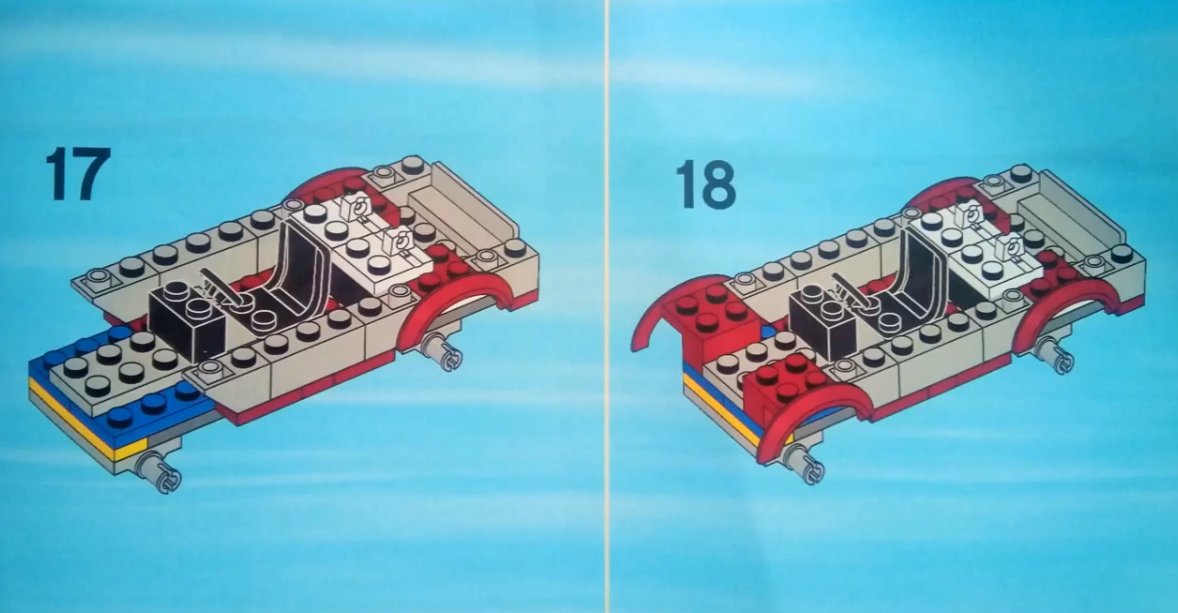
Now attach the axis for the wheels - in front and rear of the machine. Another detail attach near the axis of the rear wheels. A trunk will go to her.
Attach the axis for the wheels
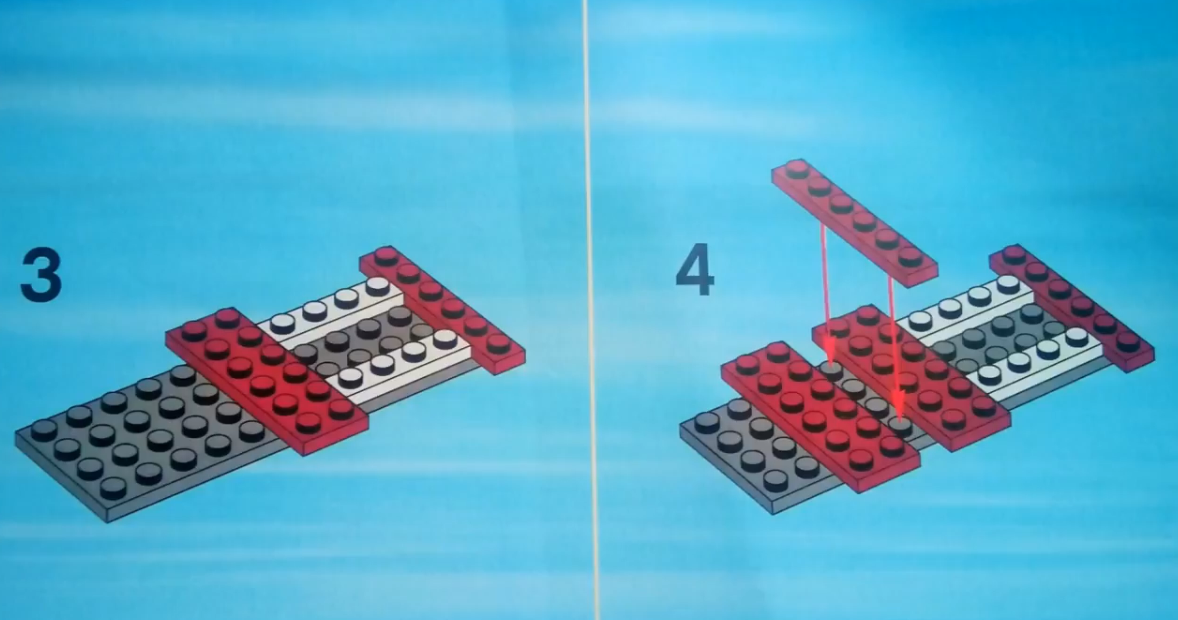
Corner and trapezoid blocks are attached, as shown in Figures 8 and 9.
Install the corner and other details
Put the rear shoes on both sides.
Install parts with shoes
Repeated again for the installation of trapezoidal blocks. They need 2 pieces - on both sides.
We continue to collect a jeep and install the following details
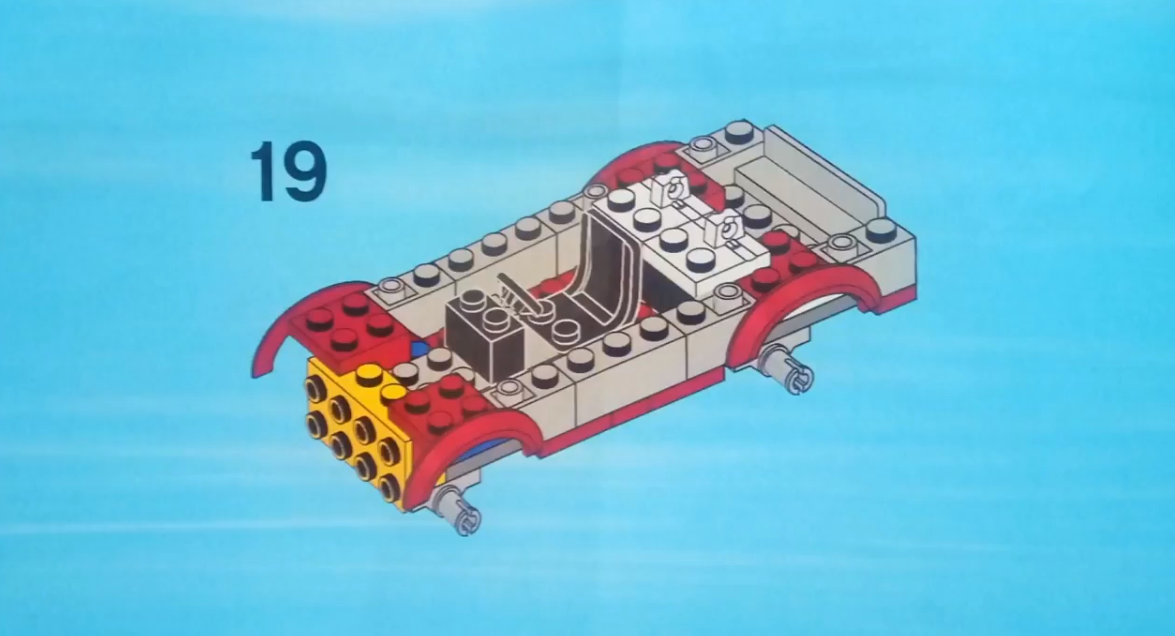
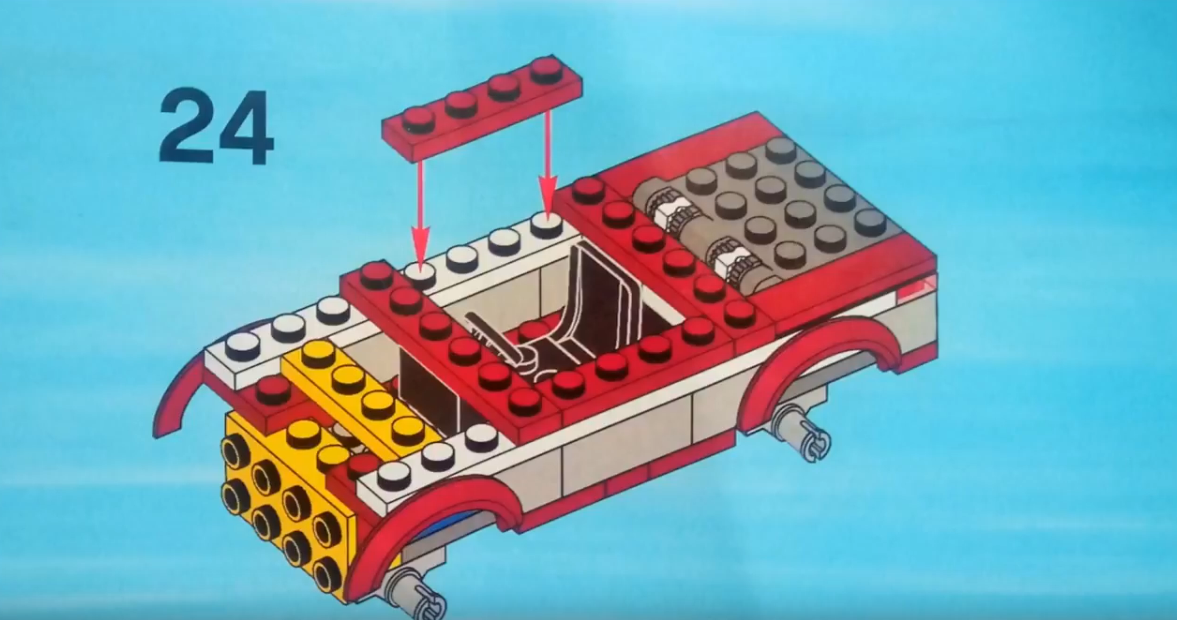
A block with loops is needed to then attach a plate that will close the back of the machine.
Find blocks with loops and install them
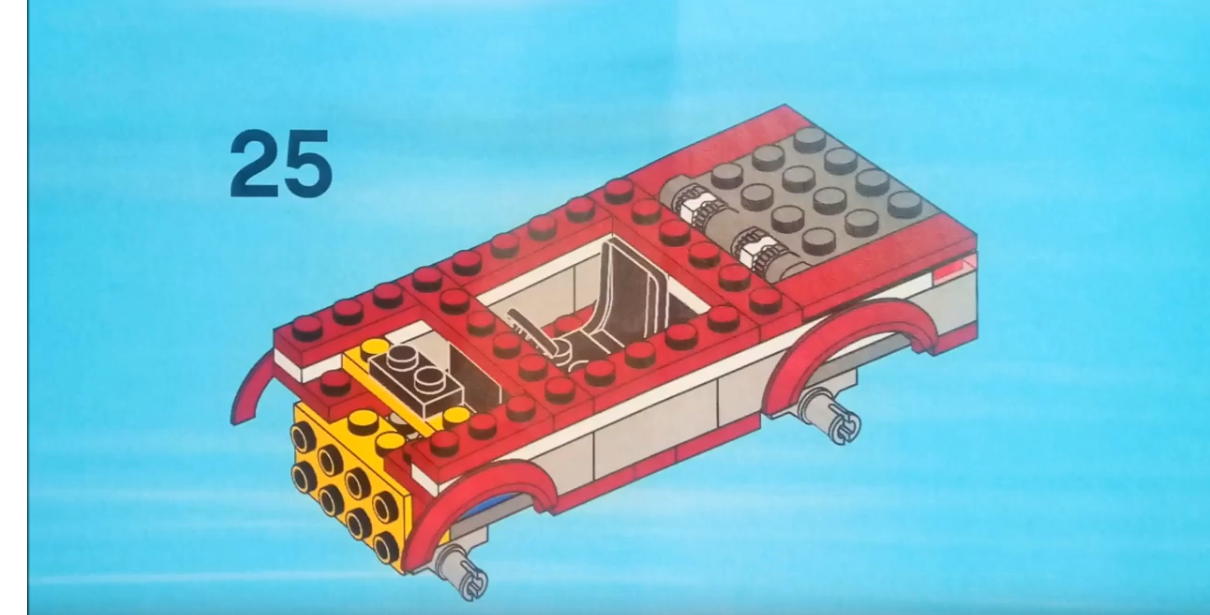
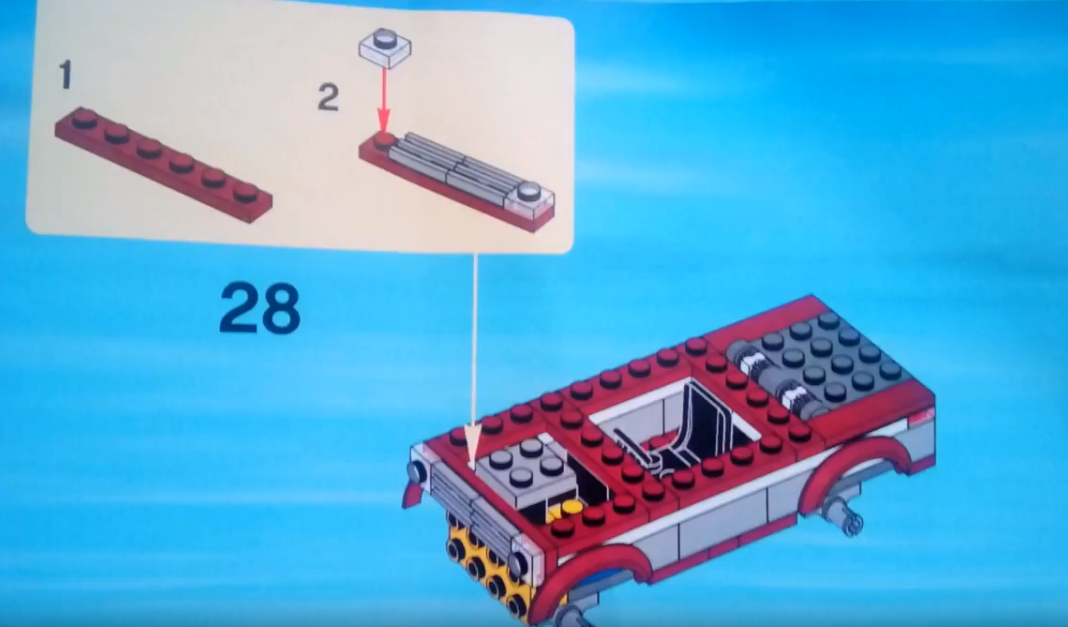
Install block with wheel and seat. Here is a set of details already becomes like a jeep.
Install the steering wheel, seat and other details, as in the picture
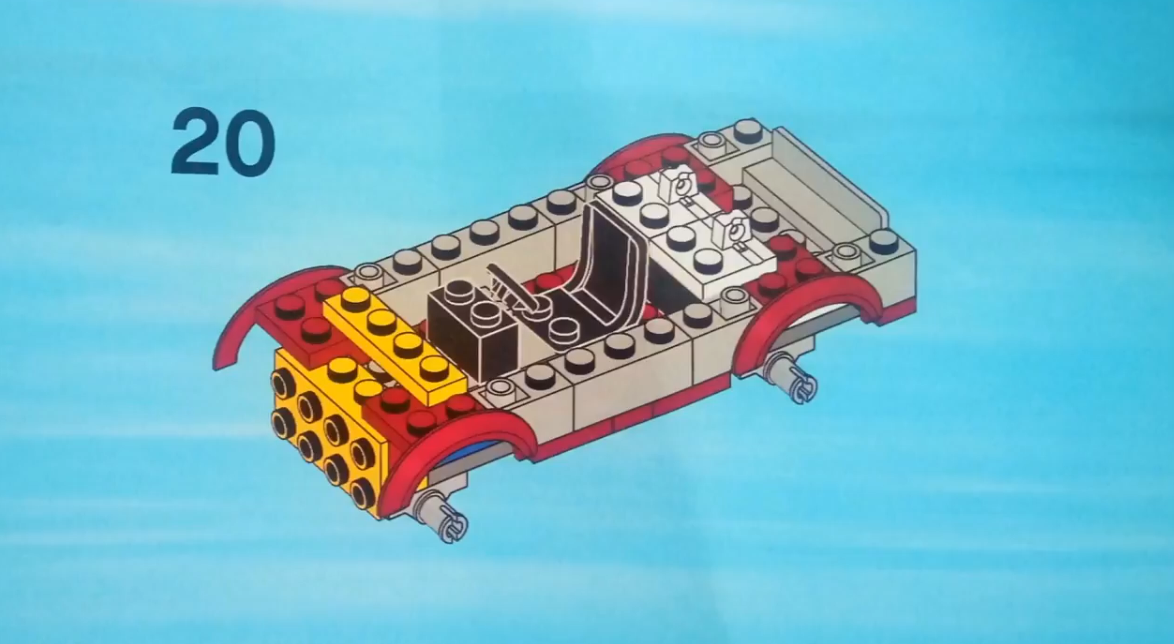
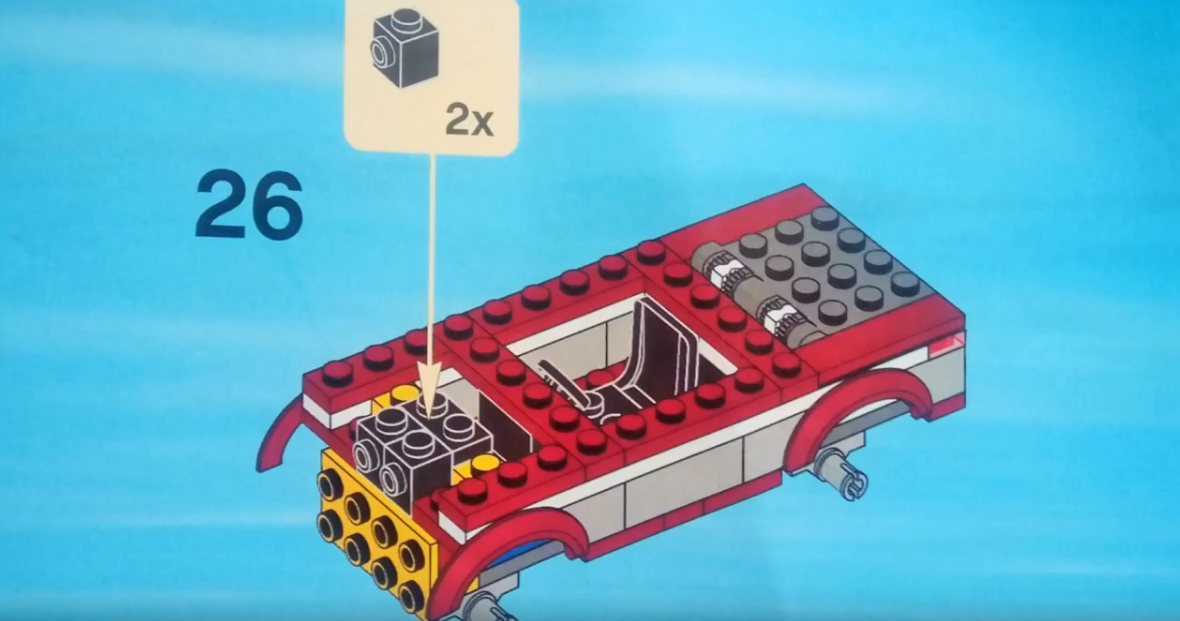
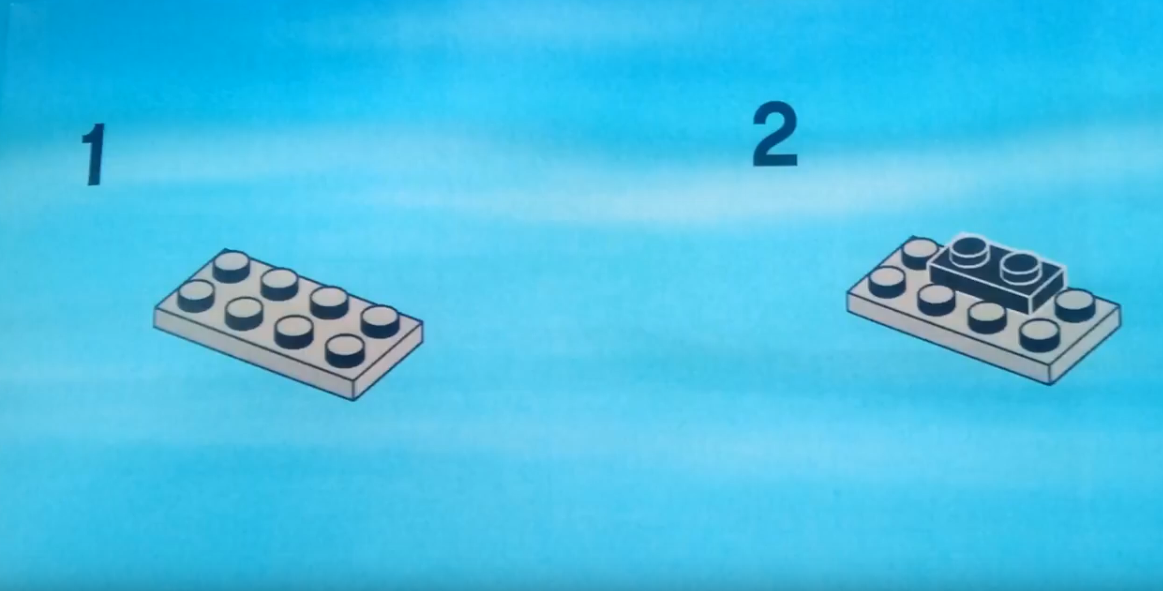
Set the double item to which then you attach the top of the body.

At this step, install the block 1 on 2
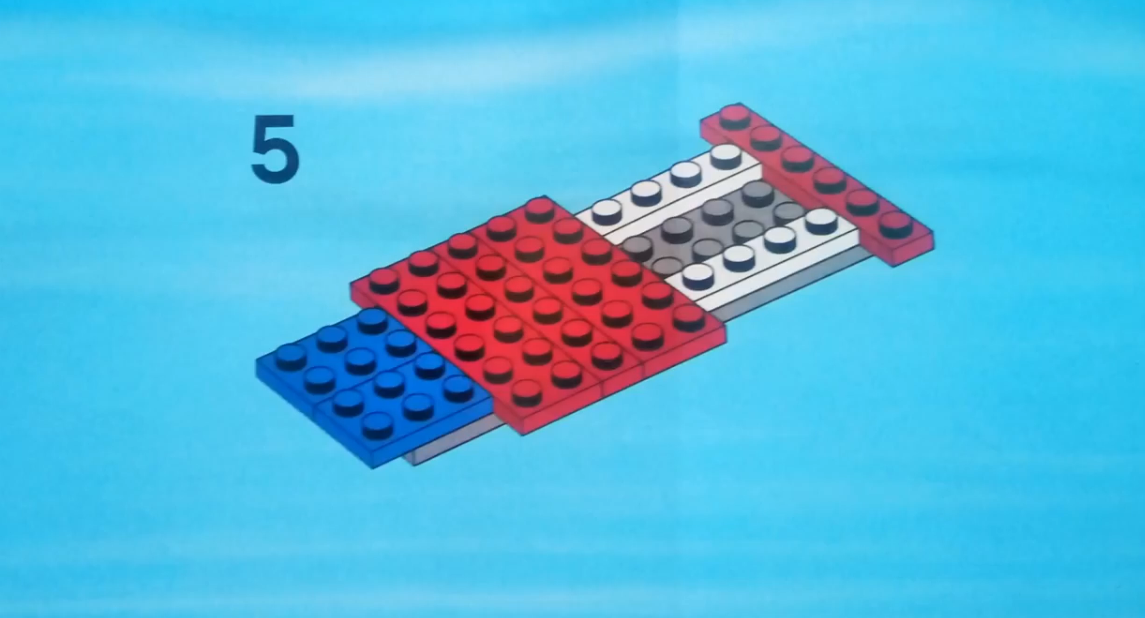
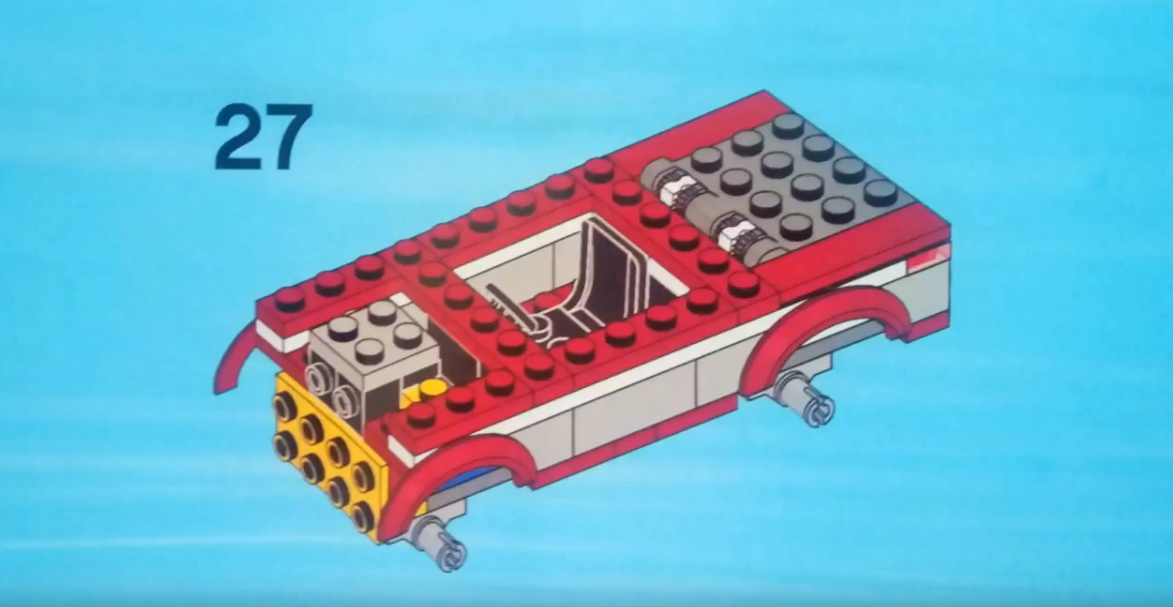
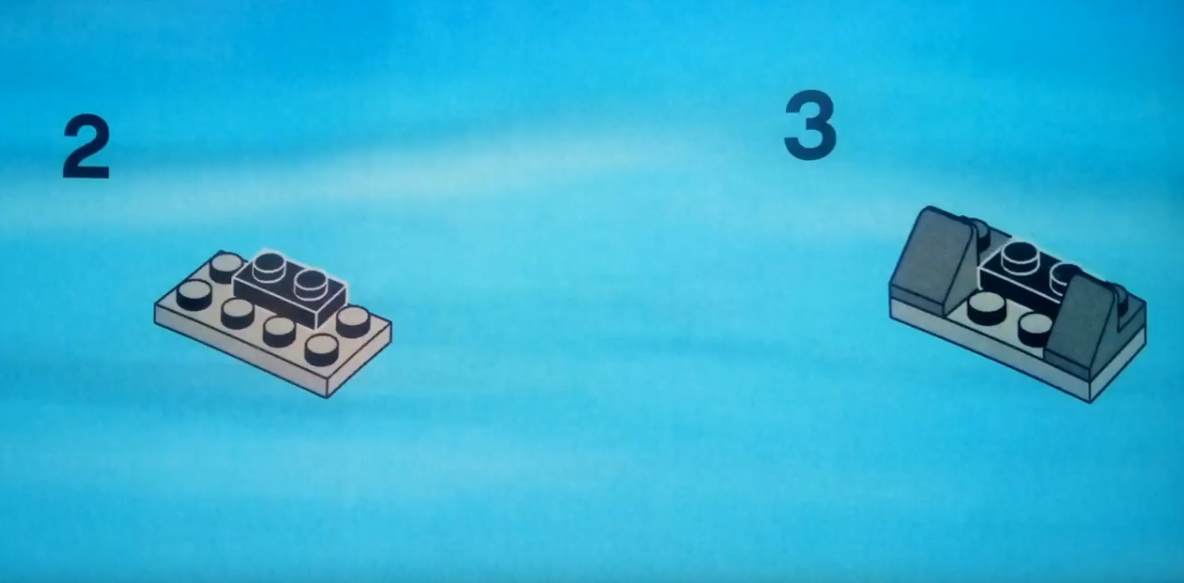
Install the front signs and quadruple blocks near them.
Front liners and blocks that should stand near them
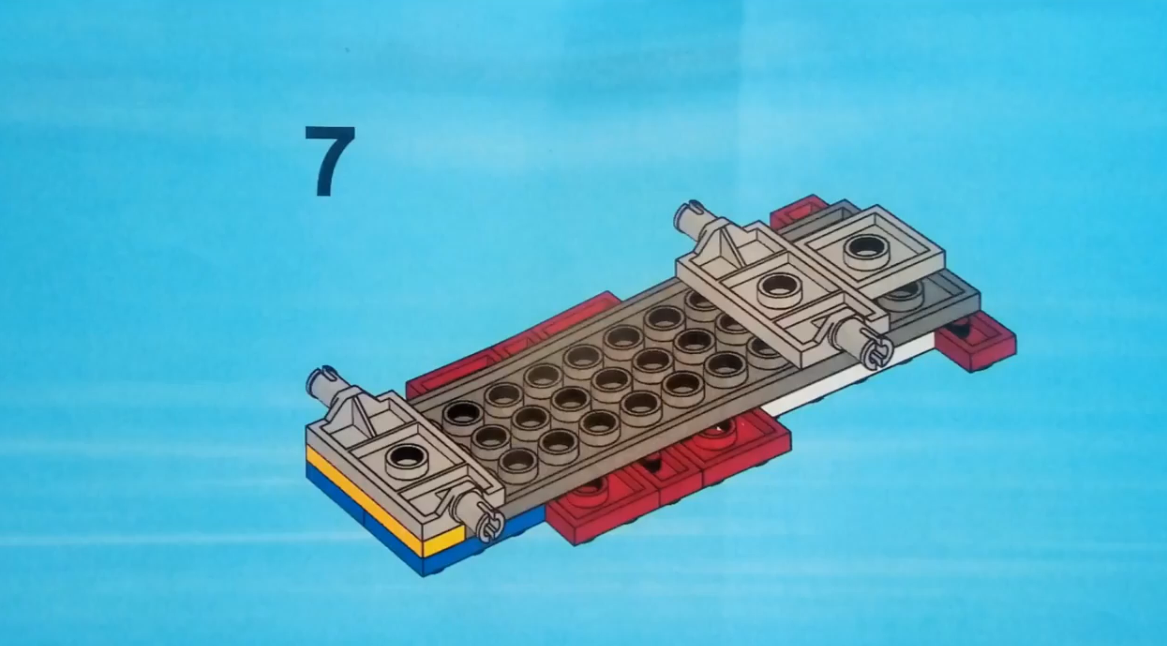
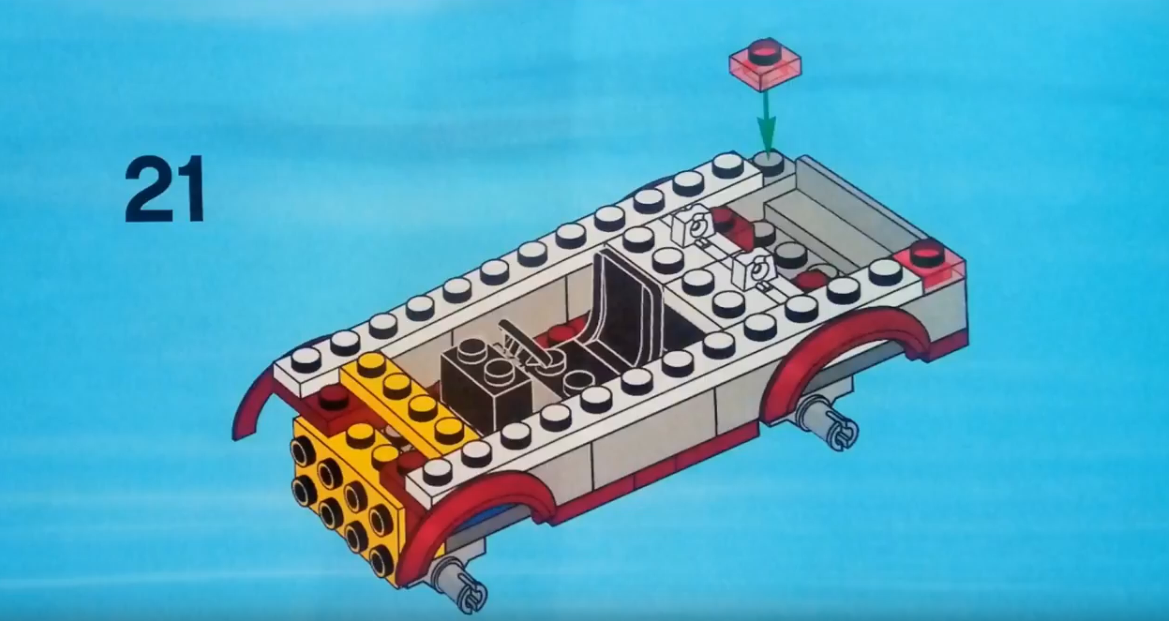
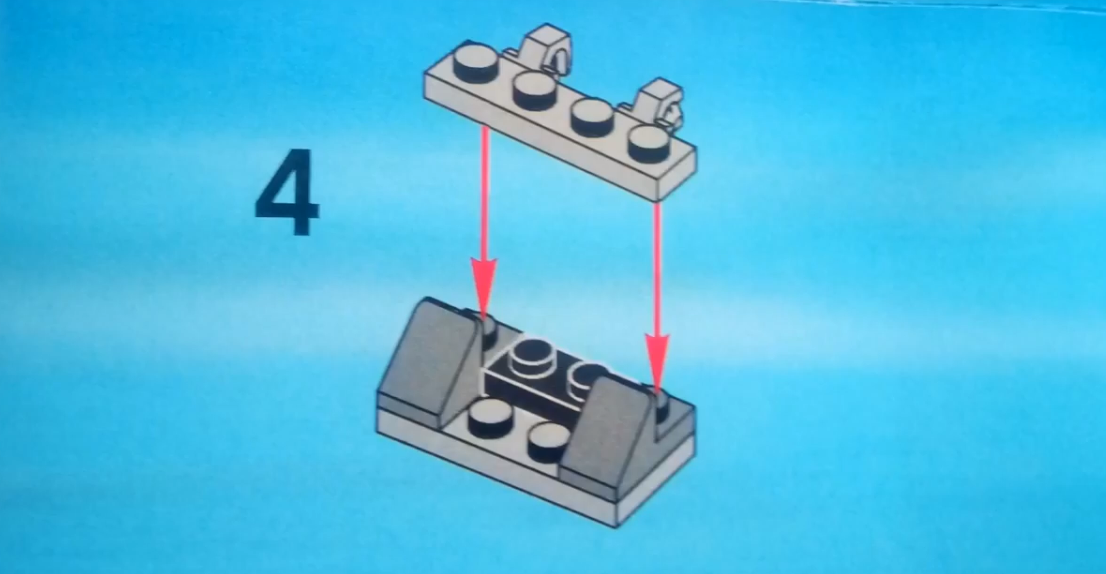
Now it was the queue of installation of a block to which you need to attach the grille of the radiator and the headlights.
Block under the grille of the radiator and headlights
Put on top of a strip 1 to 4.
Next Stage - block 1 on 4
Install the blocks as shown in the picture.
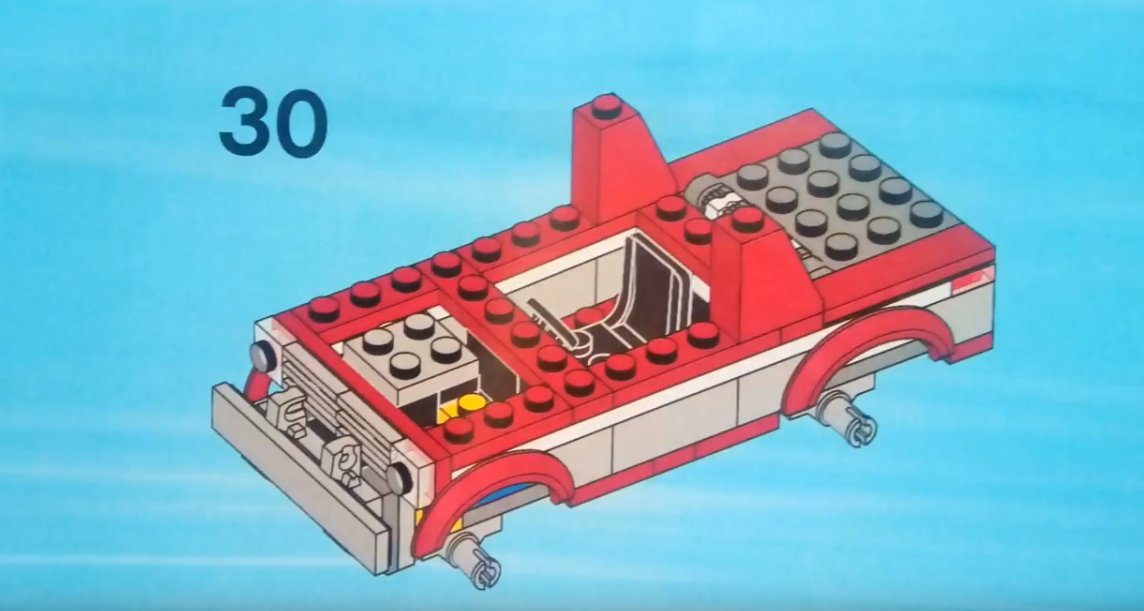
Event creating the back of the car
Now we collect the back of the body.

Attach 3 parts back details
It will only be left to install the lid from the part 3 to 4 with hinged withdraws. It turned out a real trunk - spacious and large.

Last detail of the back of the car
We continue to collect the body, as shown in the image.
Put 4 body parts
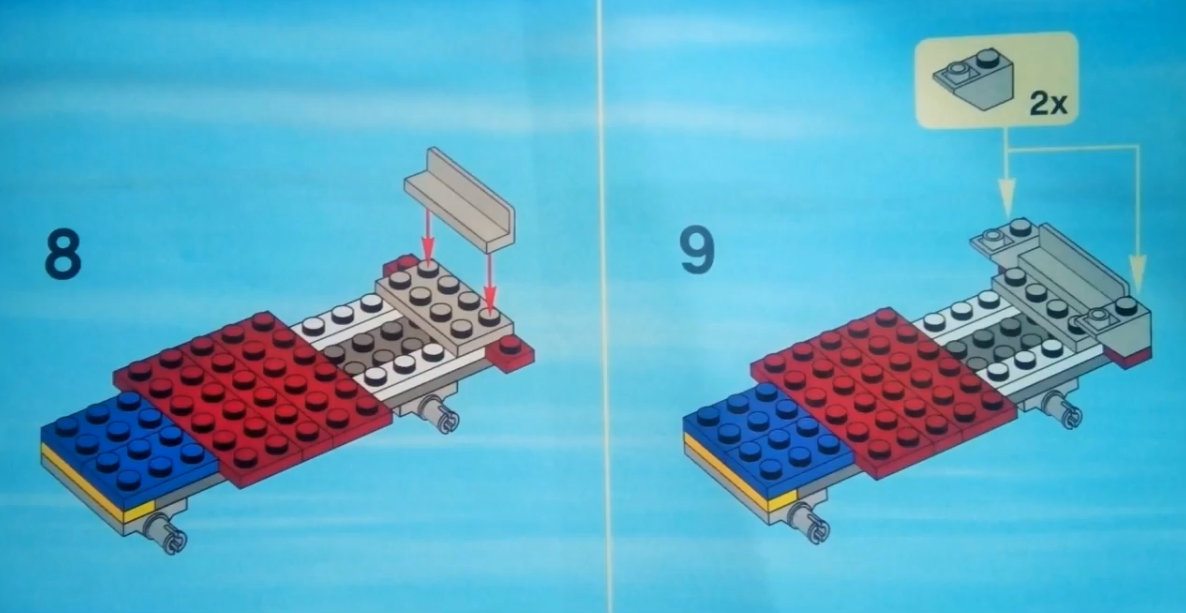
Install the details for fastening the front hood.
Put the blocks to which the parts of the hood will be attached
Two single blocks put inside the hood.
Single blocks - 2 pieces
Secure the laid 2 on 2 plates on 2.
Build a plate
Attach the radiator grille and the headlights, as shown in the figure.
Look out the appearance of the machine
Now let's protect the bumper. On the part 2 to 4, set the block 1 to 2, as shown in the image.
Bumper Protection Details
Then, with the edges, attach the angular blocks.
Attach another 2 blocks
Attach the block on which the protection itself will hold.
Install the item as shown in the figure
It remains to establish protection for the car, ahead of the radiator grille.
Last Detail of Bumper Protection Block
Look, the arrow shows where it is necessary to establish the protection of the bumper.

Install the collected bumper protection
Two other body parts attach from two sides.
We continue to collect body
Install the windshield.
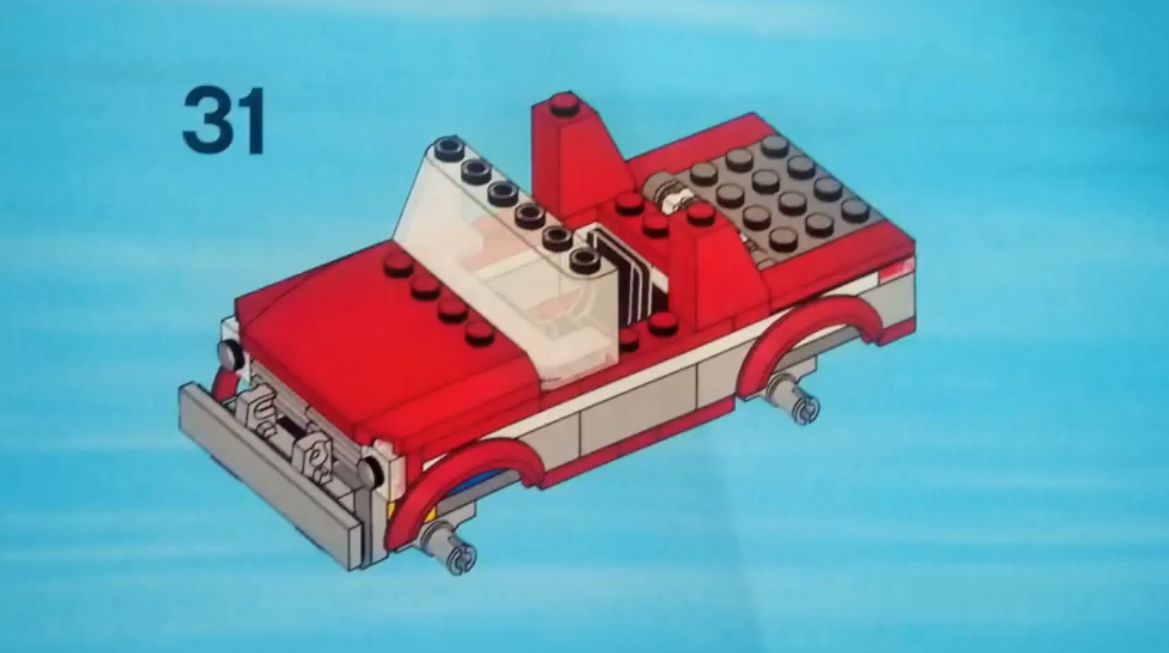
Windshield
Attach the roof.
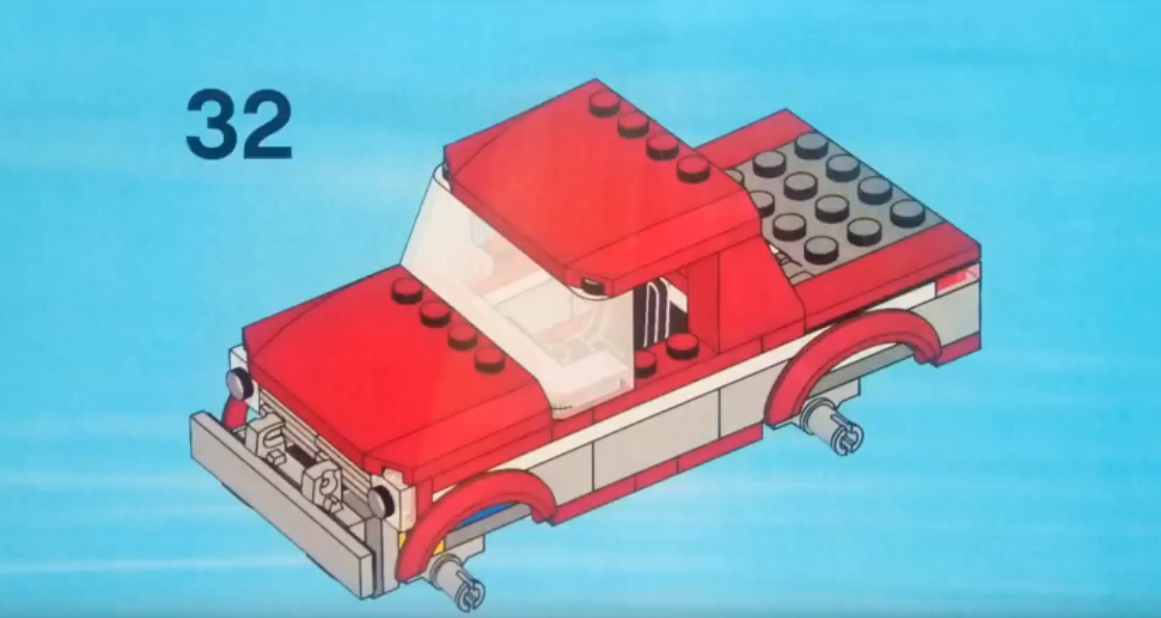
Install the roof
Then we collect the LED chandelier. Do as shown in the image.
LED chandeliers assembly stages
Attach another detail
Attach chandeliers.
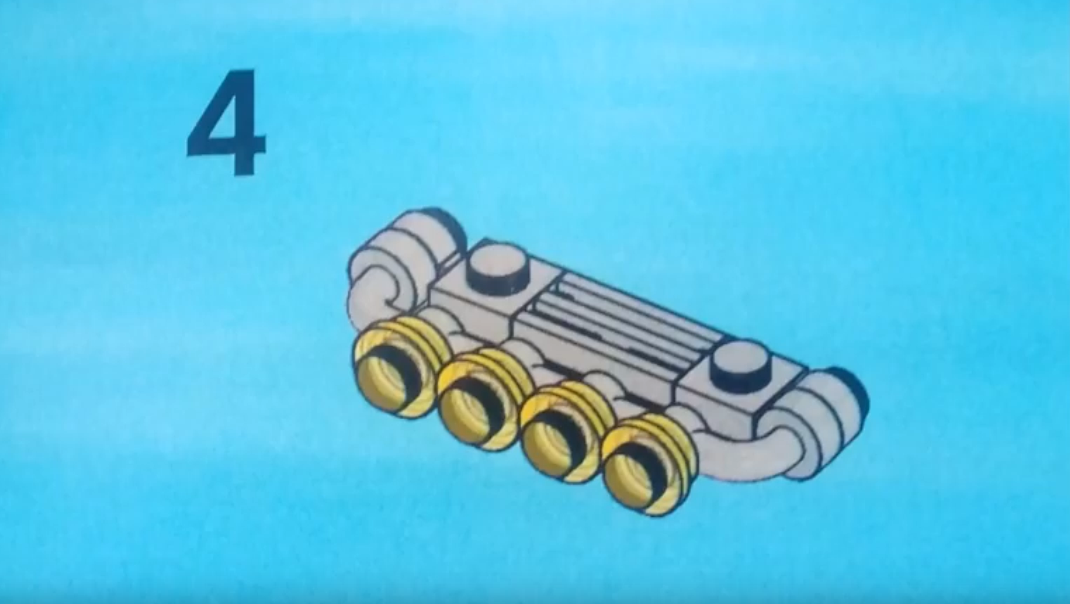
Install the lights
Install the chandelier on the roof of the jeep.

Put a chandelier on the roof of the jeep
It's time to attach the wheels. Put the tires on the discs and attach to the axis. The sequence of the wheel assembly is shown in the figure below. Make so with all four wheels.
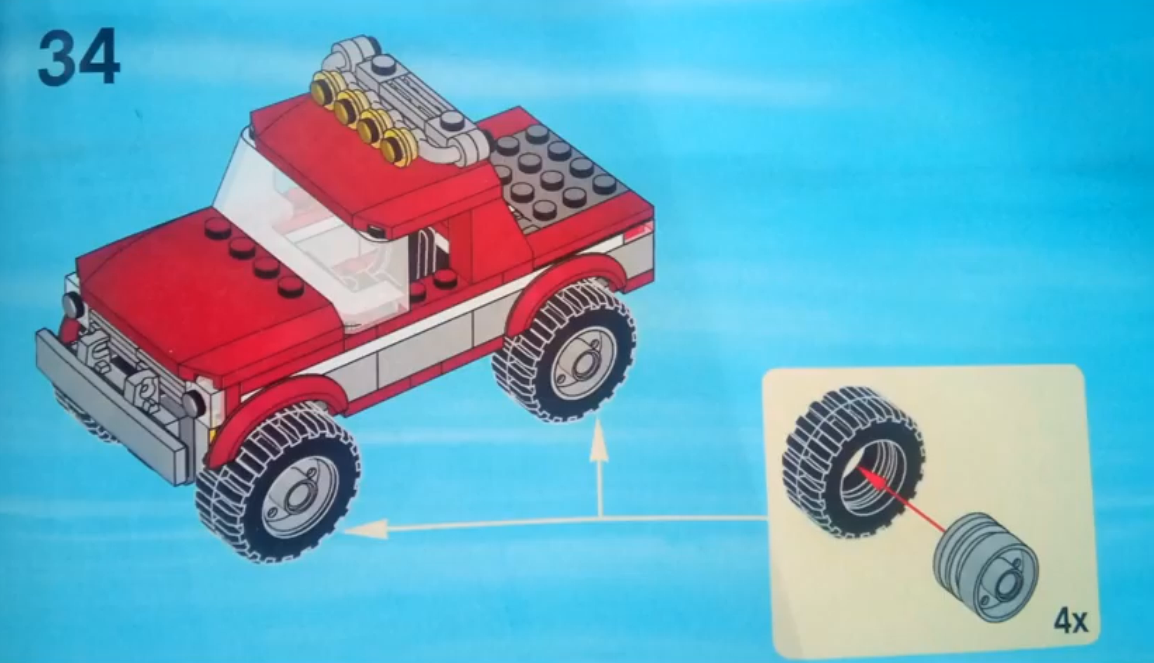
Install the wheels
If you don't work out, see the video. In it, the entire process of assembling this car.
Video instruction. Simple SUV Lego.
New toy is ready. Play such a jeep will be much more interesting than the purchased car, because he collected with his own hands. When the toy is getting tired, you can disassemble it and collect a new car, just just and quickly.
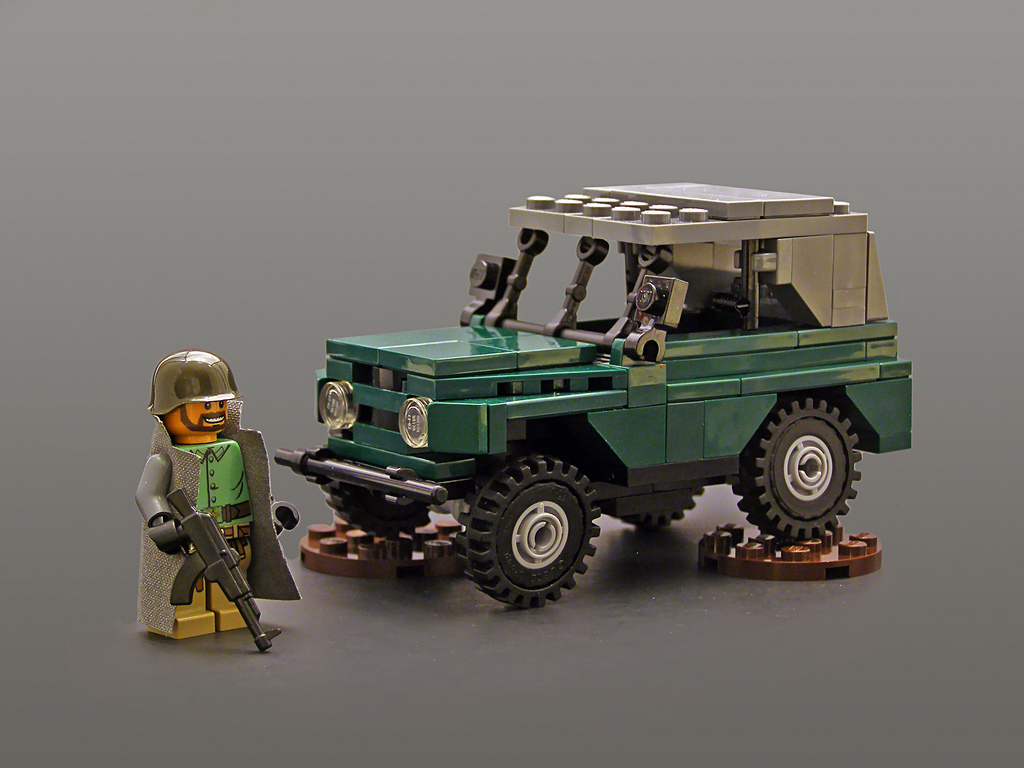
How to make from the designer Lego Military Jeep: Instruction, Scheme, Description
Almost every boy, a military car is one of the most beloved toys. Make a military jeep from the designer Lego simply. The main thing is to follow the instructions. A description of all actions will be lower. First decompose all the details in size so that they are easier to search during the assembly.

Lego - Military jeep
In the figure there is a scheme for assembly, and the description and instructions that are below will help make the Military Jeep Military Detail:
- Connect two details: 2 for 8 and 2 to 6.
- Now look through these parts. Put blocksAs shown in Figure 2. It turns out the base of the body. Please note that the black block is 2 to 4 with special axes for the rear wheels.
- Then begin to build the body itself: Attach one part with the axis for the front wheels (it is designated in black) and put the letter "P" base of the body - see Fig.3.
- In Figure 4, any blocks are selected and stacked.So that one plate 4 to 6 is 6 - this platform is needed to install the hood. Also attach trapezoidal and single blocks, as shown in the figure.
- Figure 5 you see how to put blocks in the next row. Please note that in the middle two parts 2 per 4 on each other are stacked, and the blocks 1 to 4 are attached in the same way.
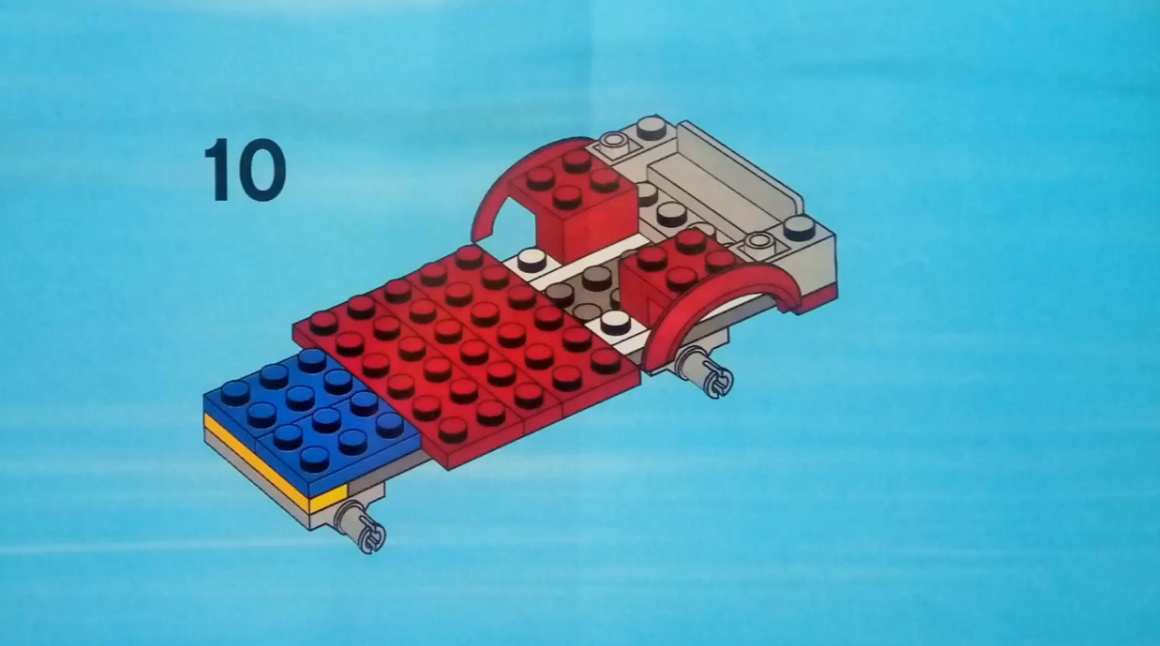
- At the next stage - Figure 6, Squeeze the blocks to get a single platform 6 to 6. Also install the rear and the back of the machine back.
- At this stage, the right door is installed, Lantern and Bumper Protection.
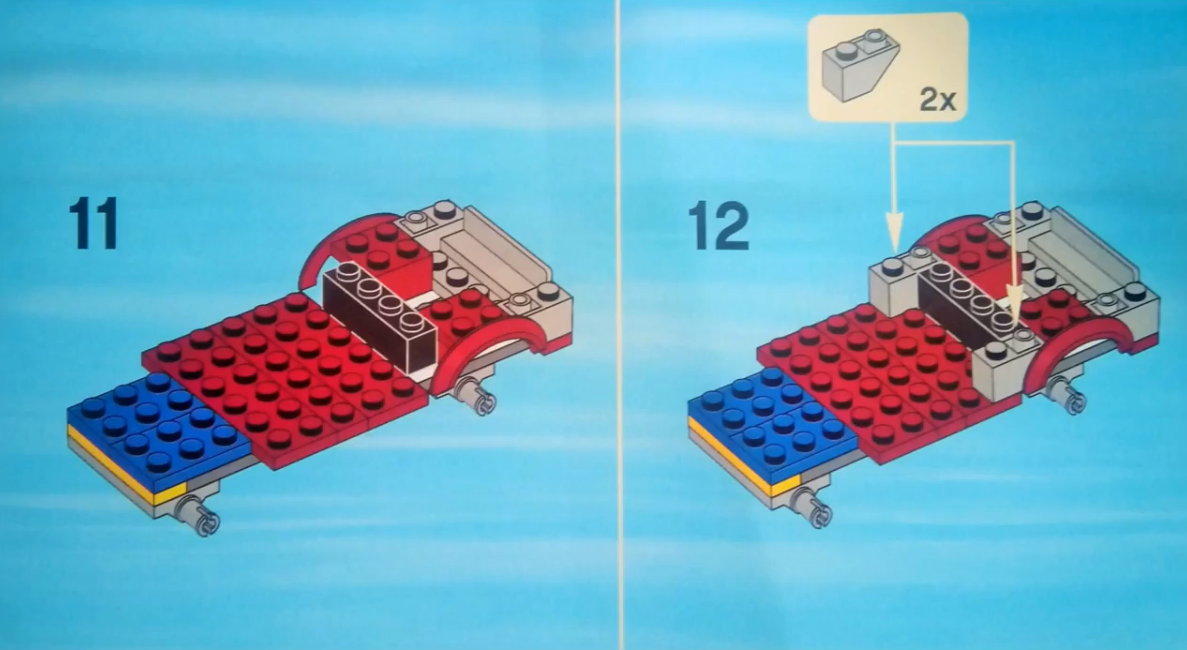
- We continue to construct the back of the car, laying blocks to get a platform 6 on 4. Three more details are attached, as shown in Figure 8 to fix the door and lantern.
- Install the seat and start collecting the hood. Pay attention to fig. 9, how to put blocks on the back of the machine, to then attach the trunk.
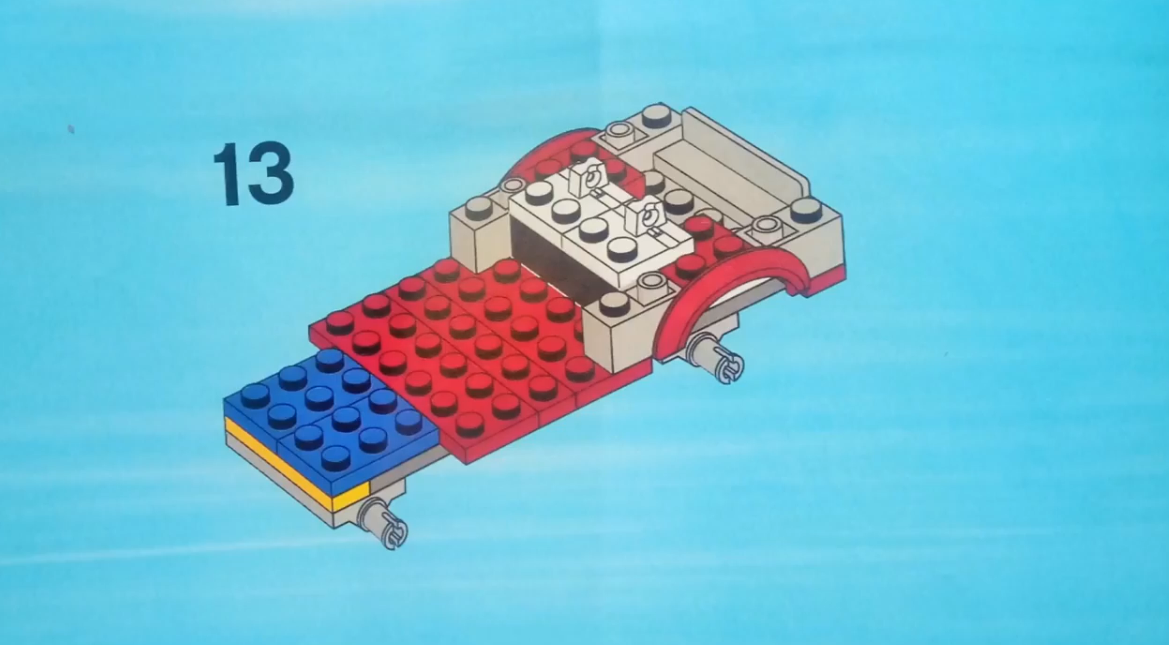
- Secure the second door, Install the spare parts and other blocks, as shown in Figure 10.
- Finish to assemble the back of the car and front hood
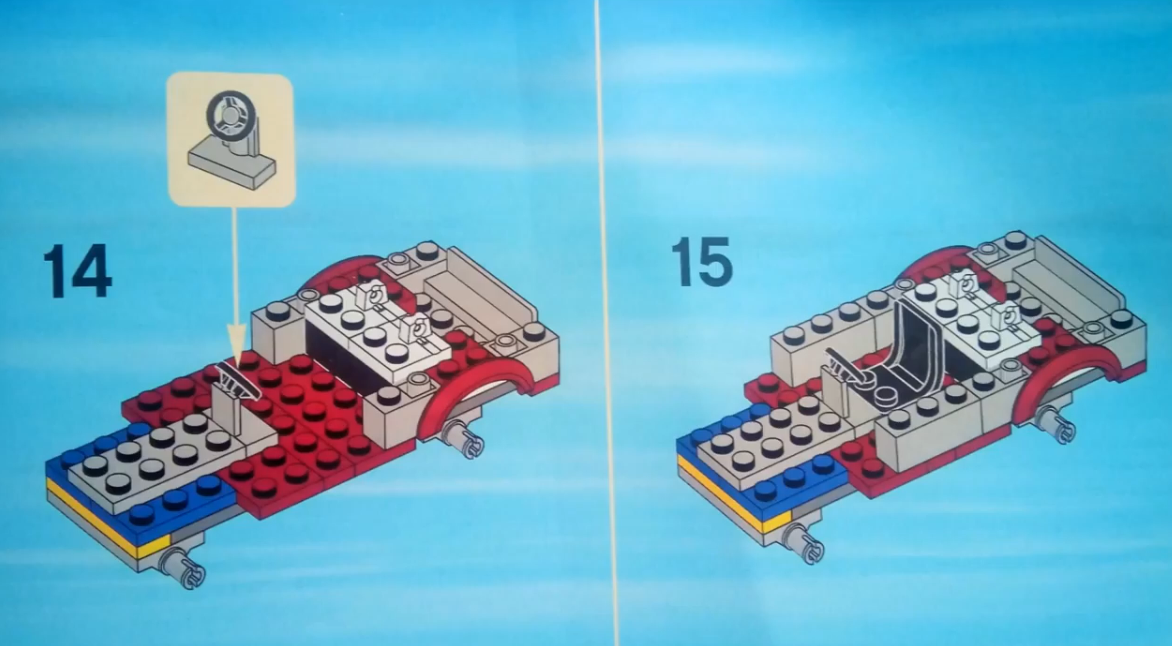
- Install the glass and the second headlight. Install wheels with disks on the axis. Insert the remaining missing parts of the hood. Machine ready!
Find a military man in the designer and suck it behind the wheel. It turned out a real military patrol. You can add some other details or replace them with those installed and make your original toy.
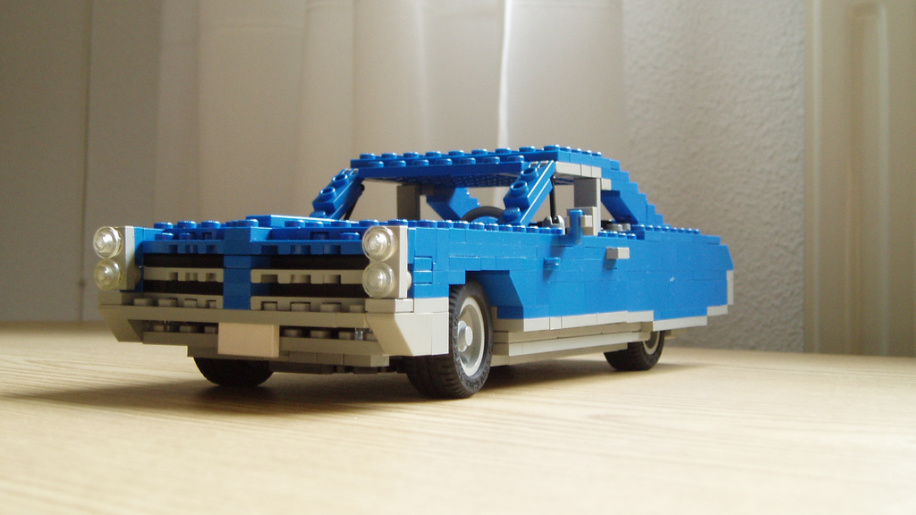
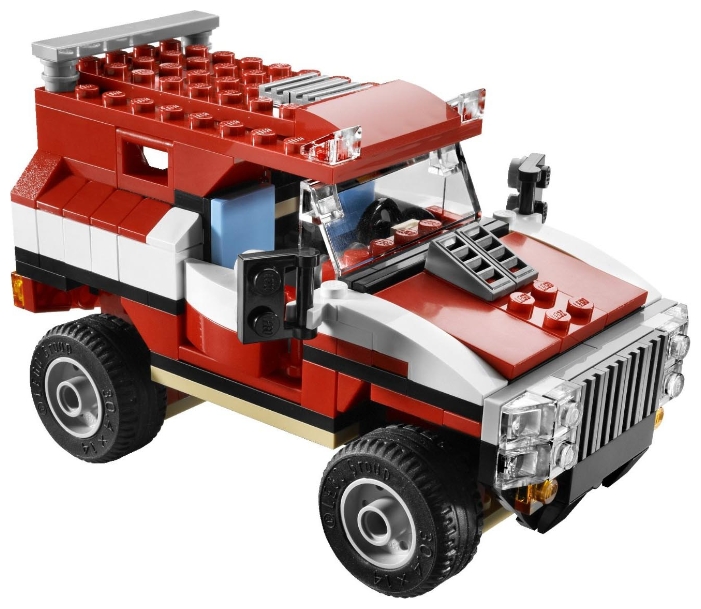
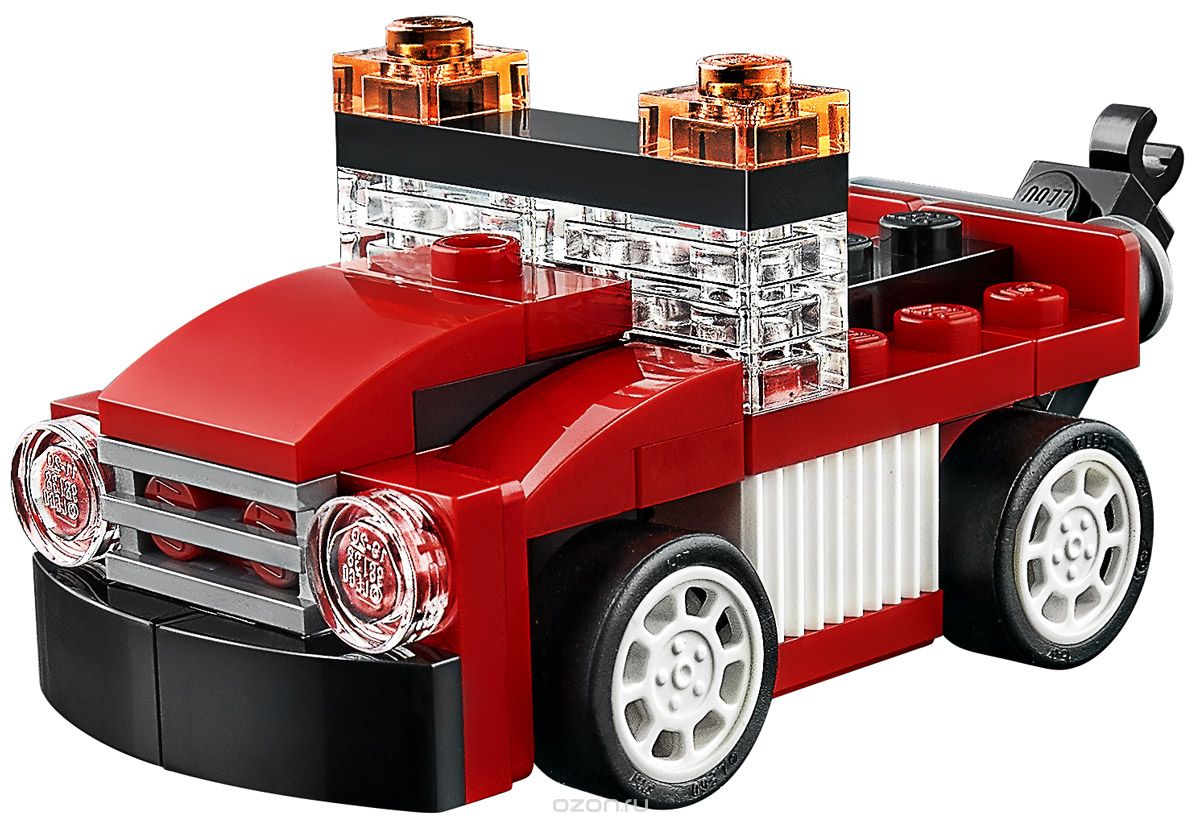
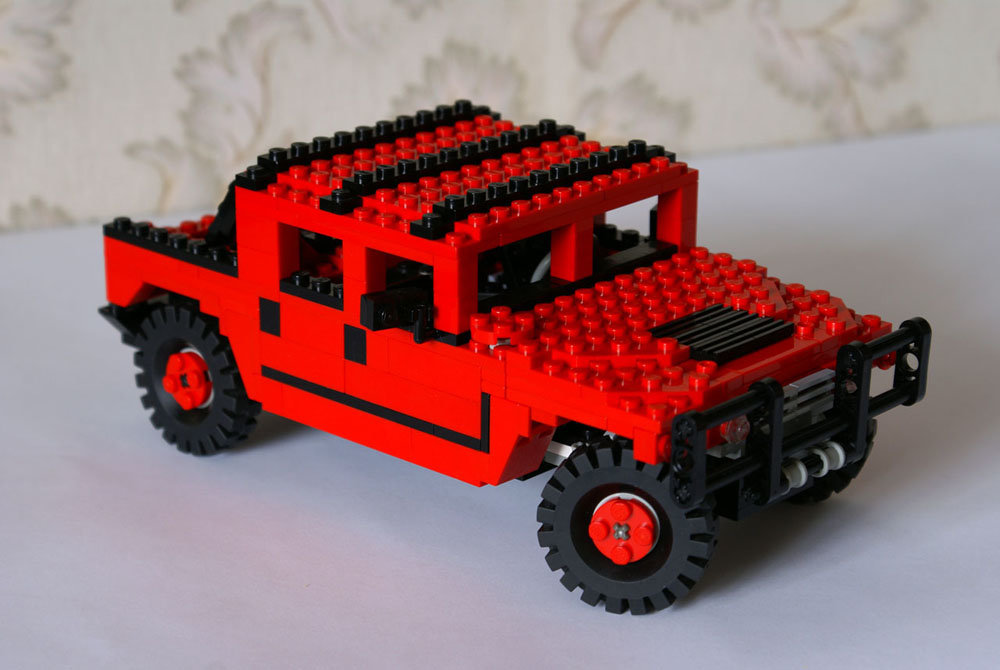
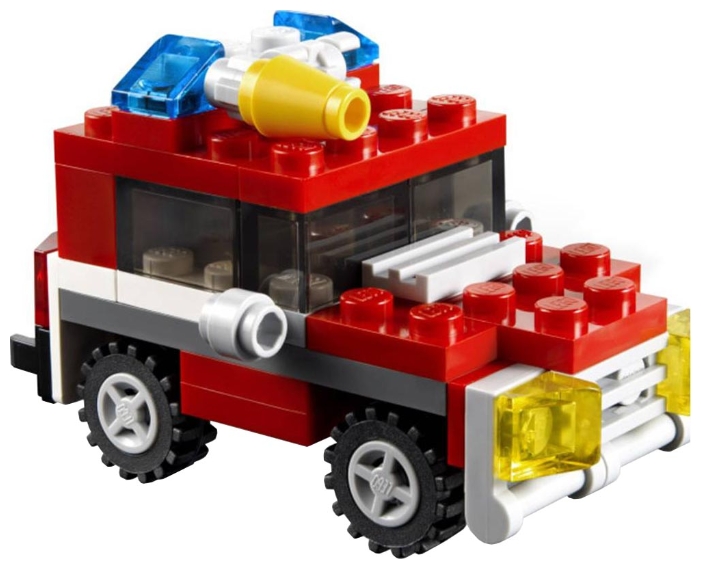
Beautiful cars and cars from Lego do it yourself: photo
Children who have been trained in assembling items with the designer of Lego, and even adults, make real masterpieces. Look, what beautiful cars and cars from Lego can be made with their own hands. Here is a photo:
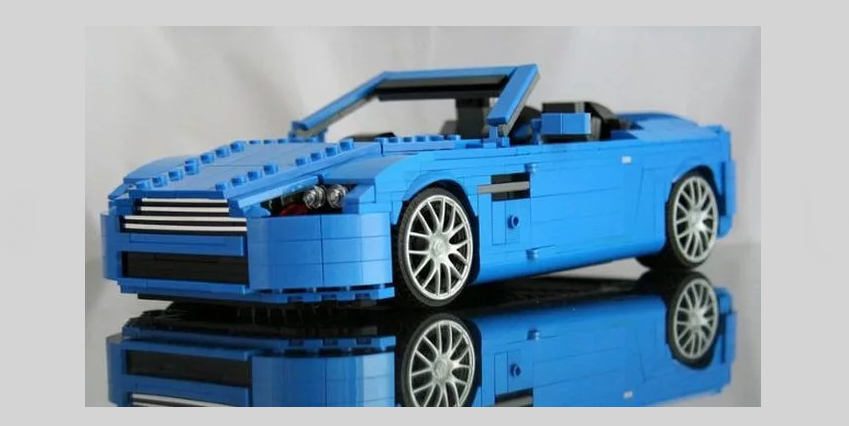
Lego Machine
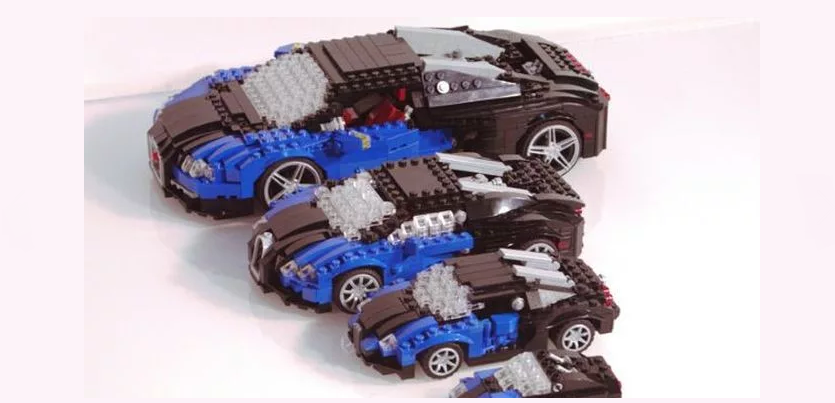
Lego Machine
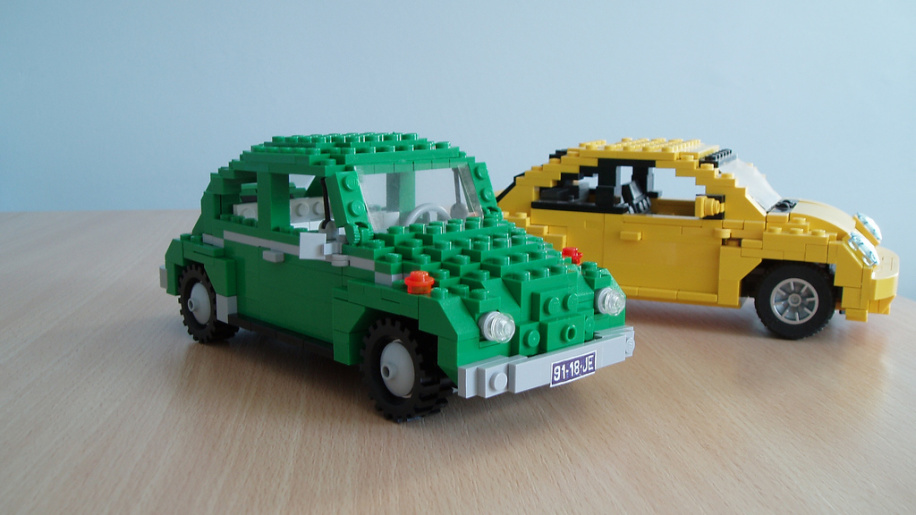
Cars Lego
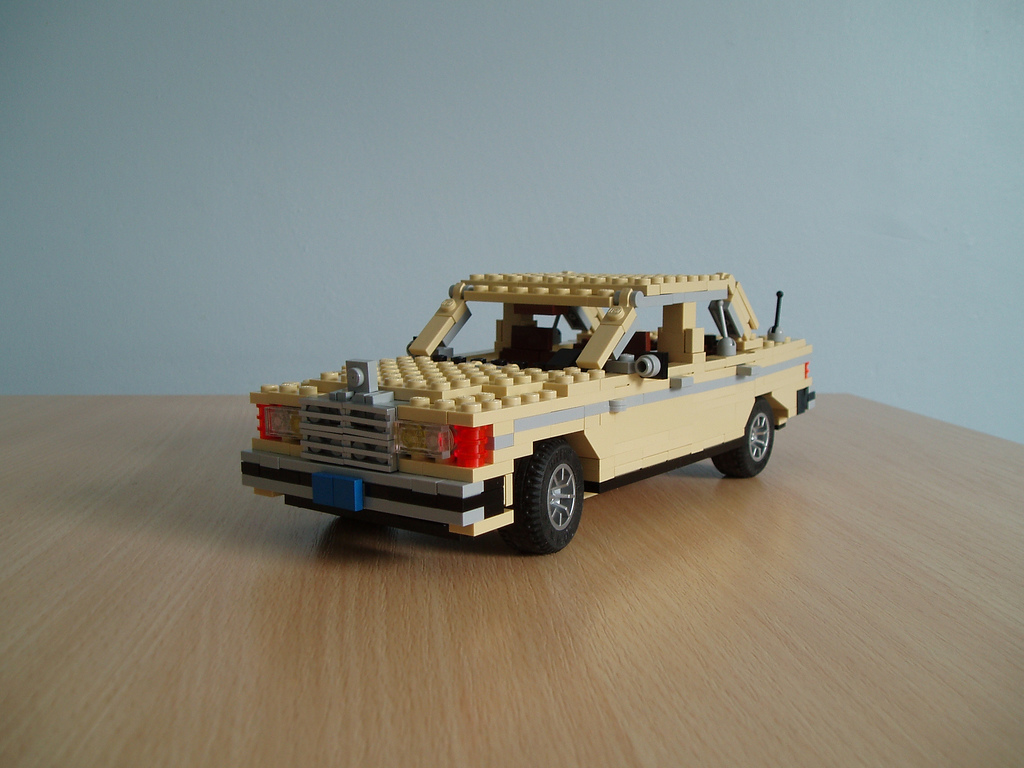
Cars Lego

Car Lego
Lego Machine

Antique Machine Lego
Jeep Lego.
Lego Machine
Lego Machine
Lego Machine
Give your child Designer Lego. He will be happy to such a surprise, and will begin to learn to collect cars and other items. Moreover, it is not only interesting, but also helps to develop the shallow motility of the hands, as well as prudence and fantasy.