The content of the article
- How to determine the size of the gloves?
- Knitting gloves: a simple way for beginners
- How to knit gloves with knitting needles for beginners step by step?
- How to knit fingers on the knitting gloves?
- How to knit children's gloves with knitting needles for beginners?
- Finger gloves knitting needles for beginners
- Video: How to knit gloves with knitting needles for beginners?
Therefore, gloves have become a more convenient and preferred wardrobe item for some of us.
We will dwell in more detail on the secrets of knitting gloves for beginner craftswomen.
How to determine the size of the gloves?
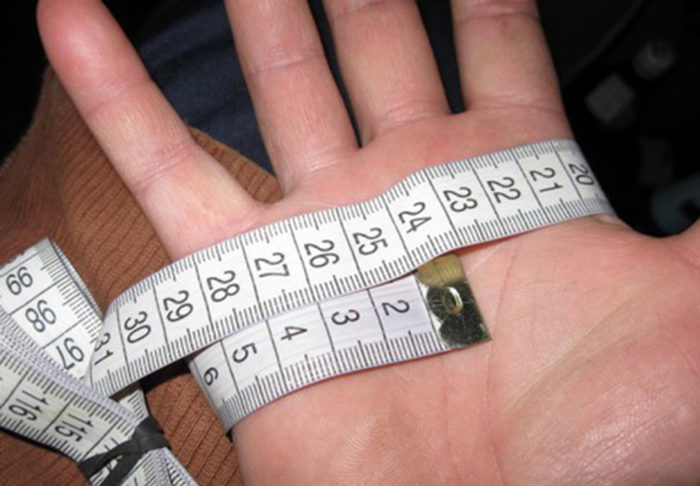
measurement of the palm of the palm of a flexible meter to determine the size of the gloves
We only add that knitted things are able to stretch slightly during socks and after washing. Consider this moment in the selection of the correct size for future gloves.
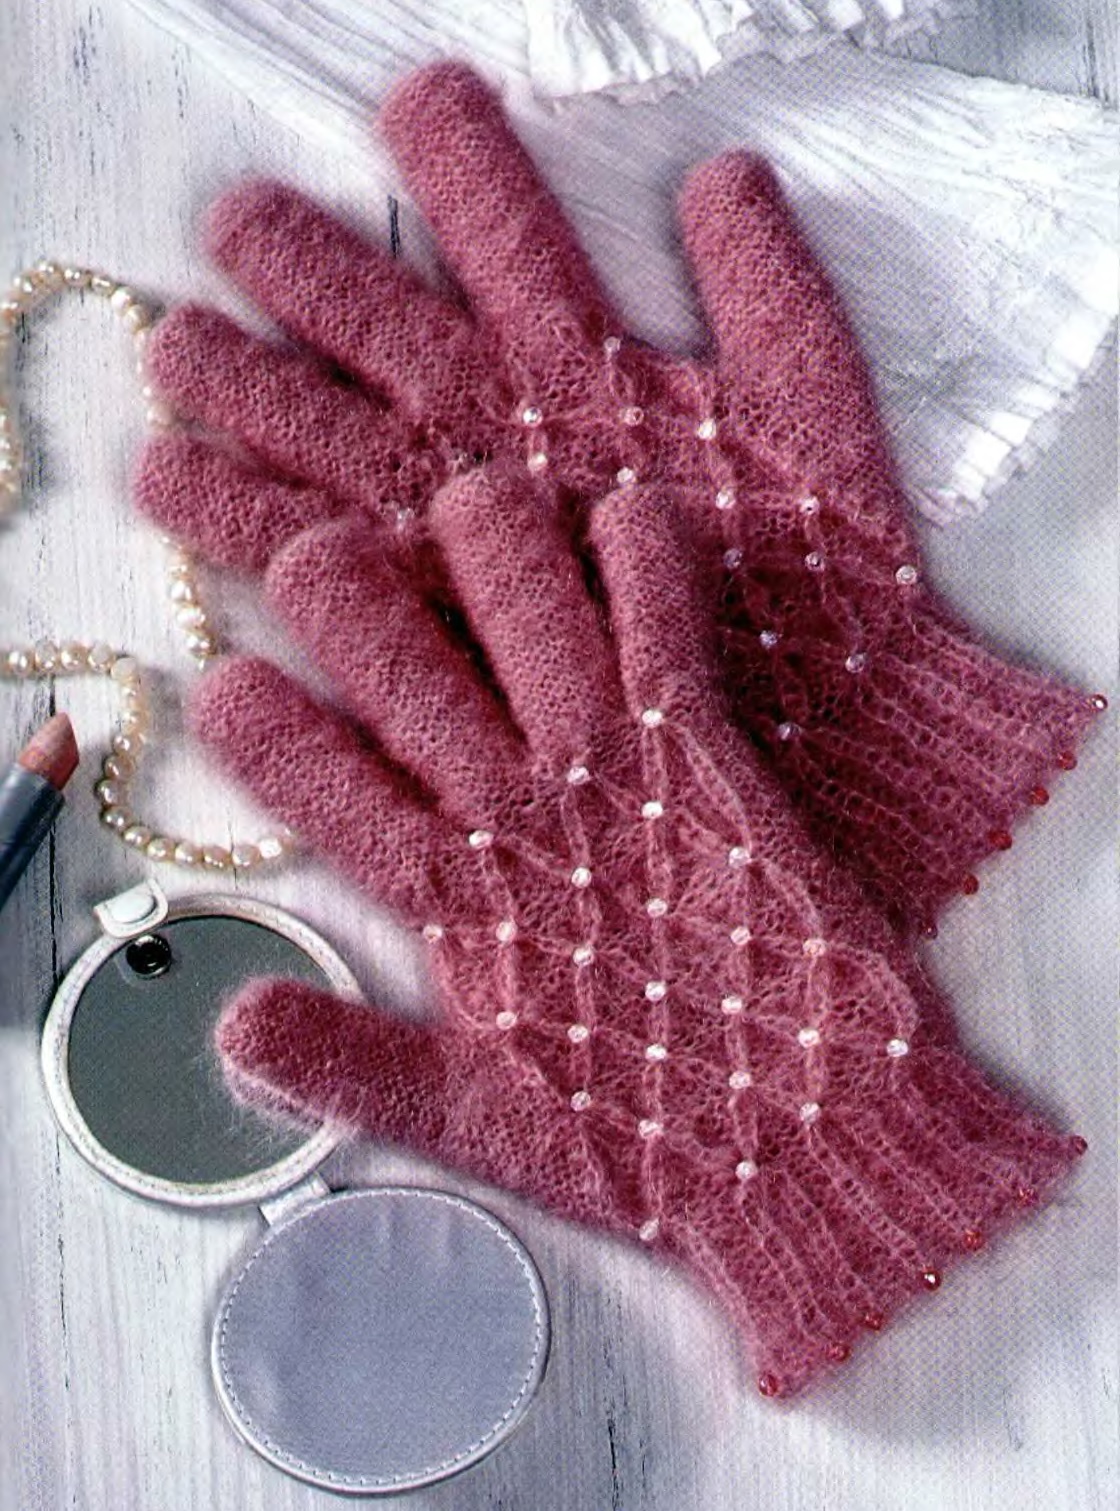
Knitting gloves: a simple way for beginners

ready -made gloves connected by the needles of the beginner needlewoman
You need to prepare:
- wool yarn with a small percentage of acrylic or with moher, if you plan a model for winter
- a set of patch spokes with the thickness indicated on the label of yarn or thicker, if you knit a thread in 2 additions
- scissors
- pins or auxiliary knitting needles
- determine the size of the leading hand, tie a sample with the front surface and elastic band, determine the number of loops and rows on the square of the finished canvas 10x10 cm,
- perform cuffs with an elastic band,
- go to the front surface and work to the hole for the thumb,
- leave the loops for him on an auxiliary spoke/pin,
- continue the knitting to the base of the little finger,
- for him, leave the loops on the pin,
- tie 3 more circles and distribute the loops for the rest of the fingers,
- work on each finger separately, getting the loops of the jumper,
- the last tie the thumb,
- repeat the actions to create a second glove.
How to knit gloves with knitting needles for beginners step by step?

step -by -step photo knitting female gloves with knitting
- dial the number of loops multiple 4. If after removing the measurements of the wrist you got a figure with a shot, discard it and leave a whole value. It is allowed to reduce the test indicator by 1 cm so that the gloves fit tightly to the hands,
- take the loops with two knitting needles at the same time, free one of them and perform the first row with a tight elastic band. In the process, transfer the loops to the remaining 3 knitting needles,
- designate the beginning of the first knitting needle by a marker, fixing it on the first loop. The back of the glove is 1 and 2 knitting needles, palm - 3 and 4,
- tie the cuff gloves with an elastic band up to a height of 10 cm. If desired, dilute the canvas with inserts of a different color of the yarn, for example, every 4 rows,
- change the pattern to the front or wrong surface and from the first row at the beginning of 3 knitting, knit the extension wedge for the thumb. In the work on the left glove, a landmark is the end of the last in a circle of knitting needles,
- the wedge is formed from crochet around the last loop in the 1st row, then 3-4 rows of the front surface. Nakida again, but around the island of 3 facial, again 3-4 rows are facial. Further crochet around the canvas of 5 loops and continue until the base of the thumb reaches-5-6 cm,
- having reached the desired height, transfer the wedge loops to a contrasting thread, pins or additional knitting needles,
- pick up the number of loops that are half left above them,
- in each row, make decreases over left loops for the thumb. Knit them on both sides in the same way as they knitted expansion-clin,
- continue circular knitting until the base of the little finger,
- leaving the loops for him and adding 4 loops to connect the canvas between the fingers, perform 4 more rows of knitting in a circle,
- then distribute the remaining loops to knit each finger,
- in detail how to do this, read in the next section.
How to knit fingers on the knitting gloves?

the distribution diagram of loops for knitting fingers on the glove with knitting needles
- each finger consists of the upper and lower loops, that is, the little finger of the right glove - the end of the 2nd knit and the beginning 3 for the right and 4 and 1, respectively, the index - the end 4 and the beginning 1 for the right and the left 2 and 3, respectively. Between them are the loops of the ring and middle fingers,
- divide the total number of loops into 8. If there is a remainder, for example, 4 loops, add them to the upper part of the canvas of each finger. If the rest is 3 or less, then increase the amount from the index to the little finger,
- correct the loops of the upper part of the paintings of the index and nameless - take away from the second 2 loops in favor of the first,
- draw a scheme of the number of loops to each finger similar to the drawing to the current section, and adhere to it in the work,
- before knitting your fingers, add 3-4 coeds, or the so-called bridges between them. That is, the total number of loops for each finger will be larger for this number,
- work in a circle on 3 or 4 knitting needles when creating fingertips,
- start knitting index, then continue for the middle, nameless, little finger and complete with your thumb. Some needlewomen adhere to order from the little finger to the index or mixed,
- perform the stitches from the level of the middle of the nail plate. To do this, knit 2 loops together 2 times in a row,
- pull the final 2 loops with a thread, cut it off and hide it inside the wrong side of the product,
How to knit children's gloves with knitting needles for beginners?
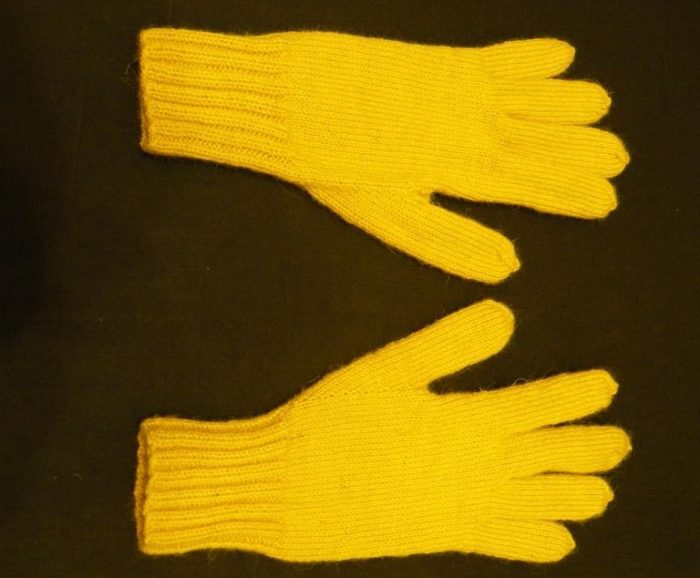
bright yellow gloves for the child are knitted
Or train to create models for an adult, and then tie the child.
- bright yarn flowers
- the presence of patterns of children's topics, embroideries and laces with pompons
Several ready -made models for inspiration and work procedure see below in the drawings.
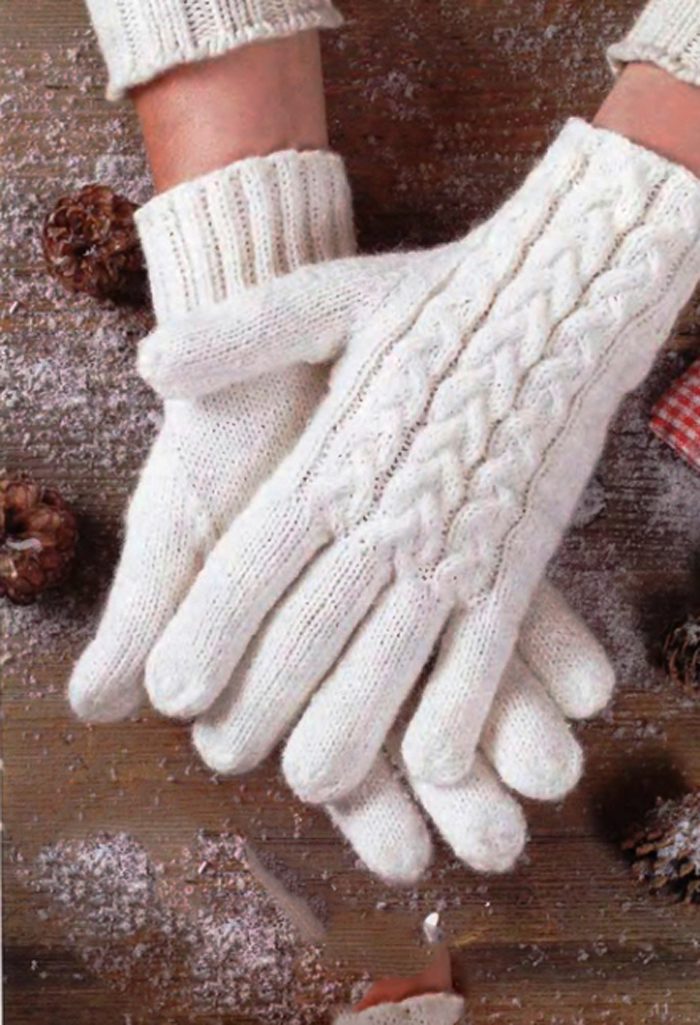
white knitted knitted gloves with braids in the hands of the model
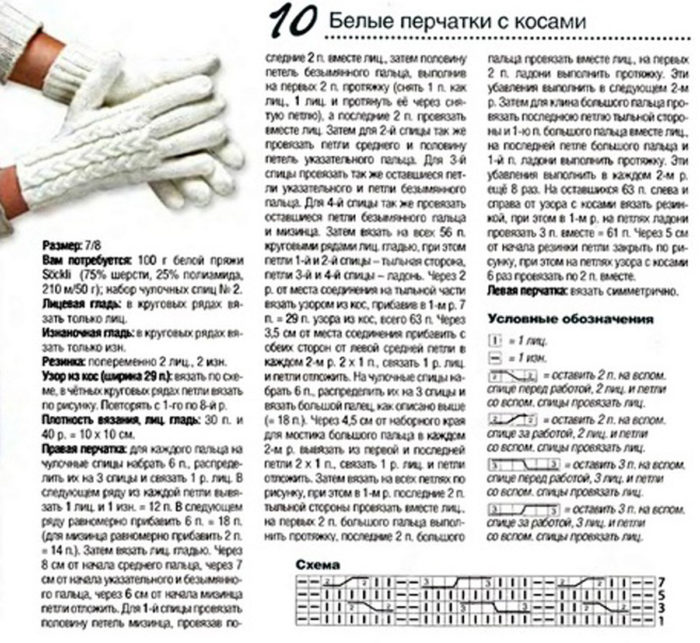
description of knitting white gloves with braids
description of knitting gloves with a curly pattern

original knitted knitted gloves with a curly pattern
Finger gloves knitting needles for beginners
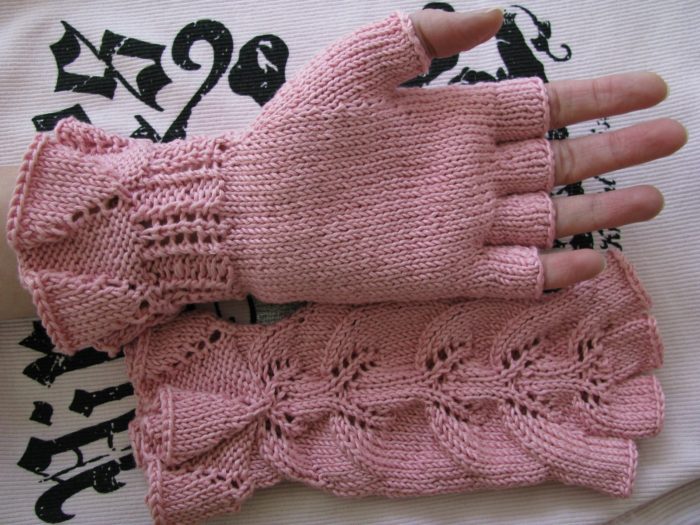
knitted knitting gloves without fingers with an openwork pattern
In terms of knitting speed, they are performed faster than gloves. Therefore, needlewomen with minimal experience and even without it will successfully cope with their creation.
- in the form of a continuous cloth-pipe
- with a branch or hole for the thumb
- partly connected by the thumb and holes for the rest
- like unconfigured gloves with all fingers open by a quarter
You need:
- woolen yarn or with the addition of cashmere 70 g
- castle set or 2 knitting needles
- scissors
- dial the right number of loops, focusing on measurements of the wrist zones, just lower, girth of your palm in a wide part,
- perform 2 cm with a gastard viscous,
- reduce 2 loops and go to the Rice pattern,
- after 4 cm from the start of work, reduce another 2 loops,
- from the moment of switching to knitting your palm, add 4 loops for expansion and knit a straight canvas up to a quarter of the thumb,
- reduce 2 loops and perform 4 rows of a girdle viscous,
- close all the loops tight
- repeat the actions for the second mitina.
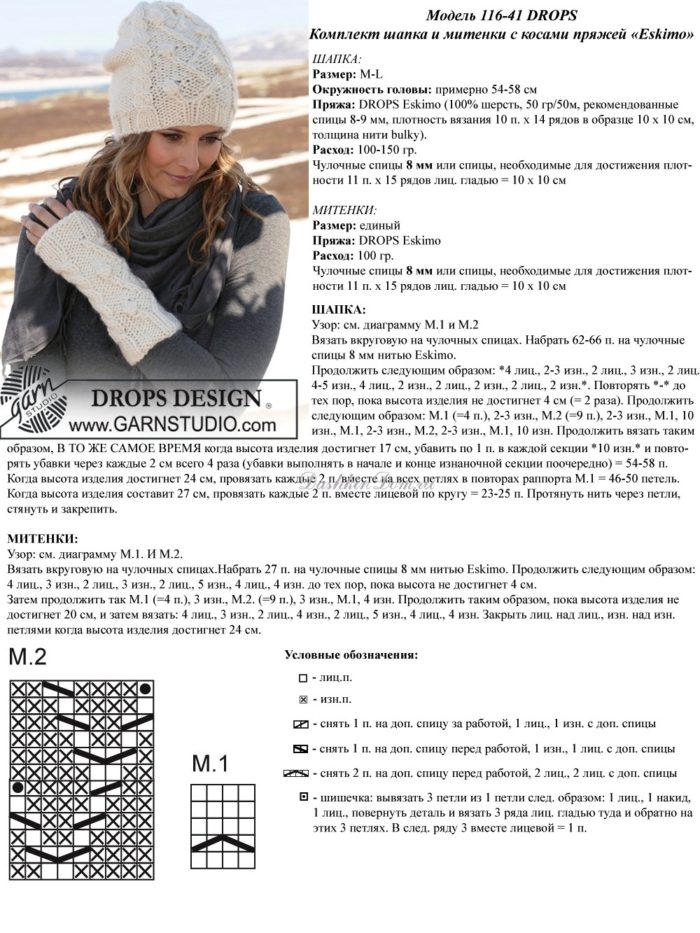
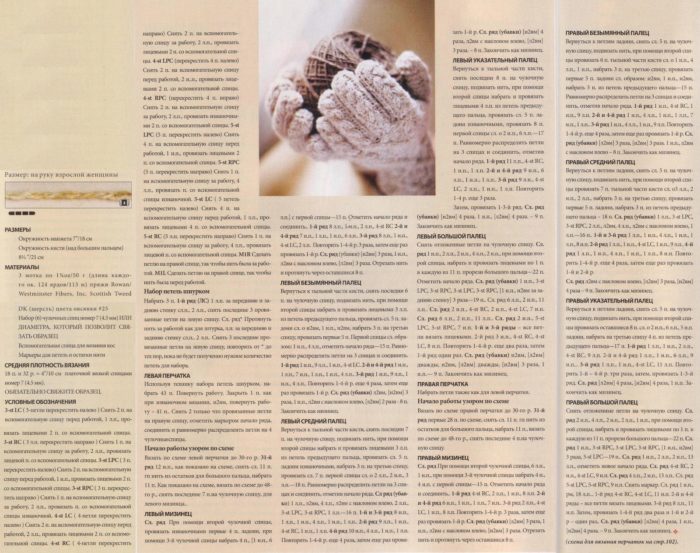
description Knitting Minenok with knitting needles, example 1
description of knitting Minenok with knitting needles, example 2

description of knitting Minenok with knitting needles, example 3
Smooth loops to you!