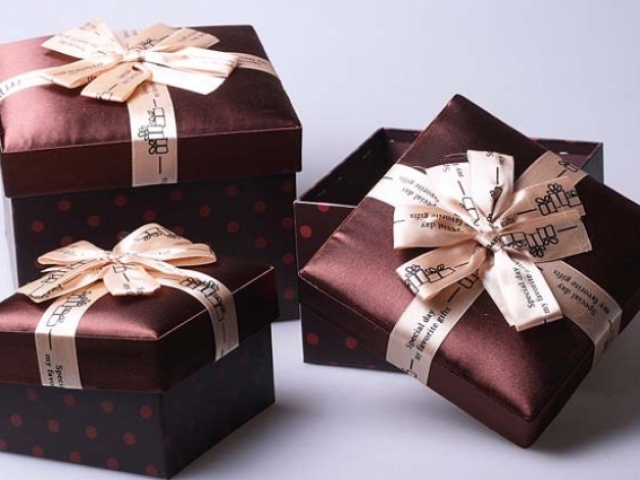
In this article we will look at ideas, forms and photos of beautiful boxes for gifts with your own hands.
The content of the article
- Origami Gift Box: Scheme with Description
- Transparent Box for Gift: Scheme with Description
- Scrapbooking Book for Gift: Template
- Box for gift with lid: pattern, pattern
- Little mini paper gift box: stencils, schemes
- Big Cardboard Box for Gift: Pattern, Pattern
- Box for a gift with wishes: scheme with description
- Gift box with surprise: scheme with description
- How to arrange a box for a gift for the day of lovers, on February 14
- How to arrange a box for male gifts on February 23?
- How to arrange a box for a female gift on March 8?
- How to arrange a box for a wedding gift?
- How to arrange a box for a monetary gift?
- How to arrange a box for a birthday gift?
- How to arrange a gift box for the new year?
- How to make a gift box for a child?
- How to arrange a box for a gift for sweets?
- How to arrange and decorate a gift box with your own hands?
- Ideas, forms and photos of beautiful boxes for gifts do it yourself
- Video: Master Class: Surprise Box
Holidays are nearby, and we all start to fuss in search of gifts to your loved ones. But a gift gift, and beautiful packaging is half the case, as they say. Yes, you can hand the expensive gift in the corporate packaging, but it will not produce that extramon, as the usual key chain in the festive box.
And if the package is still made with your own hands, yes, according to the original scheme, the delight only increase. Therefore, we bring to your attention a few options for unusual boxes do it yourself for all occasions!
Origami Gift Box: Scheme with Description
Origami takes their roots since the ancient China, where, in principle, paper was invented. The literal translation and the origami value is "folded paper". By the way, the symbol of origami is considered the "crane of happiness" (such a paper bird that even reminds the dragon).
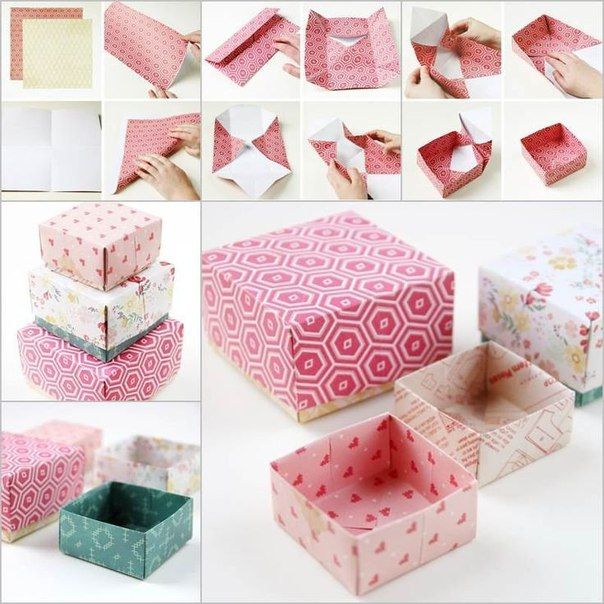
Outset that variants of such boxes may be several, even a whole lot. But we will consider the most simple and popular way. By the way, it can be done even with a lid.
We will need:
- plastic stack or normal range
- scissors
- paper is rather dense, but flexible
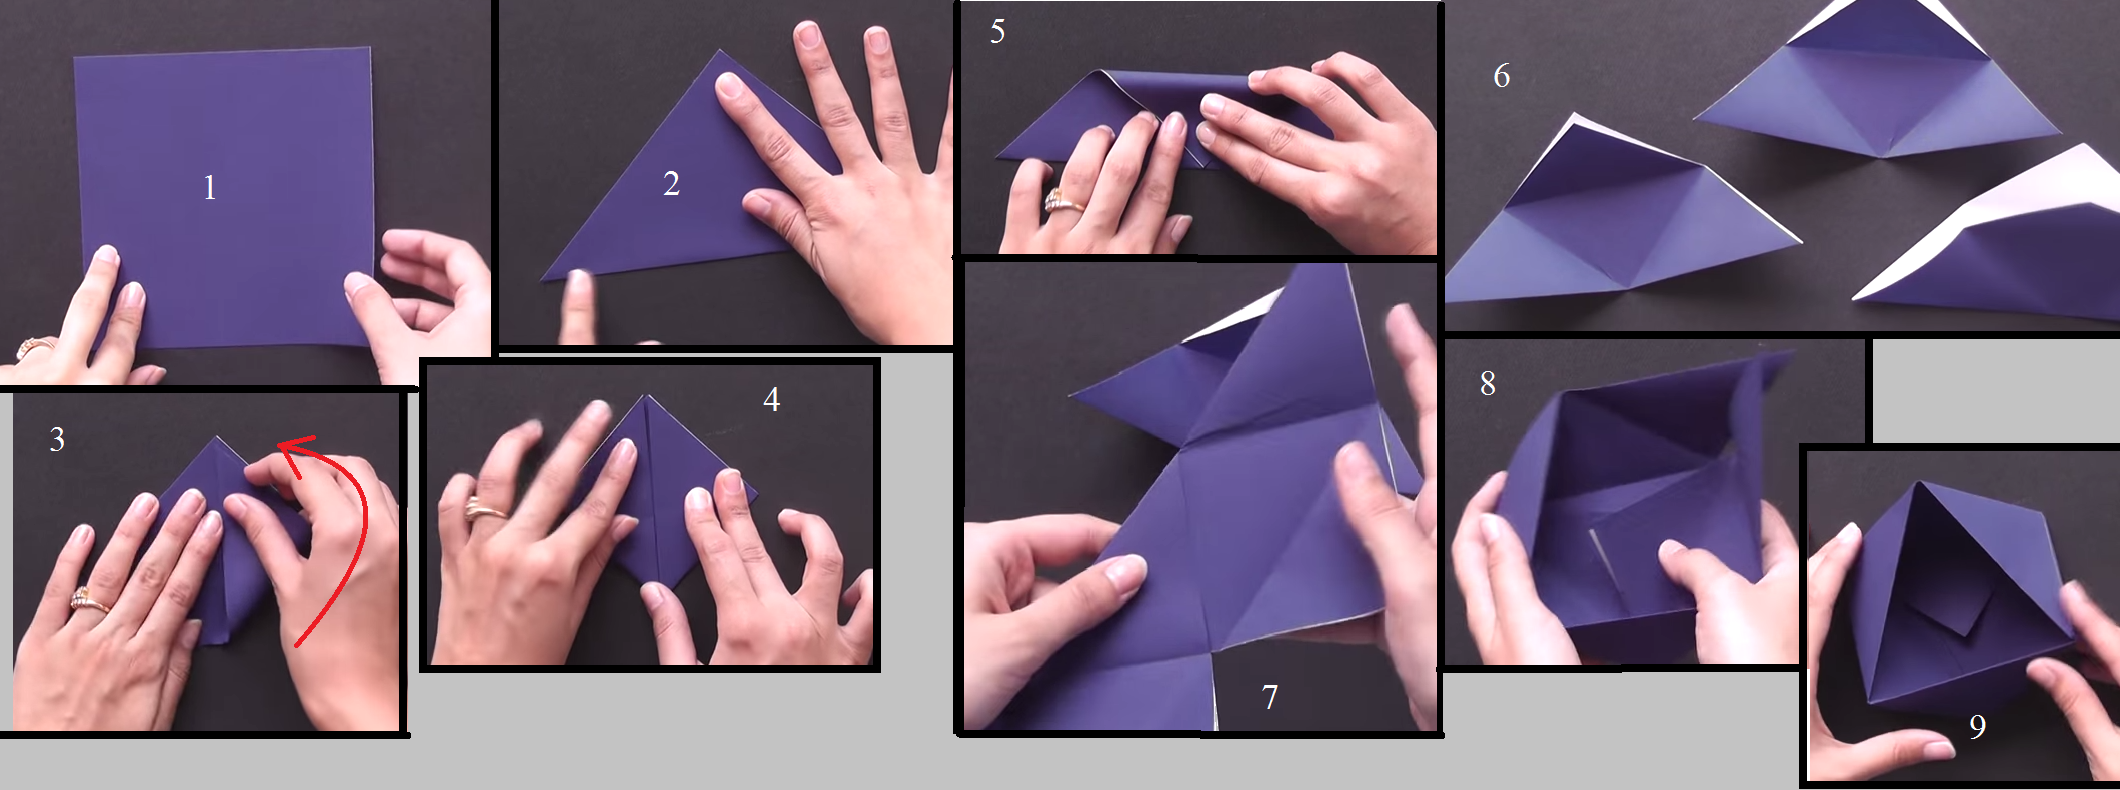
- Cut a flat square. And bend it in half with different sides. Ie, folded in one direction and then the other.
Please note! If you're going to do yet, and the cap, while the second square has to be a few millimeters more.
- That the lines were more clear, walk around the folds stack (or ruler).
- Now unfold the sheet. We should get a center point. It's easy to find - a place of intersection of the lines.
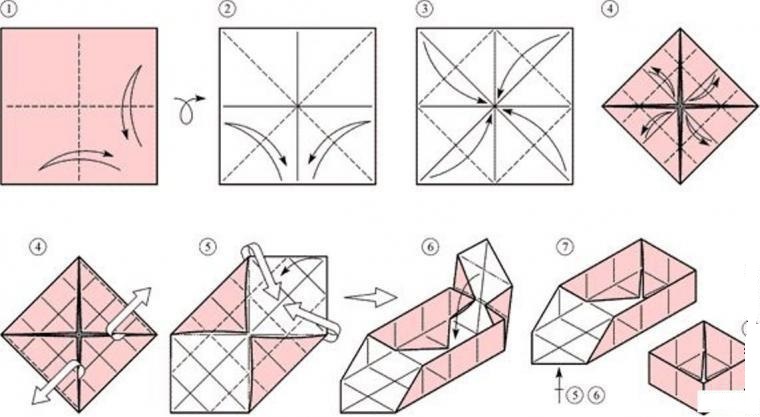
Creating boxes
- Then each sheet bend angle to this center. That is, it turns squared.
Important! All edges must fit tightly to each other, but do not go overlap.
- Unbent, for example, the upper and lower corners. And the other two still bend in half. That is, make bumpers.
- Now collect the remaining two rim. But note that the middle section is necessary to bend inward. And only then form a rim.
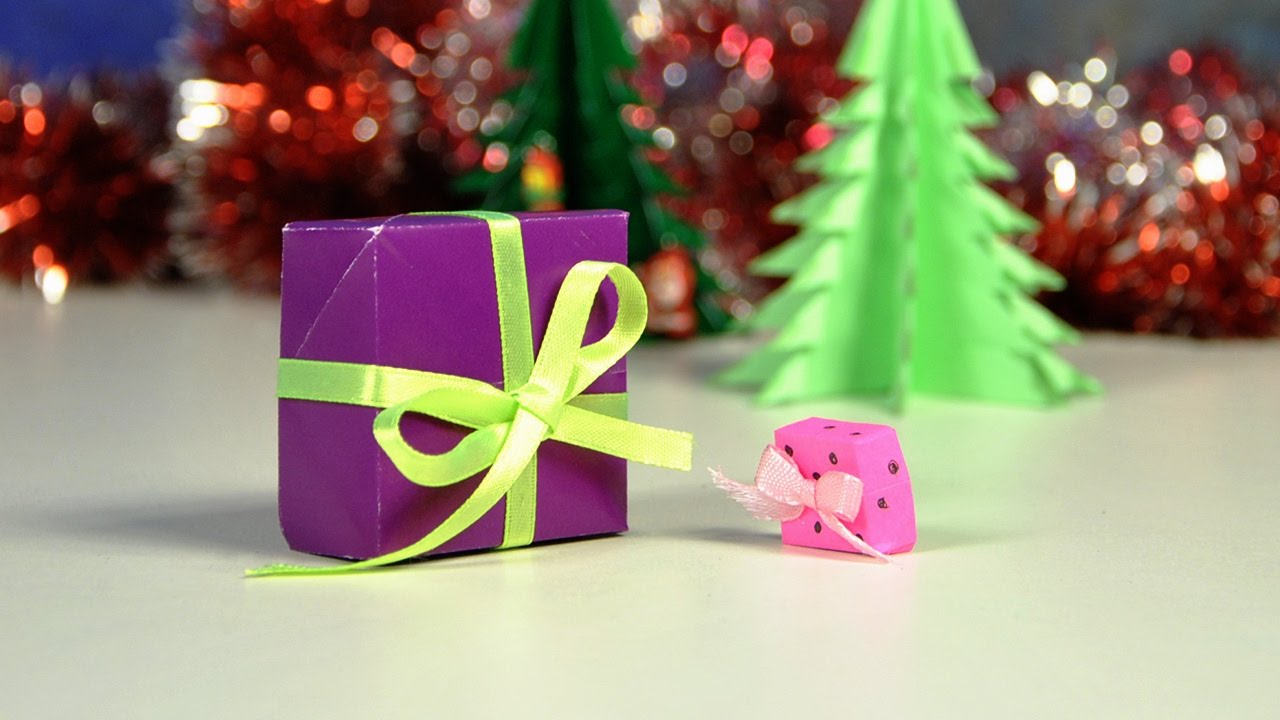
festive box
- Ready! Optionally, you can also glue the bottom of the required size and make the cap. Decorate, by the way, can also be to your liking. Or just run it with beautiful colored paper.
Transparent box for gift: the description scheme
This box may even be misleading, that it did not own hands. Very much it is beautiful and elegant looks. And if we decorate with threads (in the form of patterns), sequins or glitter, the price it will not be! And make it easy to distraction and, most importantly, with the materials at hand.
- All homes have a plastic bottle (or even one). Here takes her label, cut off the neck and bottom.
- Then, the resulting cylinder cut lengthwise. That is, we get a rectangle.
- Doubles over our basis and have a good pair of scissors along the fold to form an edge. Two other parts of the bend in half again, and also do the ribs. We should have already received a form of a square.
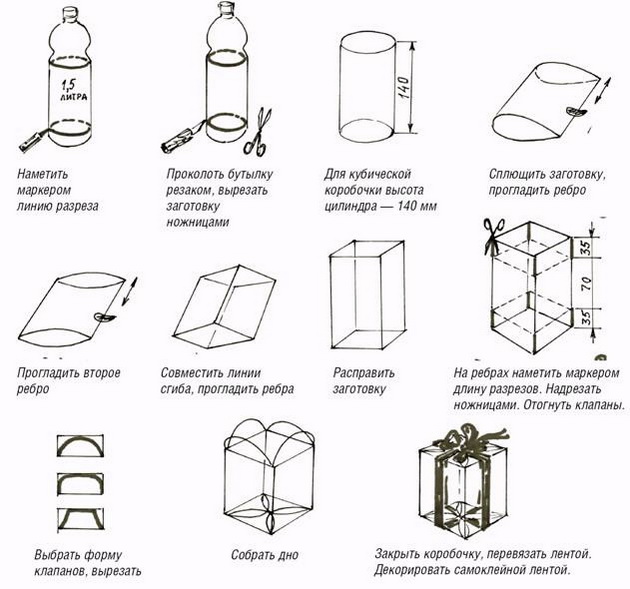
Transparent box: the scheme of creation
- Now we make the cuts for valves. That is, we will do the bottom and top of the box.
- Their shape may be a square or rounded (so it looks more attractive).
- Fold edges as a conventional box. That is, bend one end, the other end of the valve is placed on top. And so on each side.
- Up can be done with the holes, then to thread the satin ribbon. After all, a gift you also need to get comfortable.
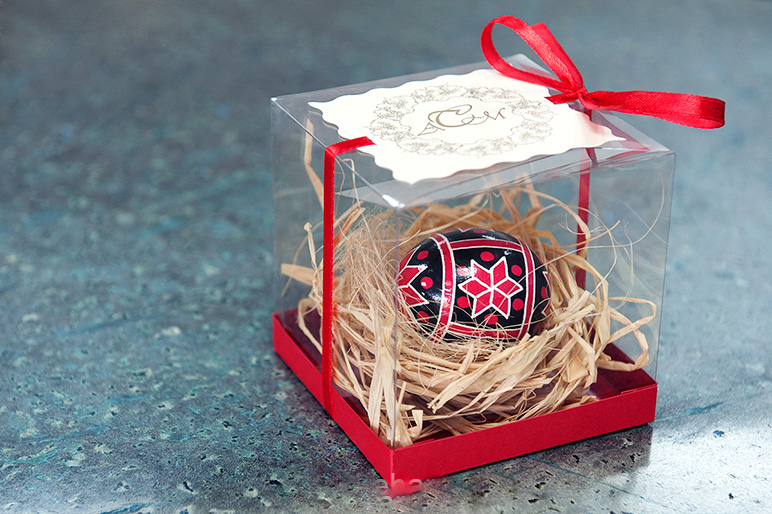
It turned out such beauty
- Decorate, too, at will. To help there will be ribbons, strings, flowers, pebbles or even gouache paints.
Scrapbooking Book for Gift: Template
Perform a gift in such a technique can be in any form (for example, in the form of a cake). And if you write more inside and wishes (only from the soul), it will turn into a memorable thing.
Would need:
- tight cardboard
- scrapBumaga or beautiful office paper
- a sheet of dark and light paper (or any other - at its discretion)
- scissors
- glue and Scotch (normal and bilateral)
- wide satin ribbon (2-4 cm)
- decoration on taste
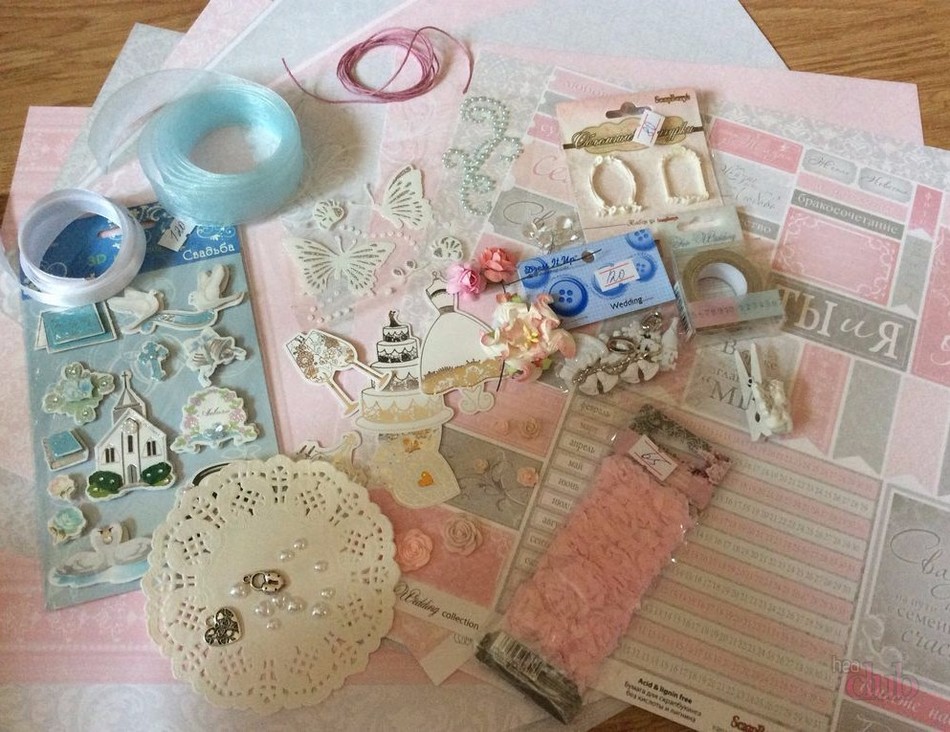
Necessary materials
We will make a book. Therefore, we need light and dark paper. By the way, white paper can be dipped into coffee (edges, not necessarily completely), creating an illusion of an old thing.
- Cut the templates. We will take size 9 by 9 cm. You can use any other dimensions. Fortors are cut, respectively, 9 to 4.
- Collect the box, glue parts with each other. But the foundation itself is placed by white paper.
- Make all you need carefully, so that the edges turn out to be smooth. On the reverse side of the bottom to connect the edges of the paper, consolidating them with scotch.
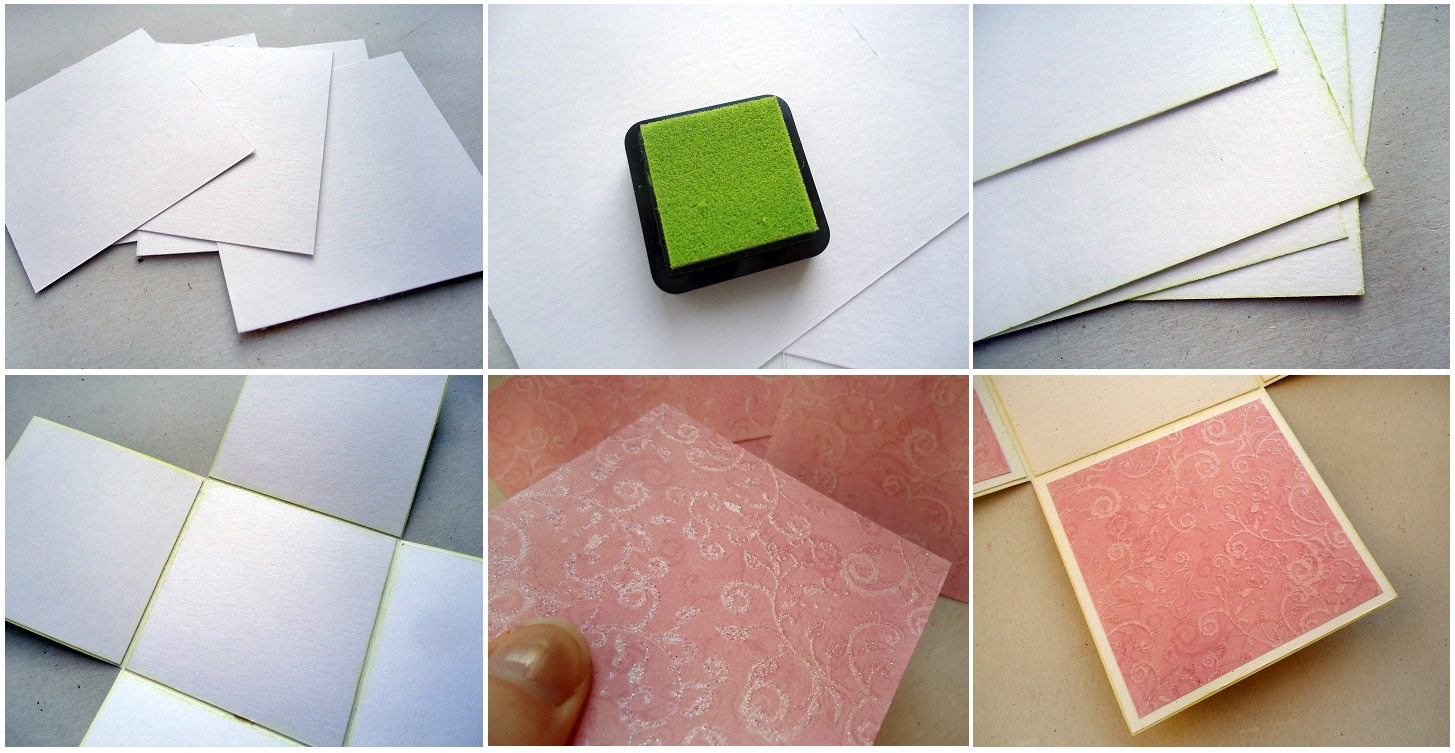
Creating a book
- The lid requires separate and important attention. Everyone remembers what the book looks like. Here is the middle of the sizes of 10.5 per 4 cm. The side parts cut into square (that is, 10.5 by 10.5 cm).
- Connect the seams by the usual scotch, and at the edges to put several bilateral scotch strips.
- Next, take dark color paper. Importantly, it at least 12 cm should protrude from the edge of the cover. We begin them by stencil. Why it is more convenient to use bilateral scotch, because the edges will immediately stick.
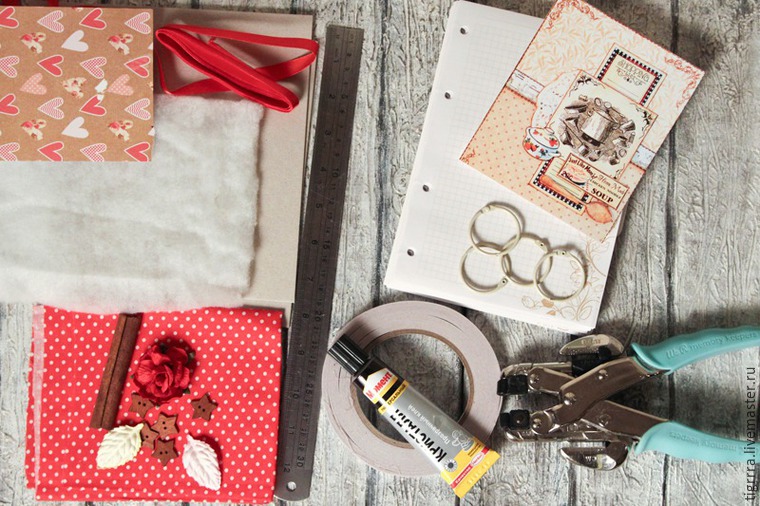
We continue to create
- Fresh satin ribbons (approximately 10 cm each segment), and we glue watercolor paper from above. Note that it, on the contrary, should be a little less template.
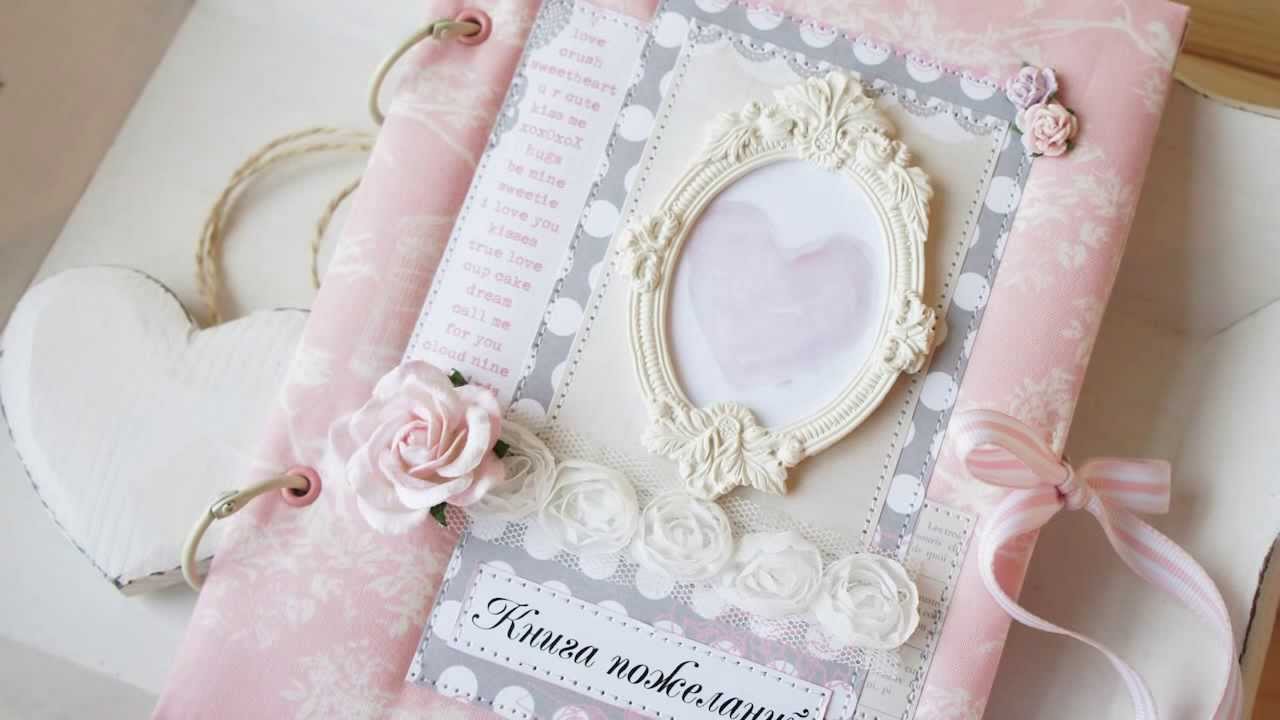
Ideas for registration
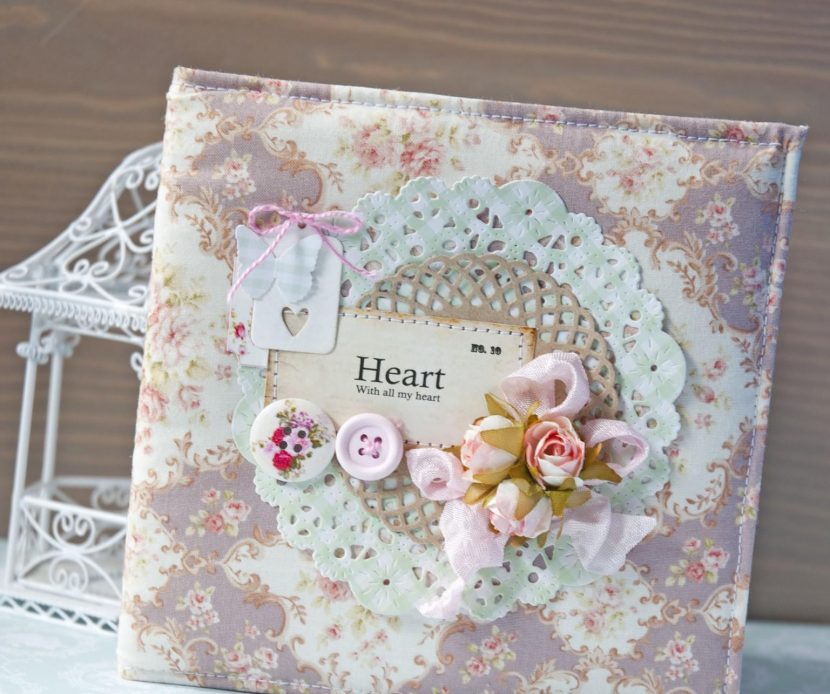
Ideas for registration
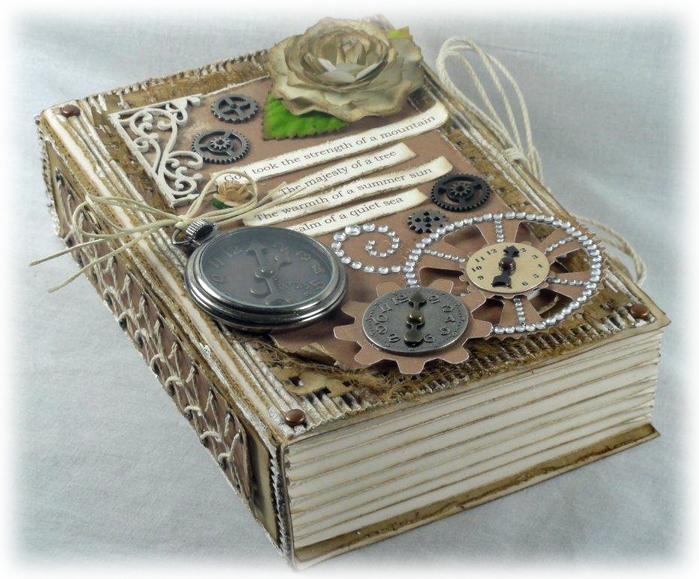
Ideas for registration
Ideas for registration
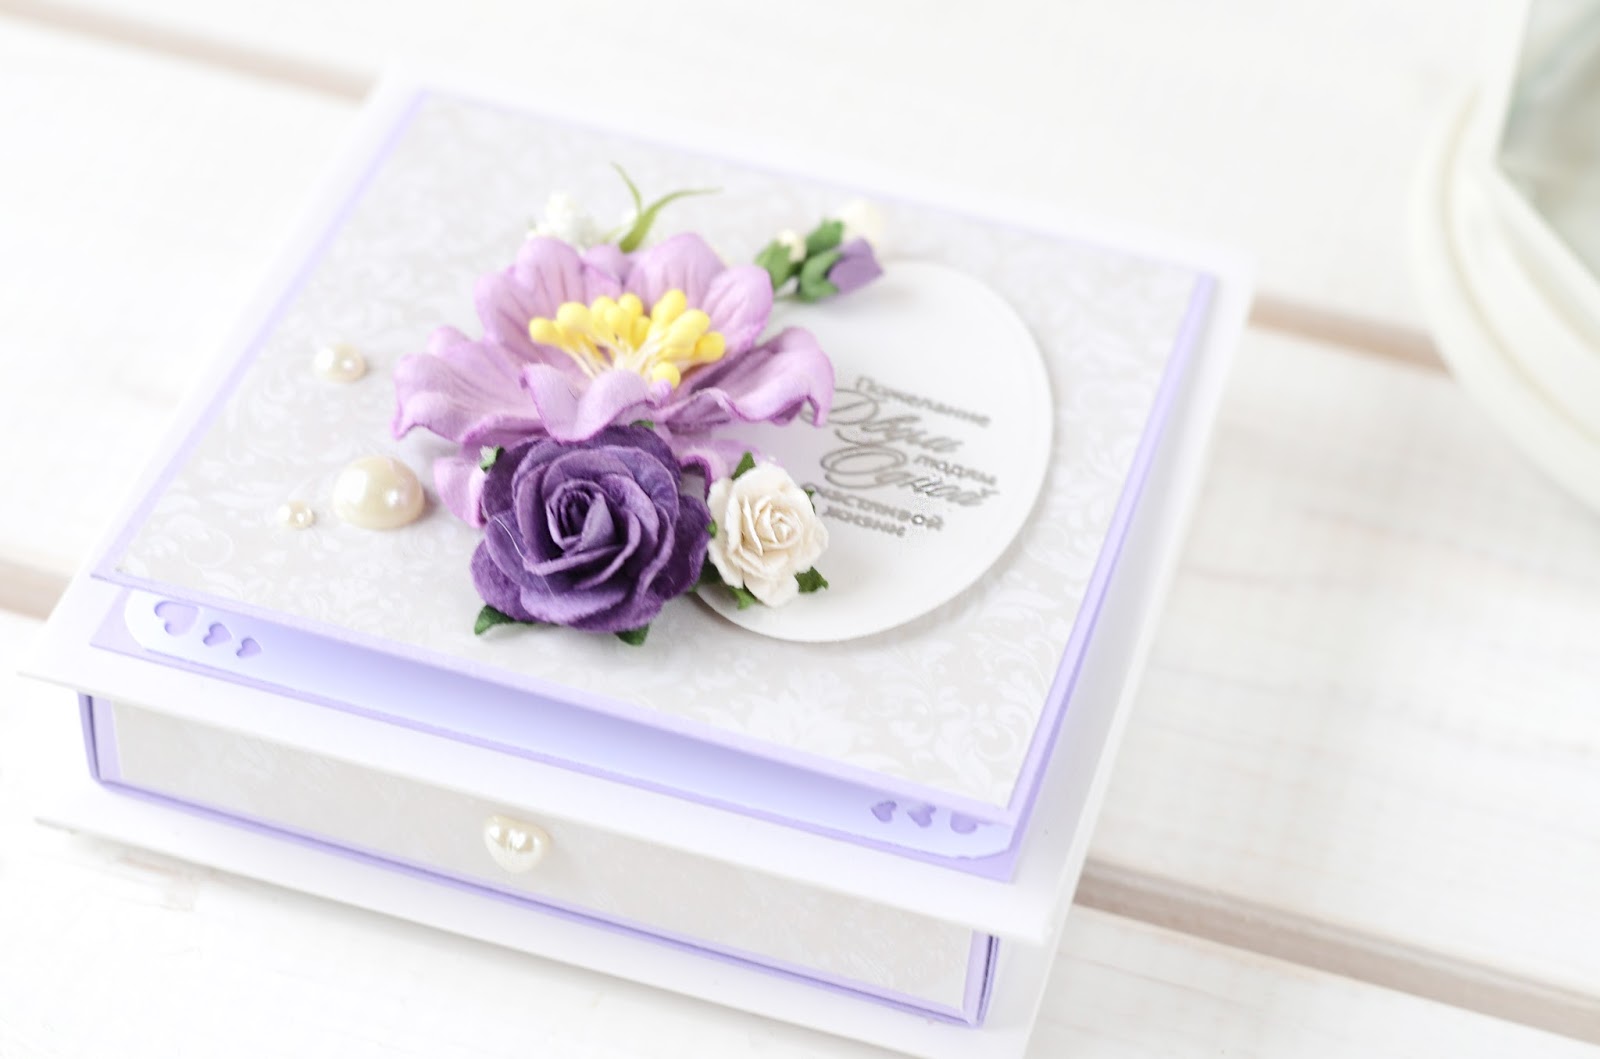
- We carry out the line "Crazy". As in a book. And it remains only to glue the box to the cover itself. Optionally, we decorate any gear materials (beads, flowers, beads or pebbles). But such an exclusive booklet looks elegant and without decoration.
Box for gift with lid: pattern, pattern
Patterns of boxes with a lid just a huge amount. Draw independently like templates very hard. Therefore, simply print the options provided and transfer to paper. Incidentally, patterns greatly simplifies the manufacturing process because all lines indicate folds and joining both sides together.
We want to offer a fast, simple, but very beautiful and cute version - round box.
We will need to:
- dense cardboard or one that is used for production of boxes
- paper decorations to your taste
- ribbons
Further:
- Cut 8 circles (equal magnitude) from the most decorative paper and paperboard. By the way, note that the cap should be a little bit more.
- A rectangle that will fit the diameter of the circle (height up to you) - this is for the most boxes. And the square of the relevant criteria for the most caps.
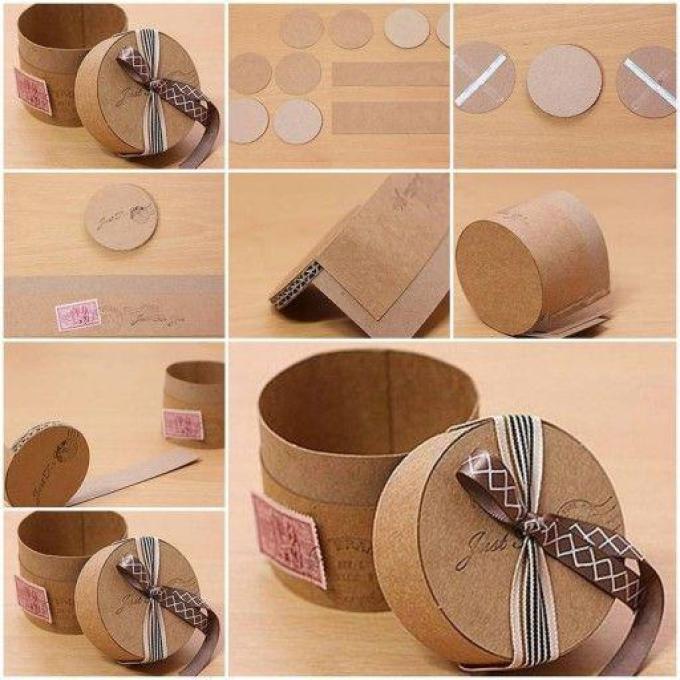
Creating boxes
- Glue two circles with each other and pasted on both sides of the beautiful paper. Two rounds will give the necessary height. After all, to their side of the base itself will be glued (or the height of the box).
- To help take better glue or double-sided tape. Side seams to do overlap and glue them together. The same actions done with the lid.
- She, incidentally, can be decorated with a satin ribbon in the form of a bow or use decorative flowers.
You can make a box with a lid made of felt:
- You need to cut 10 squares. Two of them are the basics. That is, the bottom of the very top boxes and lids. Bumpers can also be a bit smaller, from this will be the height of the hinge itself.
- It remains only to sew them together. By the way, the thread is better to take a contrasting color, and do not be afraid to make big stitches. Although you can connect them hiding seams.
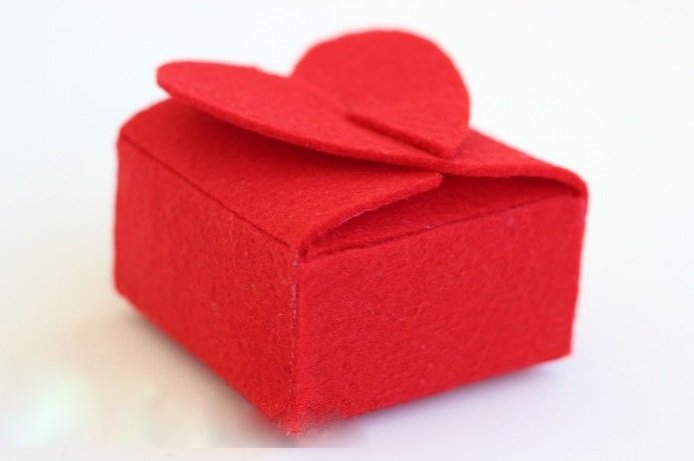
Box of felt
- Decorate it can be any decorations that you can put on the glue.
Little mini box for a gift of paper: stencils, diagrams
Mini-box can be made of heavy paper, or even a beautiful wrapping paper. After all, it is not intended for the storage of large or bulky items.
Its main task - this jewel of a small gift and a present decoration:
- A great option would be to box like a rhombus (but with concave edges).
- For its template is taken from the square which make triangles. That is, they look like that on the stencil.
- And dashed lines indicate fold lines. Self to draw a pattern like this is not easy, because each circle should be bent four times to the center. And they need to form a semblance of an equilateral diamond-shaped concave.
Creating boxes
- We can only bend along the dotted lines selected board. Box to hold with one whole structure, you must associate the ribbon.
- By the way, the tape thickness should not be more than 1 cm. And it needs to start with the four sides of the box itself.
You can make it even more simple manner in the form of a square:
- To do this, cut the pattern rectangle of paper. Between the two main squares will be a small distance of 2 cm. This will be the height of the box.
- This distance is cut off on both sides as much as themselves will bumpers.
- By the way, do not forget to trim the value and the very "cap."
Creating square boxes
- After that, it remains only to fold the paper along the lines. The result will come out a small box, which is a bit like an envelope and slightly closed lid. Its value can be the entire length of the square, and can serve like a rim.
- And be sure to tie the package with satin ribbon, which should also be the width is not large - about 1-1.5 cm.
A large box of cardboard for a gift: a template pattern
A large box can be a destination for serious and dimensional gifts. Therefore, it is important to choose the right material - thick cardboard. It would be desirable to stipulate at once that the box shape may be any - round, square or triangular. A box can decorate not only paper, but also to paste over with a cloth.
- To make a square box, you need to cut two big square (or rectangular).
- Also do not forget about the flanges of the box and the lid. Fix them, you can glue or tape. Because in the end, hack will still decorate.
- Do not forget that the cap must be slightly larger base.
Boxes holiday
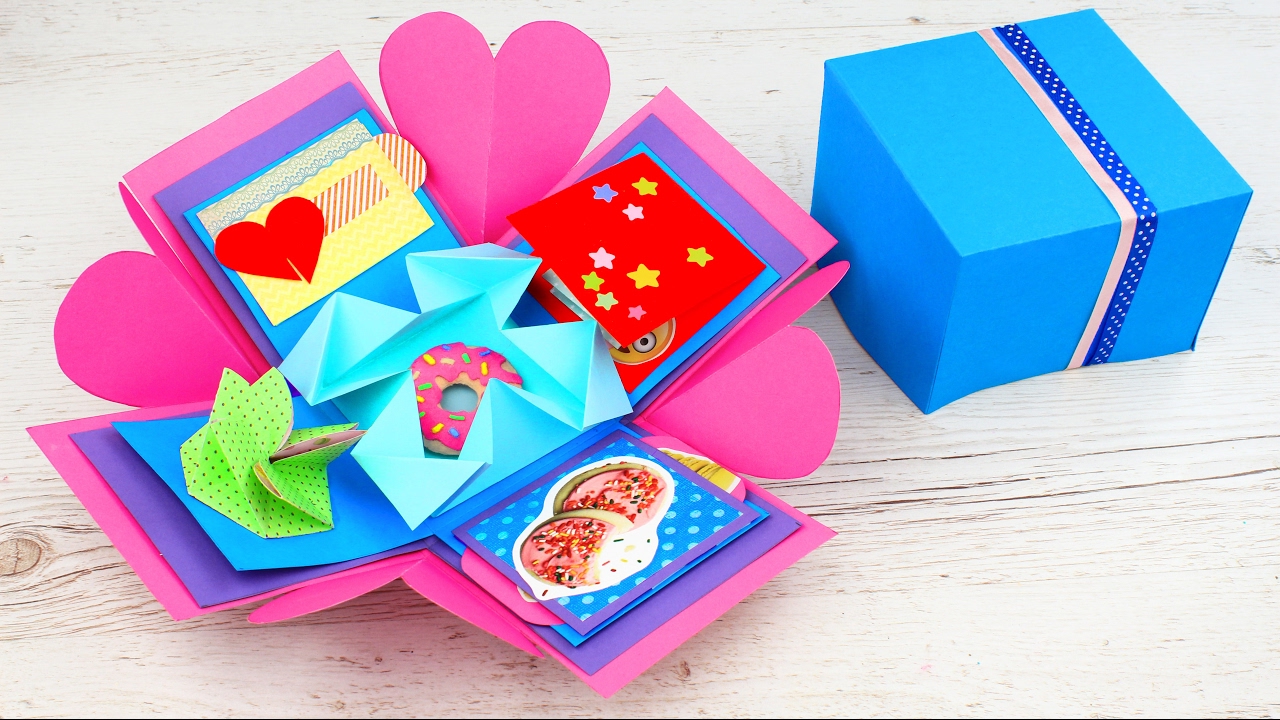
- If you plan to use bright and colored paper or cloth, you do not need additional decor. Simply tie her bow. Incidentally, the tape width in this case may be about 5 cm.
- If the box is executed, one-style, then you can just use a contrasting tape. Or attach to cover any scenery. By the way, with a good mount, they will be able to act as a handle.
Above, we have described how to make a round box. According to this principle can be done easily and large box. In general, as your heart desires. And, by the way, in such a nice box will then store some of his personal belongings.
Box for gift with regards: the description scheme
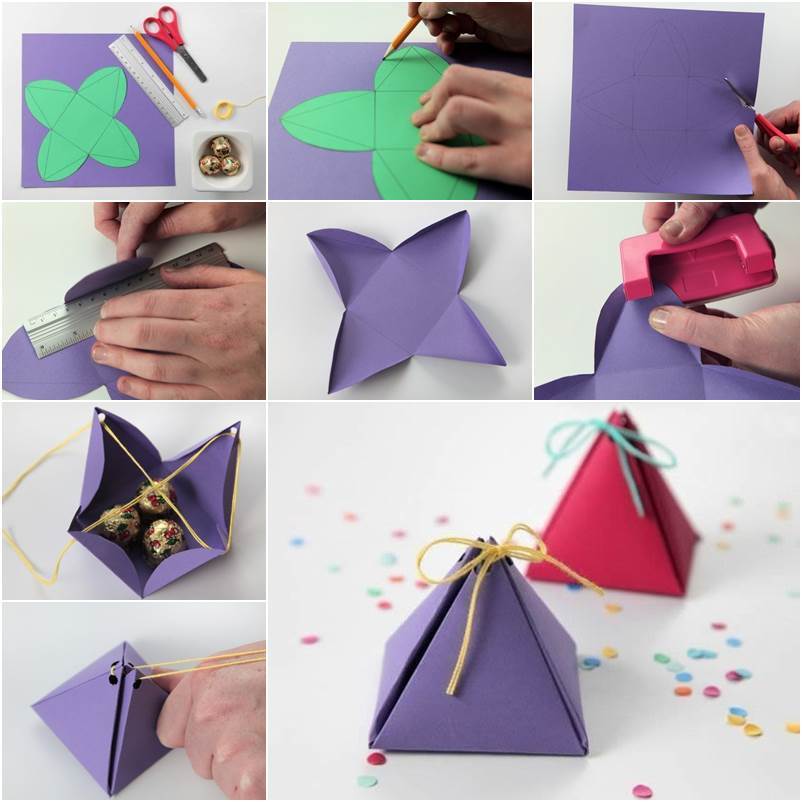
If you want to box, not only as a package, but instead of cards, then these guidelines will help you. Again, same shape, you can choose any, but we offer an option in the form of a pyramid.
After all, it is very simple and quick to do. As a basis to take better color (two-sided) paper, but the fit and moderately thick cardboard.
- Draw in the middle a small square. The dimensions of the box itself will fully depend on its size.
- Next, from each side, we draw equilateral triangles.
- And already from them, from every corner to the tops, we make roundings. It is necessary so that in the collected state the box had a presentable look.
Pyramid festive
- Severed with the help of the line all the resulting lines.
- Do not forget to do on four vertices holes for a ribbon or lace. After all, the pyramid should somehow hold on.
- In principle, it remains now only to collect the design "to the heap". Watch the bottom to remain smooth.
- Additional decoration is not needed. Since the packaging will be too cumbersome. And then you can put a small present in the form of chocolate candy.
Gift box with surprise: scheme with description
Such a box will not only be a wonderful gift for a child, but also for an adult. And on April 1, in general, it can become an indispensable attribute. You can use any colorful or frightening (for example, on Halloween) pictures, be in the form of emoticons or have pleasant wishes.
What you need:
- tight cardboard
- any stickers or pictures
- hairy wire or soft spring
- ruler
- pencil
- glue
- scissors
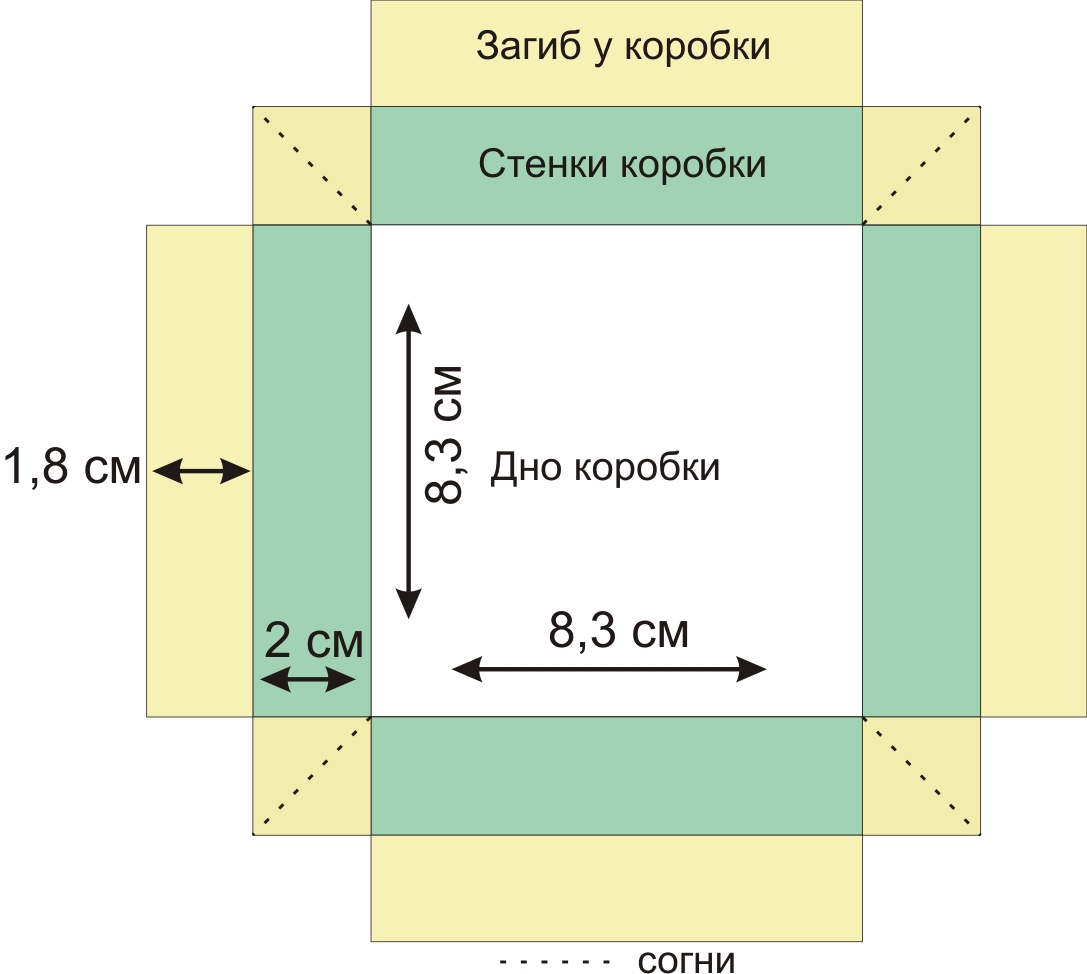
Diagram of creating boxes
- We draw the square of the required value. For such a surprise, it is enough to take the basis of 8 to 8 cm. But you can take a greater or smaller dimension.
- The first square will be the basis or bottom of the box. From him, on each side, I draw another one to the same square. These will be our walls of the box.
- Do not forget that you still need to approximately 2 cm bend from each site.
- But! On the front and rear walls is a single line, which will be at the top (as if the continuation of the square is 2 cm).
- But on the sides you need to add from three sides. And on two edges, you will need to cut the angles (which are located on the side of the square, and are not a continuation).
- Cut and bend all lines. It remains only to fold them on the resulting stencil and glue the edges with each other.
Now we will deal with a lid:
- Its dimensions will be slightly more, just 0.3 mm. That is, we need a square size of 8.3 cm.
- We postpone from it on each side two centimeters. These will be sides.
- Do not forget that the sizes of the side should correspond to the width of the square. Extra squares in the corners do not cut off, they will be required for bend.
- Next, we are laying off the segments that will be equal to the width of the bottom of the cover, and the length will not exceed 2 cm (the ideal version will be 1.8 cm).
- Similarly, cut, bends the line. Pomnetsya small squares in the corners? Here they need to be folded in half diagonally. Bend all the edges and bends the lid taped every part PVA glue.

Ready result
Now the scenery:
- The wire will need to twist in a spiral to create additional rigidity.
- Incidentally, the aid will be penlight batteries or ordinary pen (but then will a smaller diameter).
- One end is fastened to the bottom of the box and fastened to the second drawing.
- Ready! It remains well close the box. By the way, note that the spring must be pushed after removing the cover. Therefore, calculate the required length of it.
How to make a box for a gift on Valentine's Day, February 14
To prepare a gift box for lovers, just run it in the shape of a heart. No, it is not difficult. Simply cut out the template you want.
It is possible to use any of the above techniques. For example, you can make a box with a lid in the shape of a heart. It is similar to the embodiment with circular or square base.
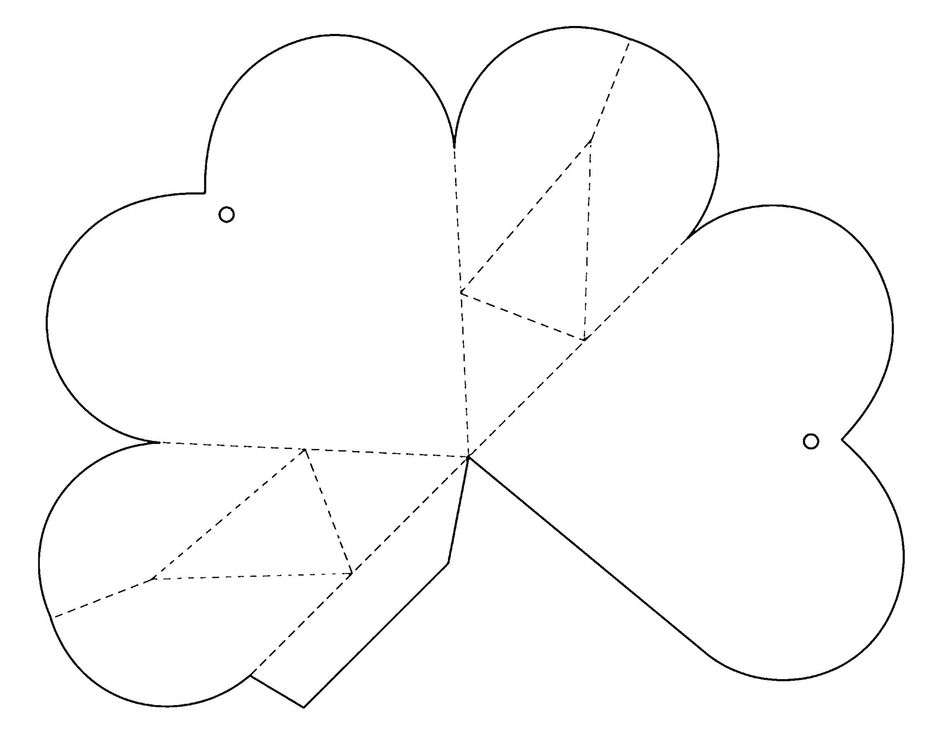
box heart
- Decorative excellent option is the right color. Yes, it is advisable to do it in red. But it can be combined, for example, white or golden. In principle, you can use any color. Just keep in mind that:
- red - the color of passion and love
- but the yellow, for example - the color separation. Therefore, it is better to refuse from
- You can decorate the box with red (or other colors) hearts. Especially, if the base provides another form. Most importantly, keep in mind that there should be a contrast of colors.
- Over the same bright and big bow. This is the highlight of any package.
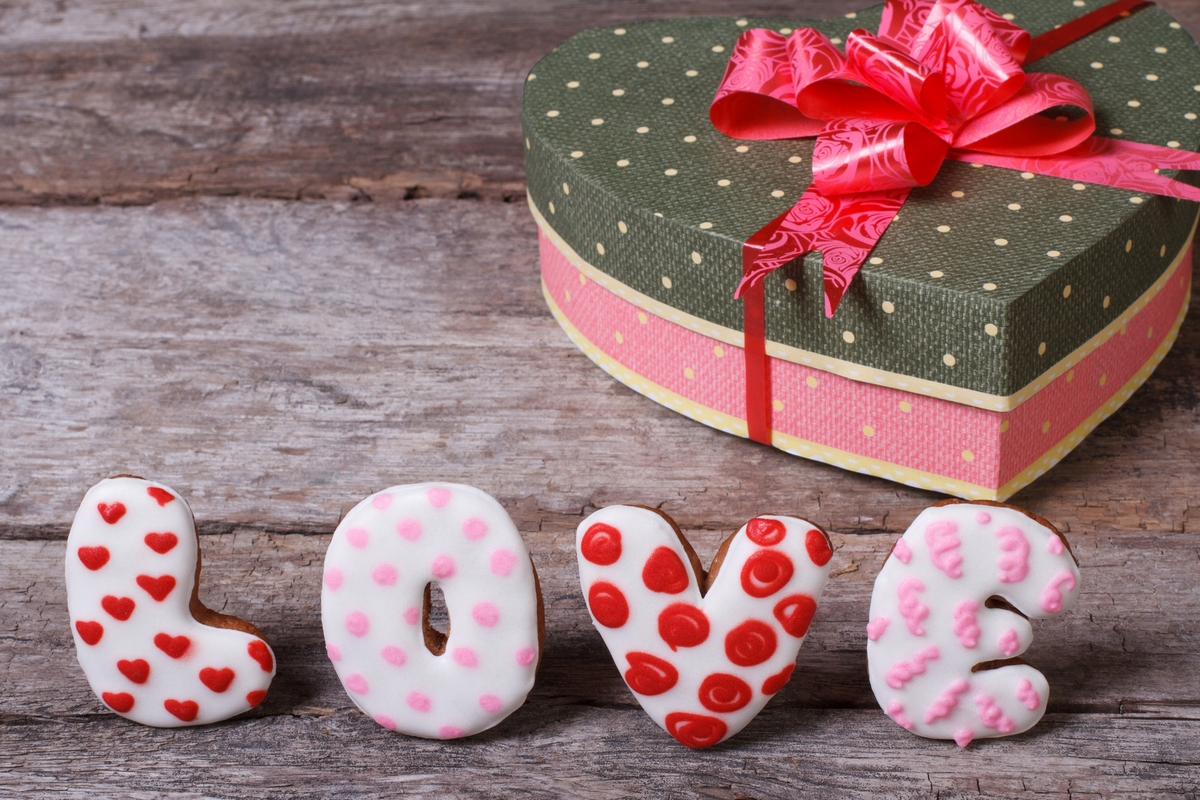
Gift for Valentine's Day
- You can put applications from the word "love." By the way, in the English language will be interesting to watch.
- Do not forget about the flowers, especially if the gift is for a girl.
- By the way, dear angels, or Cupid perfectly complement the package on Valentine's Day.
How to make a box for men's gift on February 23?
Many believe that men do not need additional decorations. But do not forget that any representative of the stronger sex would be pleased to receive a gift from his beloved, if it is decorated with his own hands. And yet, the man - a grown-up children. No, it is not necessary to do a cartoon box, but the exclusive and interesting each box is like.
- Contents can be commonplace in military subjects. That is, just take the corresponding paper coloring.
- It may be supplemented, for example, shoulder straps or red stars.
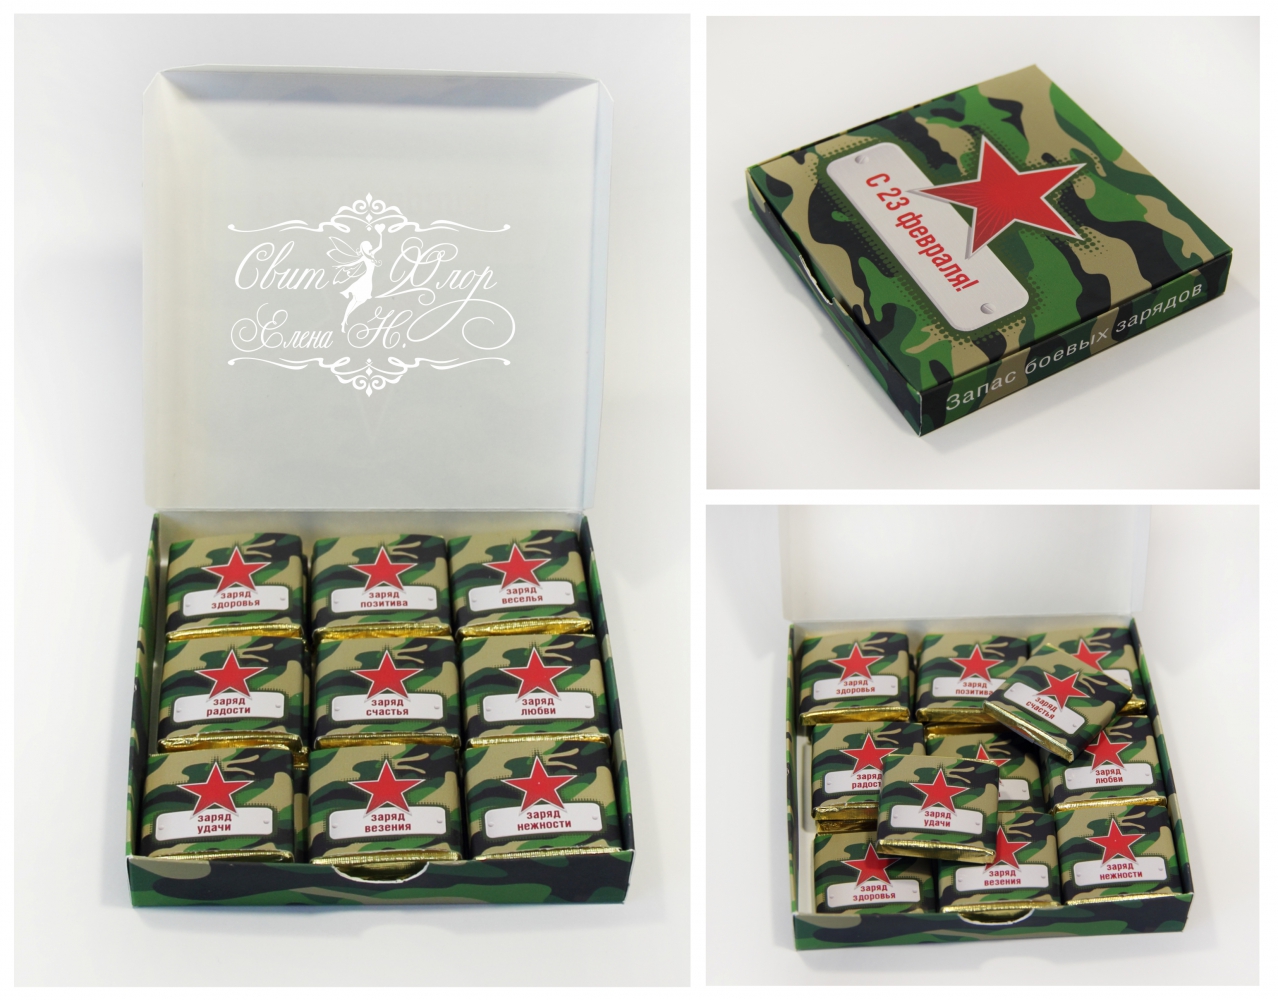
Gift for men
- You can make a box in the shape of a star, using a special stencil.
- If you enable fantasy and imagination, you can make a tank with a box. Of course, this will require even additional remedies.
- Recently, the decoration of male gifts with a paper shirt with a tie, butterfly was very popular. Yes, it looks very interesting.
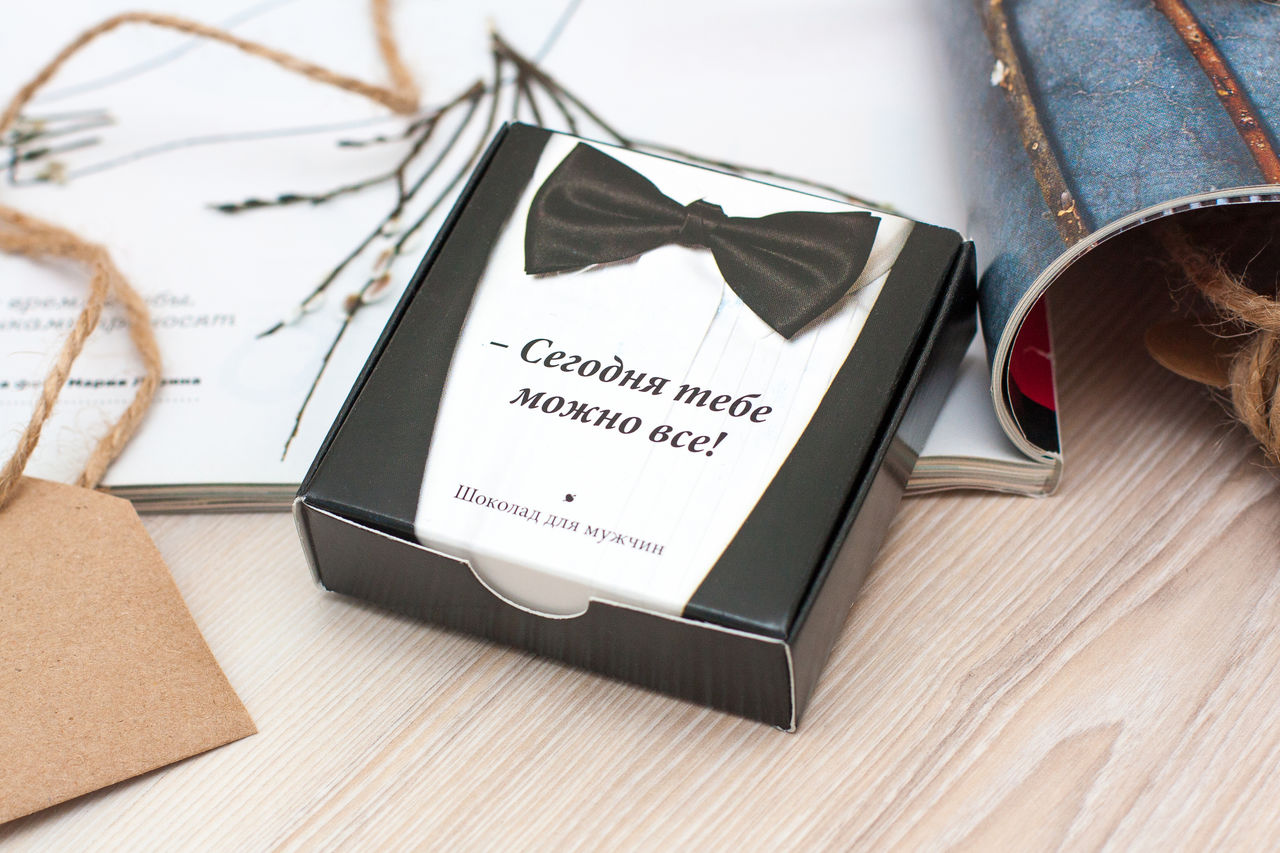
Gift for February 23
- But you can make an elegant box. It is better to make it on the technique of scrapbooking. An important nuance is a black fracture. Of course, it is necessary to add it a white shirt, and a red butterfly will become a wint.
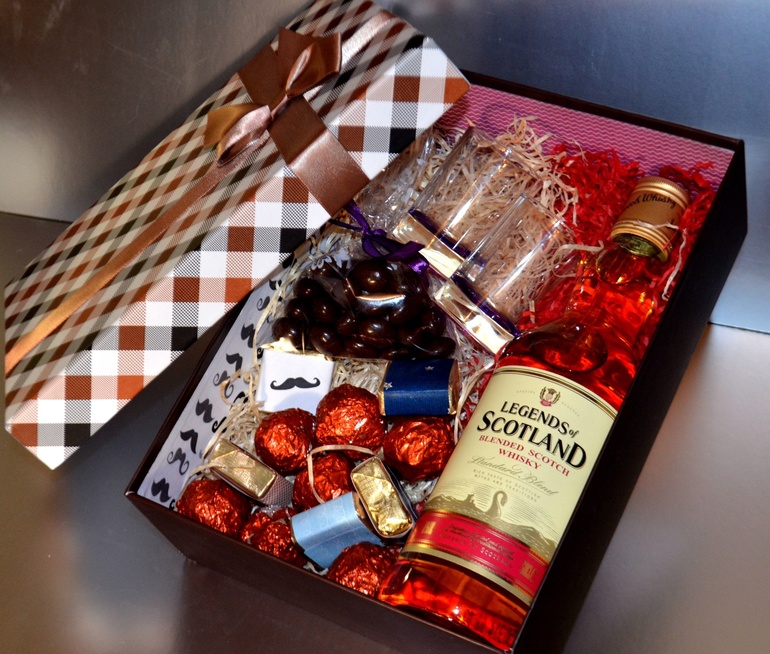
It is also important to fill
How to arrange a box for a female gift on March 8?
In principle, for the female gift of fantasy, there is simply no limit. On March 8, any scenery, ranging from pebbles and beads, and ending with even alive flowers.
- The easiest way - is to take a giant peony with crepe paper and glue it on the cap itself.
- Or replace it with a chamomile, a rose or any other flower.
- You can make a whole composition, combining small and large flowers. By the way, you can add twigs and leaves to them.
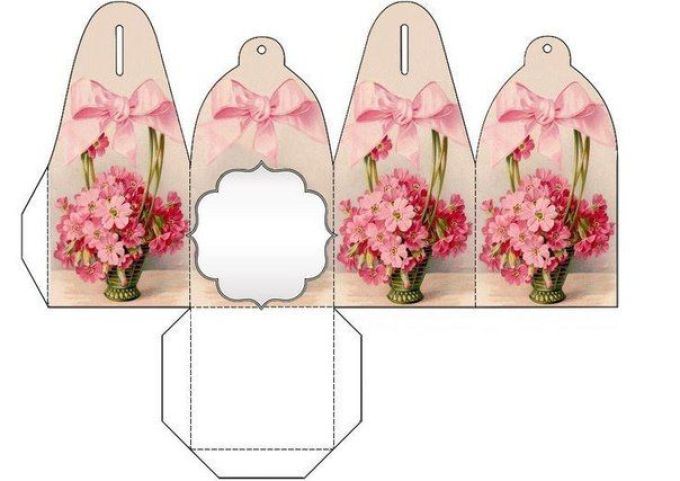
Box with flowers
- Flowers can be bought already ready in specialized stores or prepare independently of paper. And if you want to completely make a box unique, then add real colors for the decor.
- The butterflies will look great on the box.
- Do not forget that the flowers can be not only in the form of appliqués, but also drawn.
- You can also make appliques from corrugated cardboard, beads, beads and pebbles.
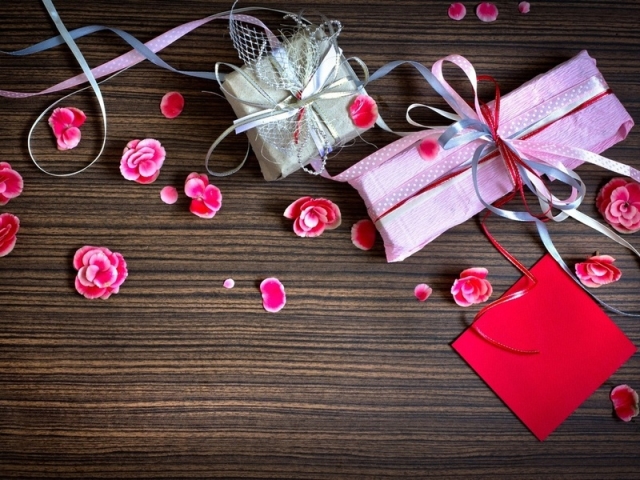
Composition of paper and ribbons
- And in conclusion, decorate the whole big bow.
How to arrange a box for a wedding gift?
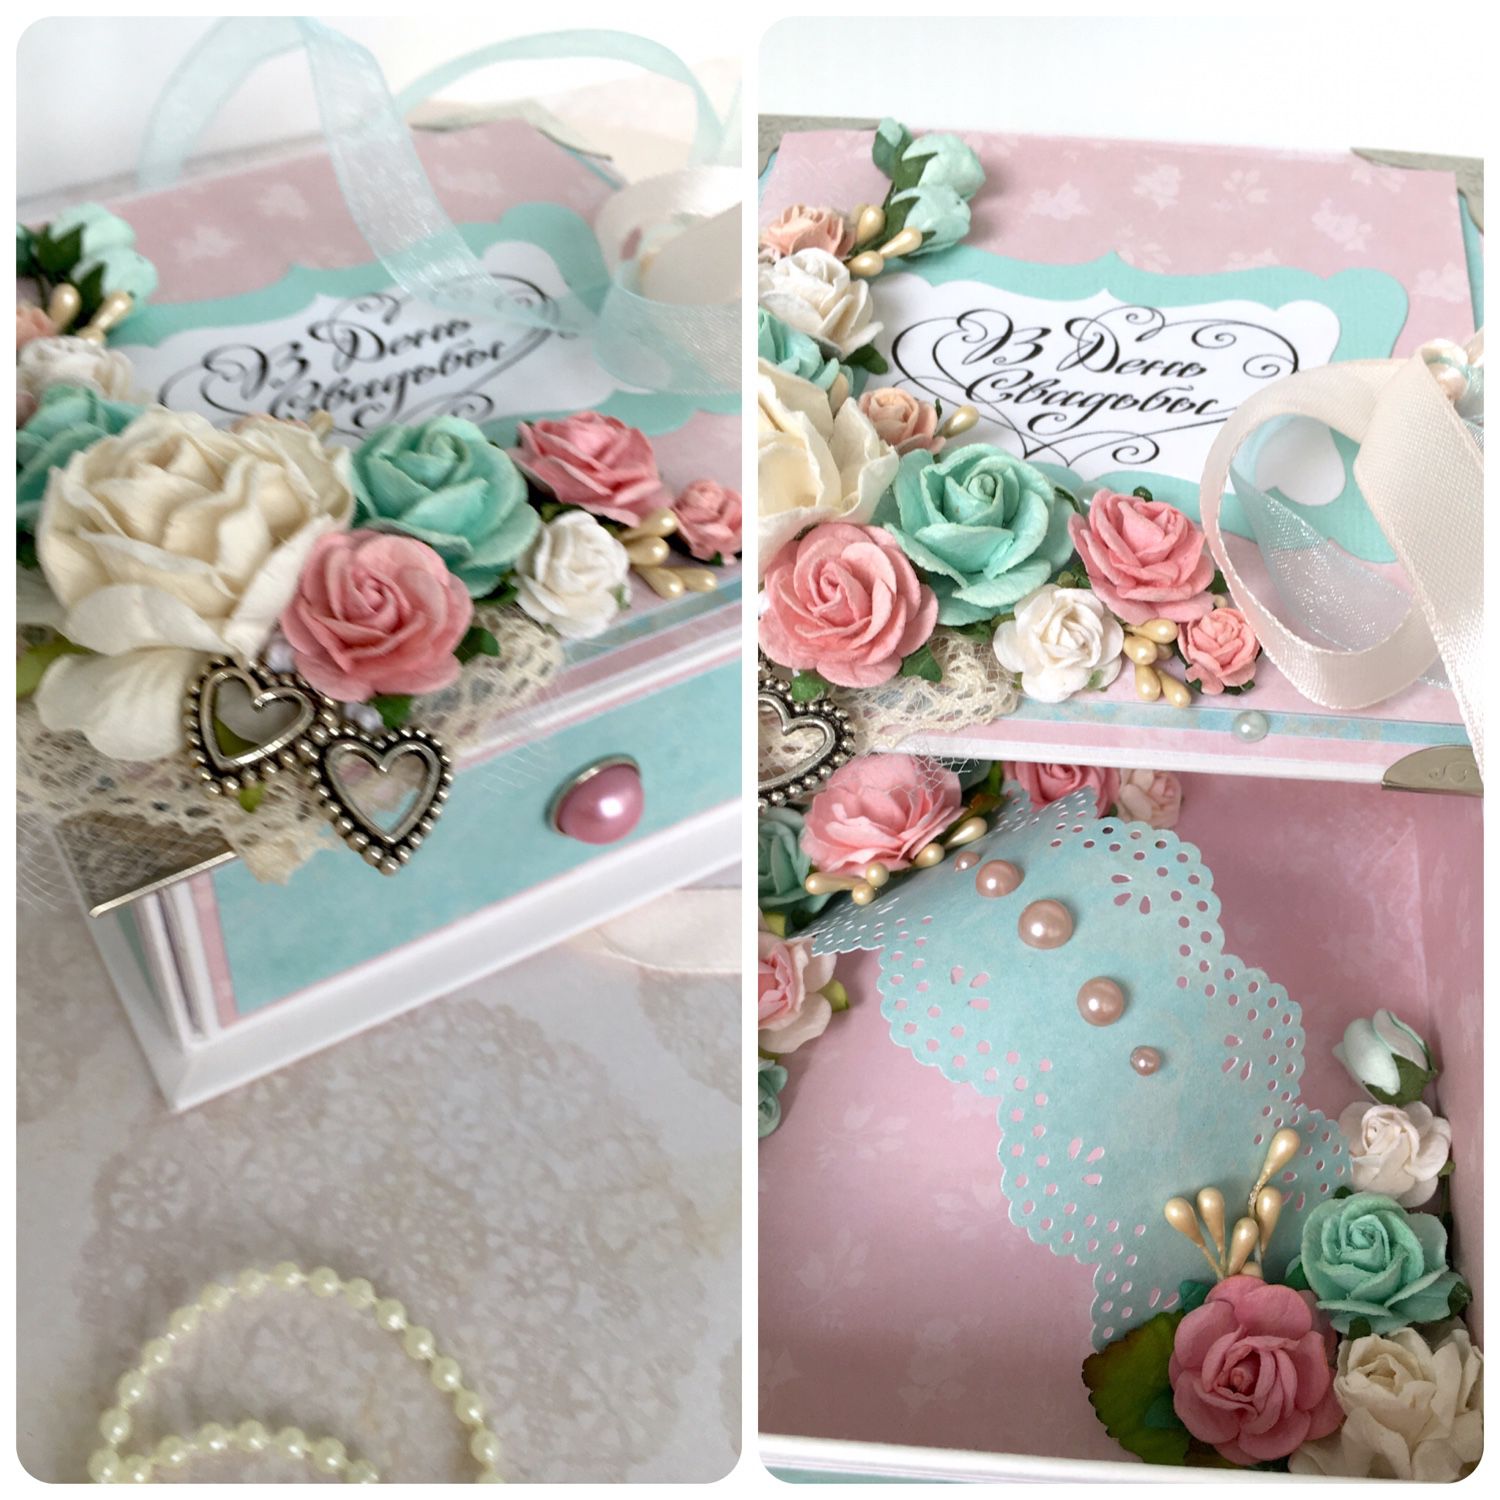
About wedding boxes I want to say only one thing - just and tastefully. Yes, for this day is better to use quiet and bright colors and decorations themselves should be the minimum amount. An ideal addition will be only a satin ribbon (by the way, do not take too contrast tones) and several beads in the middle or just use a neat bow).

Boxes at the wedding
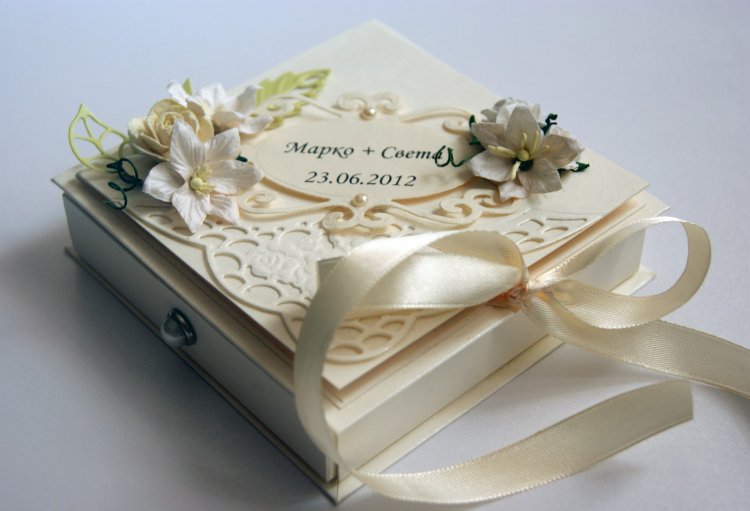
Boxes at the wedding
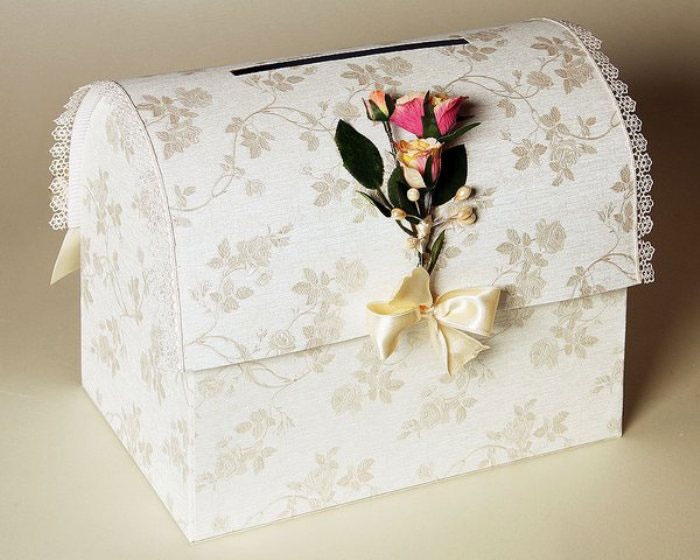
Boxes at the wedding
No, you can take any colors, and the scenery themselves even use, for example, in a cartoon style. The main thing, consider the tastes of newlyweds and do not forget that this is the most important day in their lives!
How to arrange a box for a monetary gift?
In this matter, it is also not necessary to make a funeral box. The main thing is to fulfill it in any technique in the form of the bill itself. After all, the bent paper, even with a large denomination it will look not very attractive.
- If we give an anniversary, a wedding or birthday, then it will be, by the way, make the appropriate inscription. By the way, it does not necessarily make a pen and a beautiful print on the curved paper (in the sense, with patterns).
- Alternatively, the inscription can be made from ribbon fats or small beads.
- And you can use the usual glue. Yes, make an inscription from PVA, and to sprinkle with glitter on top.
- You can also use flowers and bows, but they must be small. After all, the box is not too overall.
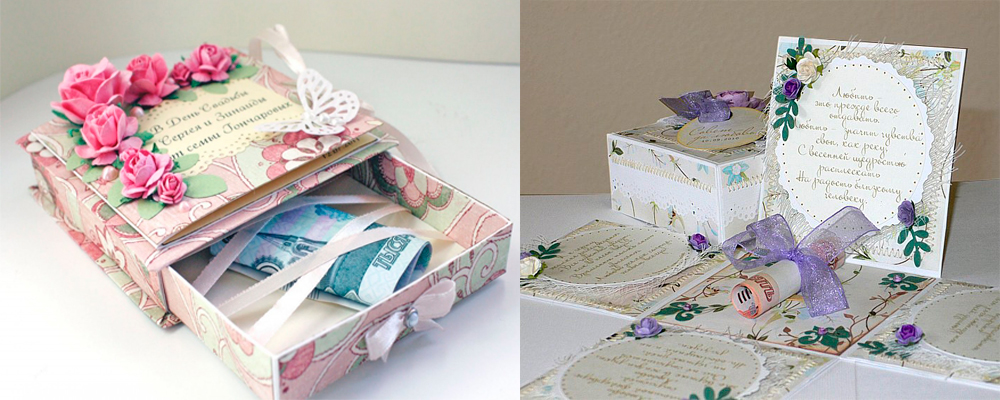
Box for money

Box for money
- You can depict the page of the book on which the applique from the butterfly sits.
- Alternatively, you can draw a dollar sign.
- And very extraordinary will look a fun decorated box with a surprise. Yes, and instead of emoticons or pictures to attach the necessary bills.
How to arrange a box for a birthday gift?
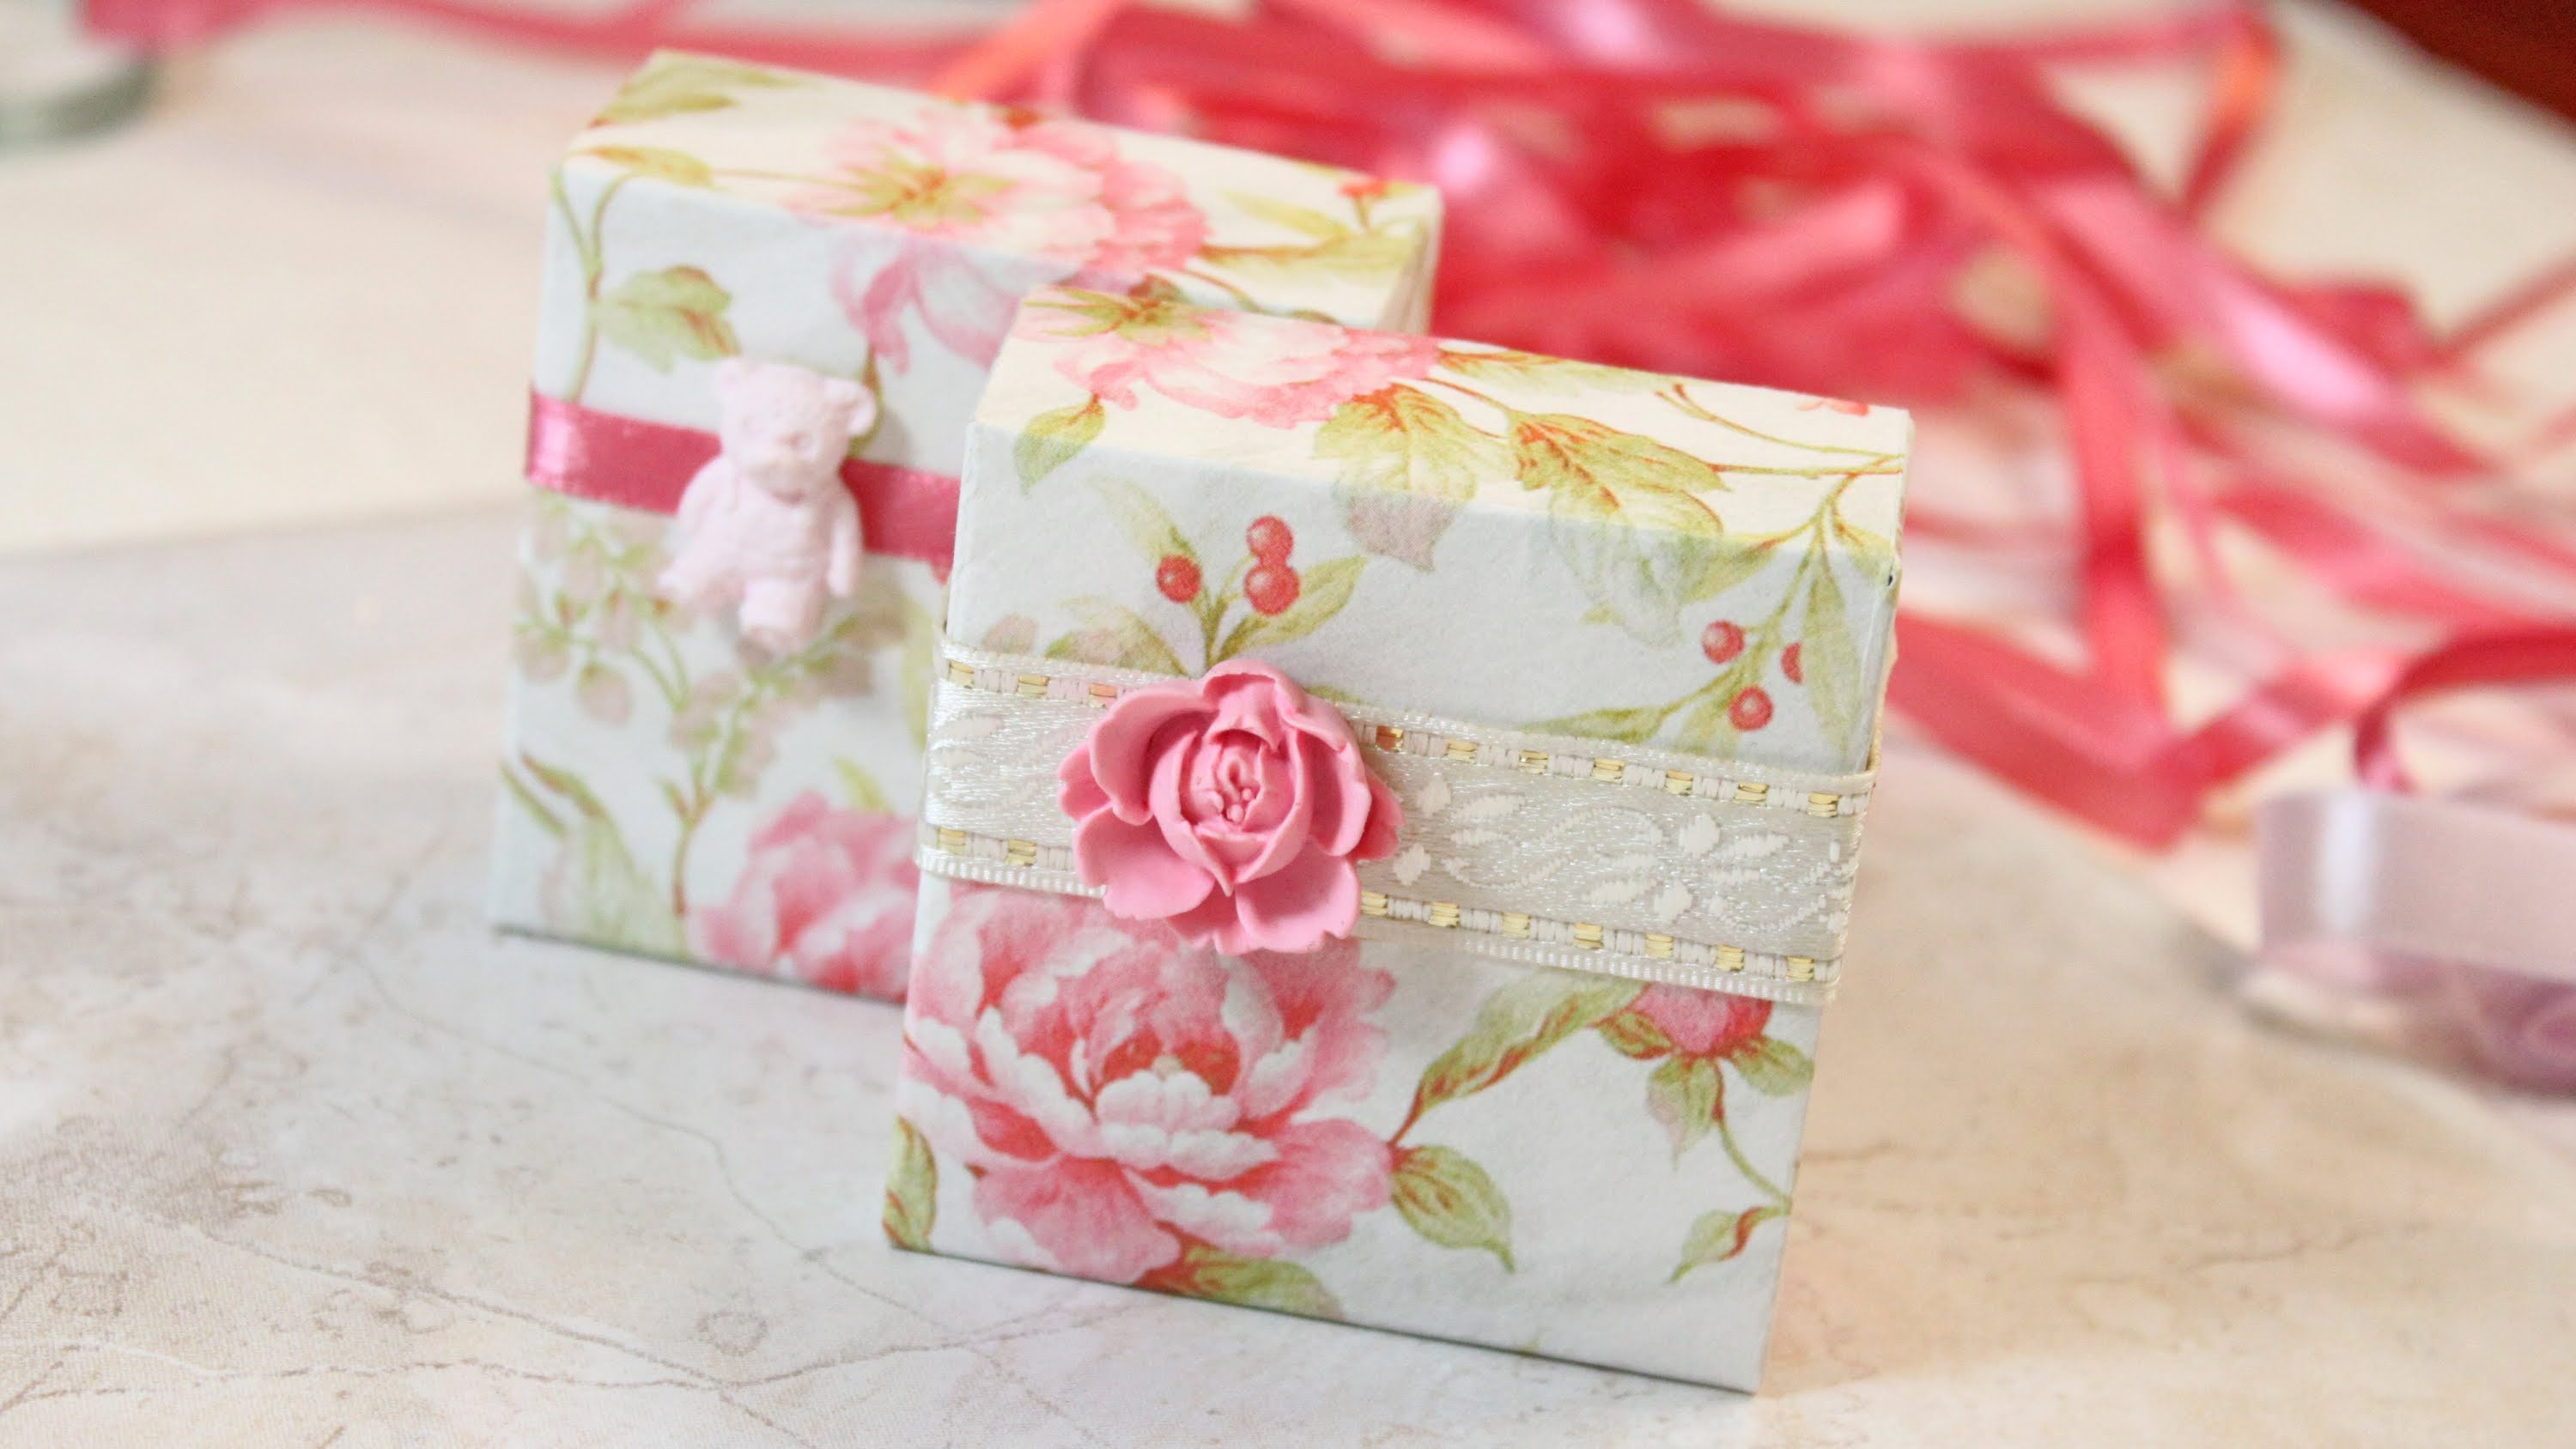
For a birthday box can be absolutely any shape and color. Decorations can be simple and low (you can do just a bow), but you can come up with unusual applications.
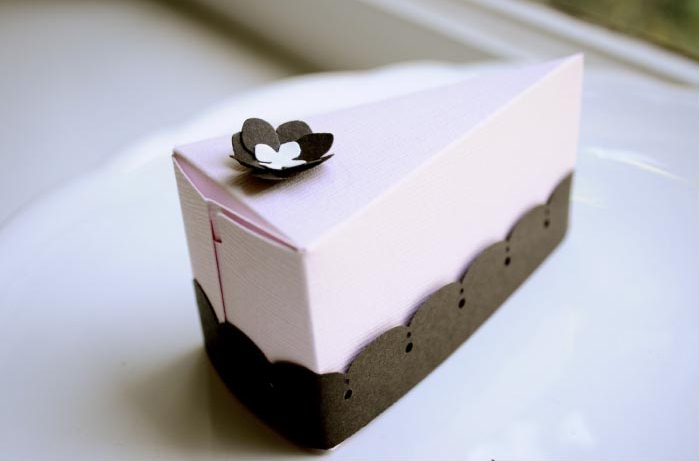
Original Birthday Boxes
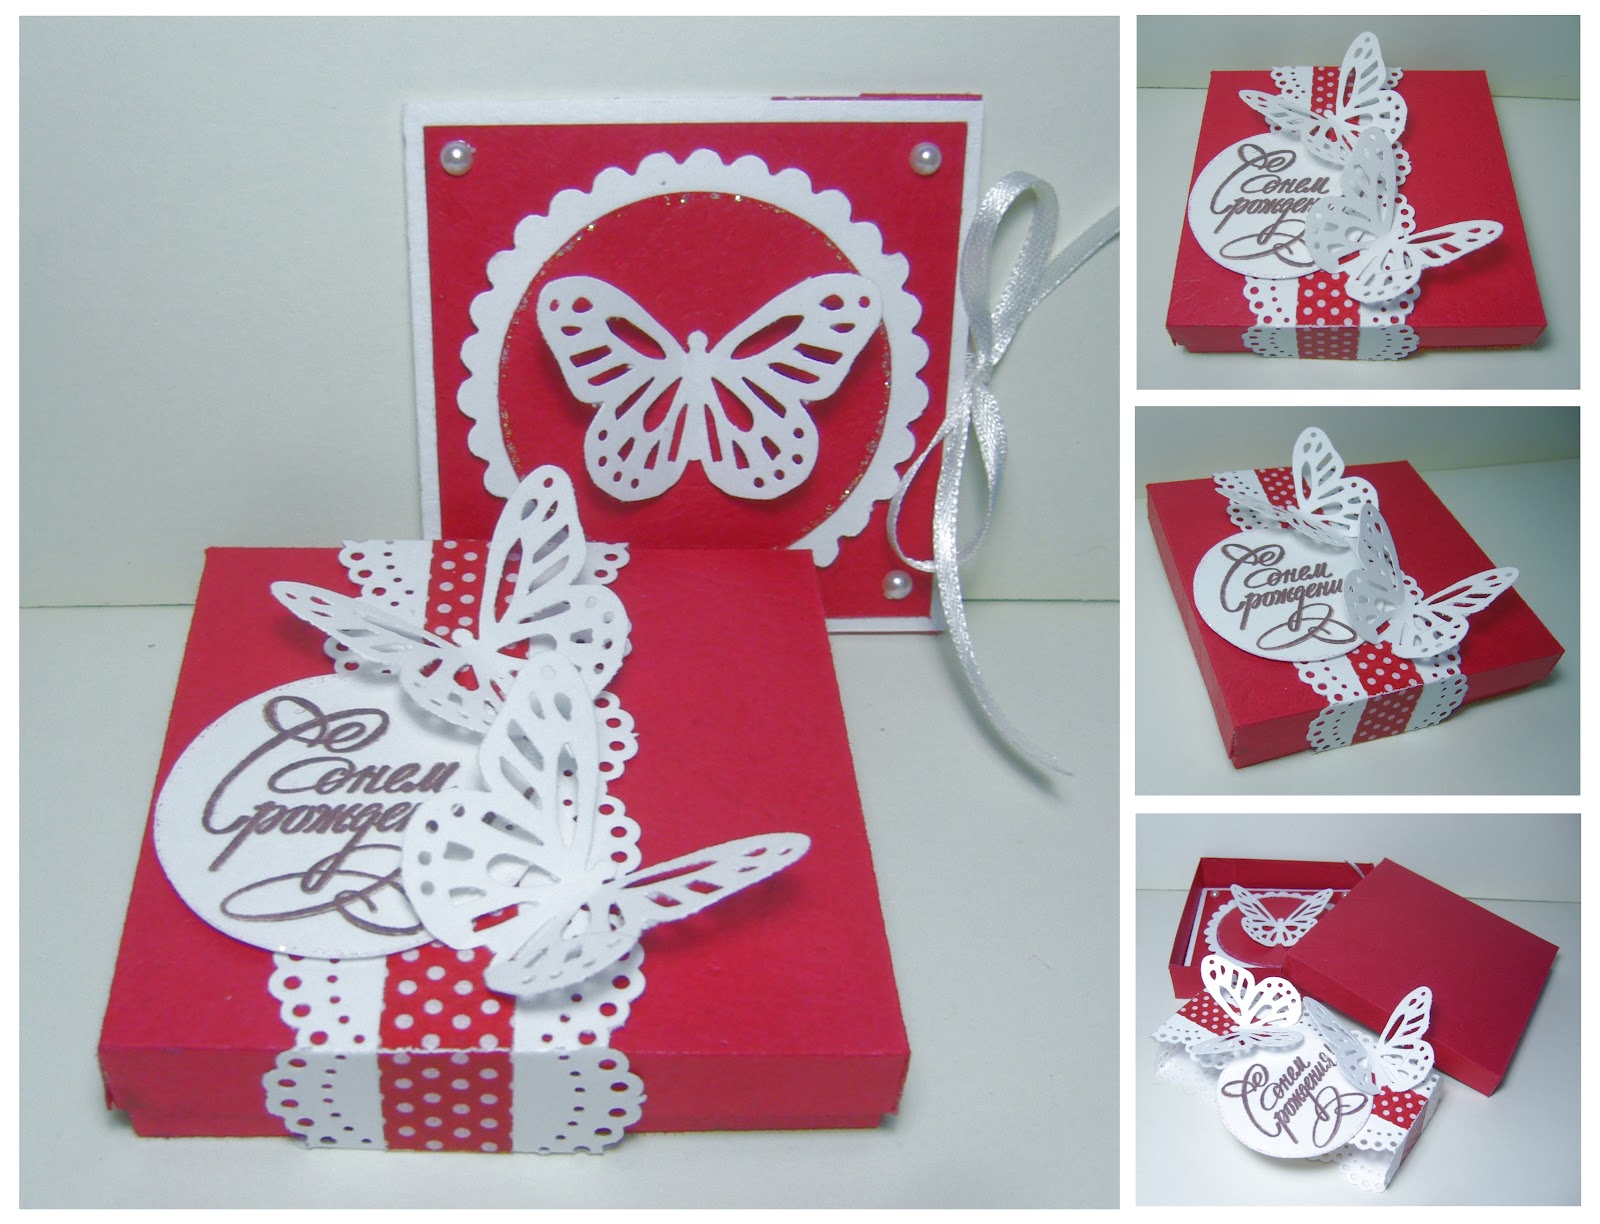
Original Birthday Boxes
Original Birthday Boxes

Original Birthday Boxes
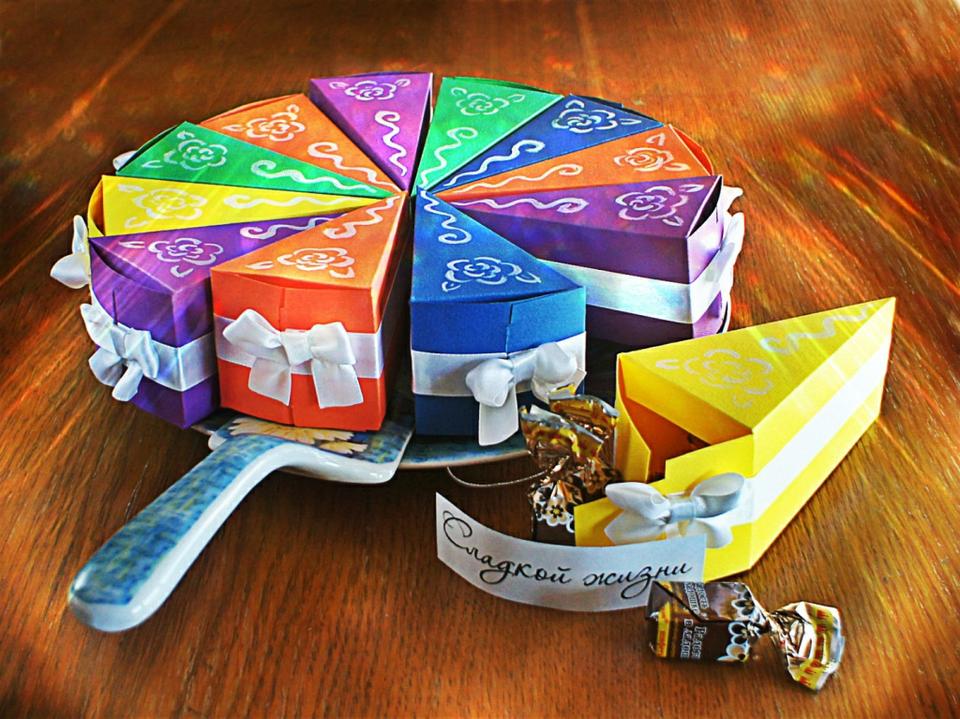
Cake from gifts
Mainly, consider what floor the birthday party belongs. By the way, the box will look very original in the form of a piece of cake. It is enough just to cut on the template.
How to arrange a gift box for the new year?
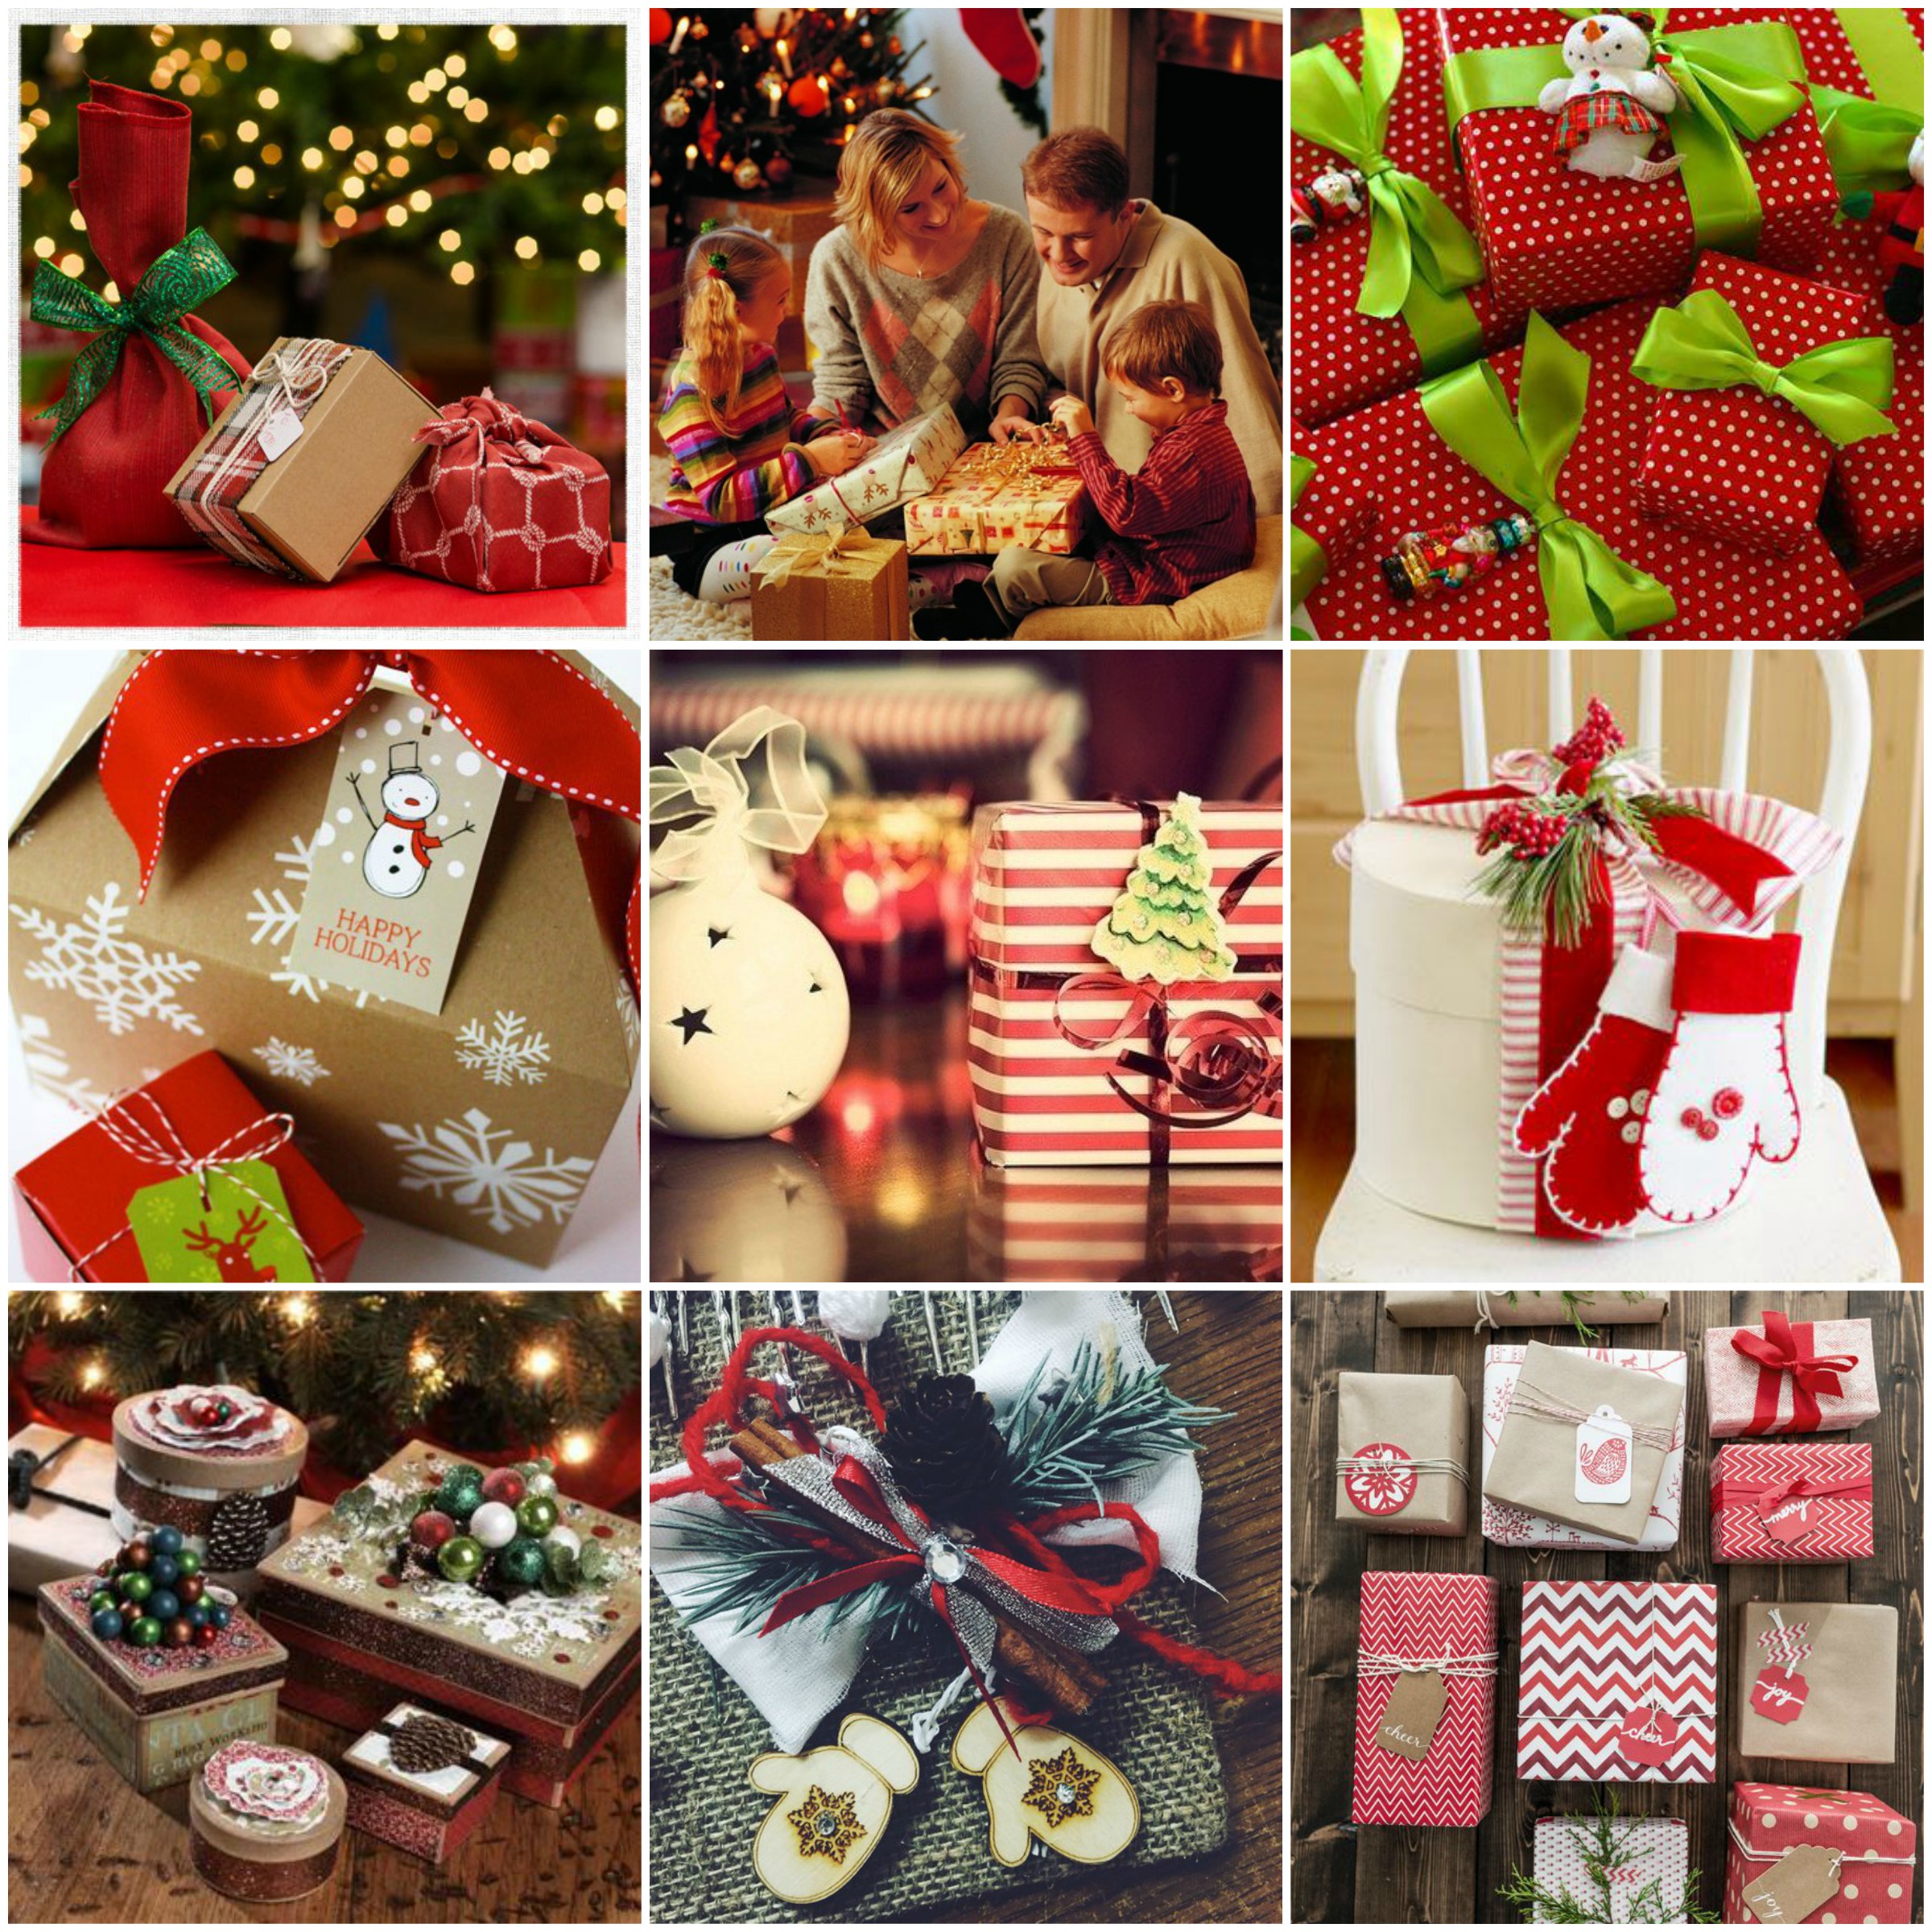
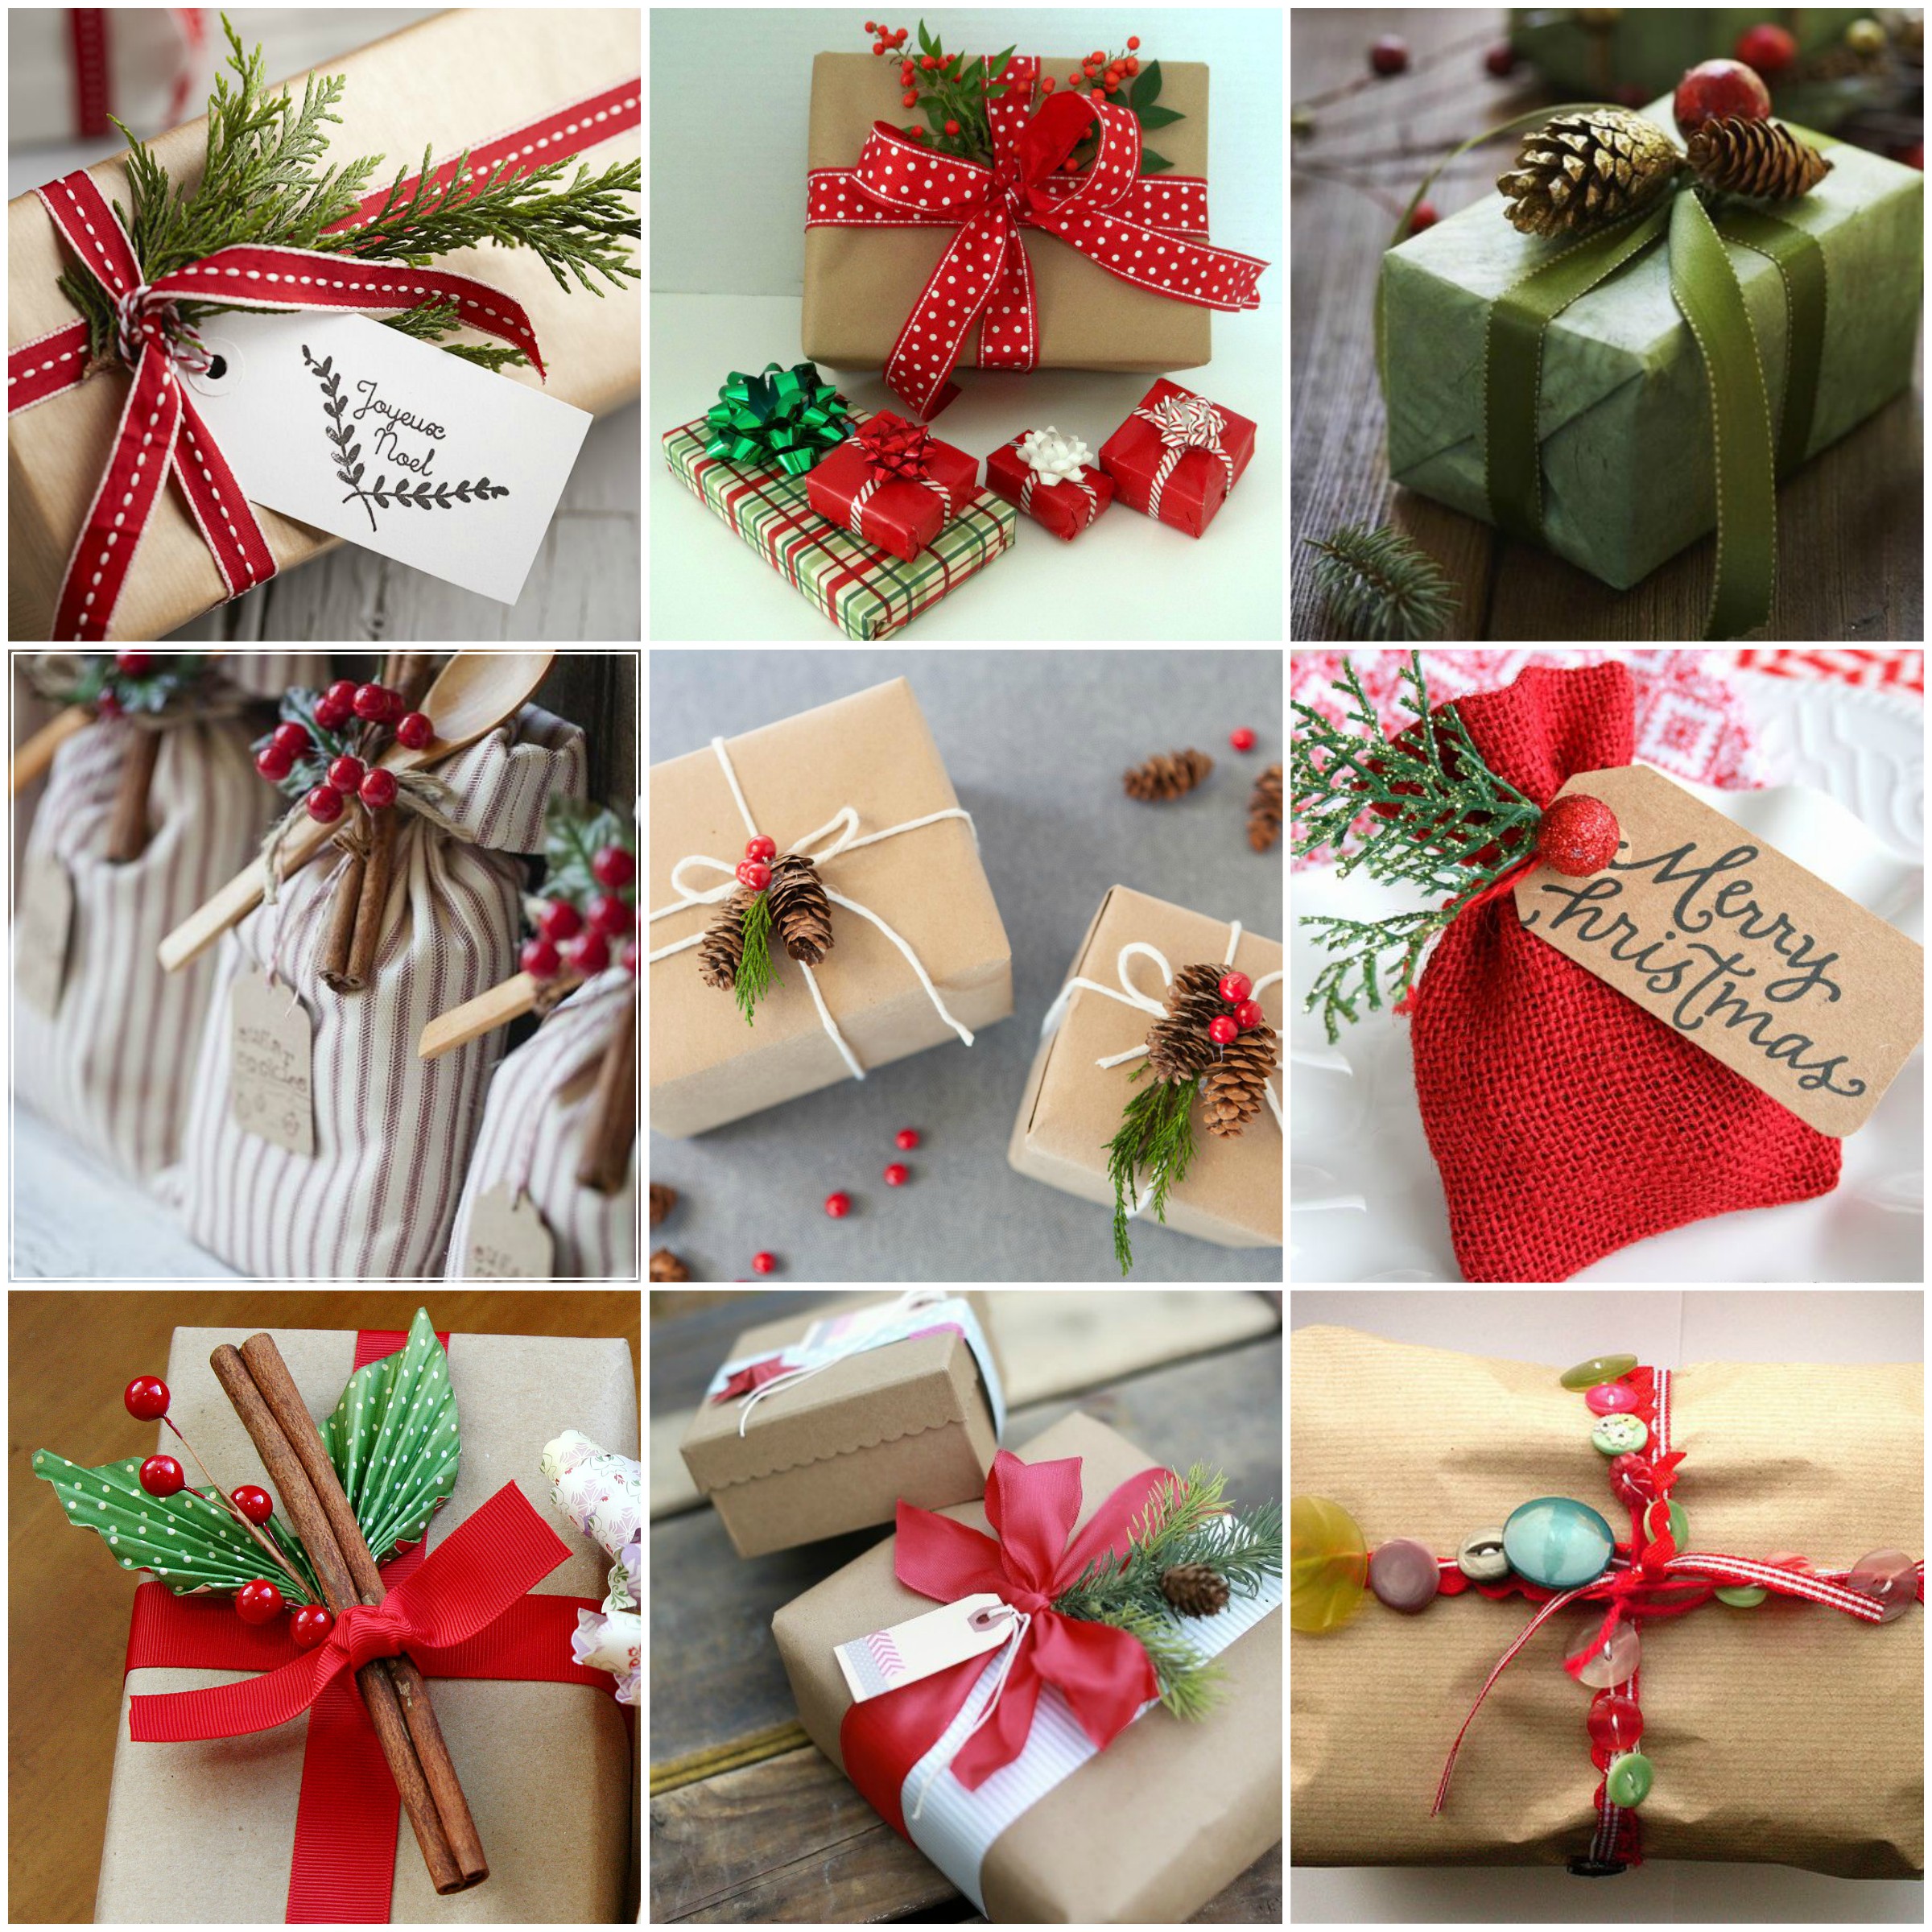
For the new year, fantasy can go to dance waltz. The main thing is to convey the most pre-New Year mood. After all, we, even as adults, we wish to get at least a small miracle for the new year.
- If you want, you can perform a box in the form of a Christmas tree (green, naturally).
- And you can decorate a box of any shape just a bright Christmas paper, decorated with a big bow.
- For applications, spruce cones (or pine) are perfectly suitable, you can, for example, cut out Santa Claus from felt.
- You can cut snowflakes, deer or christmas toys from contrasting paper.
Ideas of boxes for the new year
Ideas of boxes for the new year
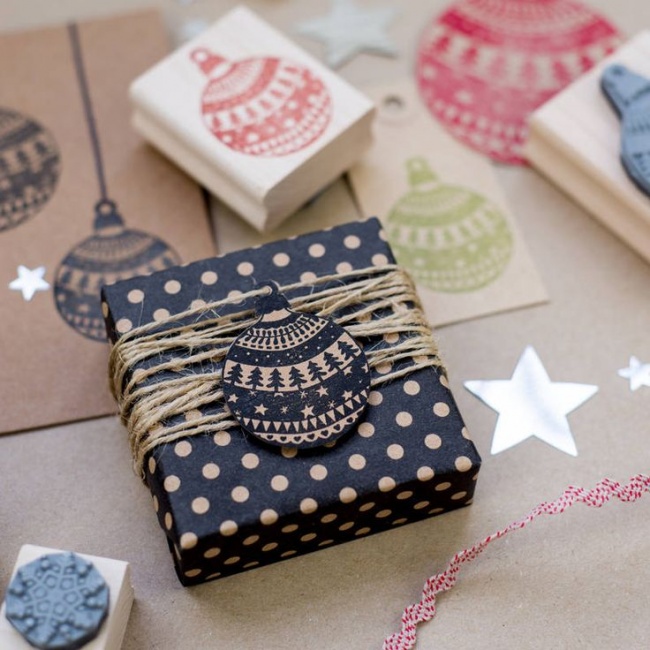
Ideas of boxes for the new year
- And you can even attach a real New Year wreath. True, you need to make it a miniature version. And this option can be done only for large boxes.
- And, of course, do not forget about the red color. No, it is not necessary to use it. It just gives the necessary brightness to the packaging.
- And golden notes will be able to transfer New Year's mood.
- By the way, you can even resort to the help of real mandarins. Beautiful, unusual and satisfying it.
How to make a gift box for a child?
What do children love? That's right, everything is bright and with any animated characters. Yes, boxes for children's gift is better to do brighter and, by the way, large sizes.
- Perfect will be a box with a surprise when your favorite car or doll appears from it.
- You can cook a castle for a princess or a truck for the boy.
- You can, for example, make a whole cake from boxes or a couple of samples. Of course, you need to take care of the presents.
- By the way, you can perform a box in the form of a piece of LEGO designer.

Gift Packaging for Children
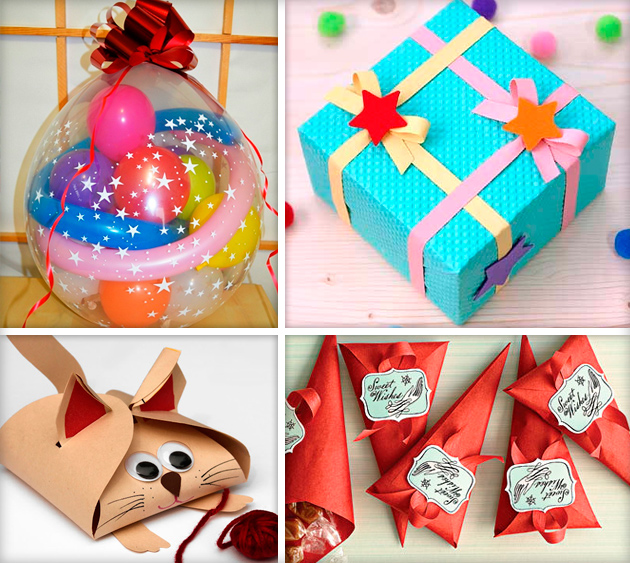
Gift Packaging for Children
- And you can make a child to give to gifts. Yes, you can put the tips in different places at home (or apartments), or make a whole casket with a lot of boxes.
- In general, turn on the fantasy and consider your children's tastes. And do not forget that the defortion will still not be played a presented toy. Therefore, for them much more important than positive emotions!
How to arrange a box for a gift for sweets?
Under the delicacies there can also be any of the above boxes. Registration in this case will be anyone else. It will very originally look like a box in the form of a house or cinderella carriage (of course, additional materials will be required).
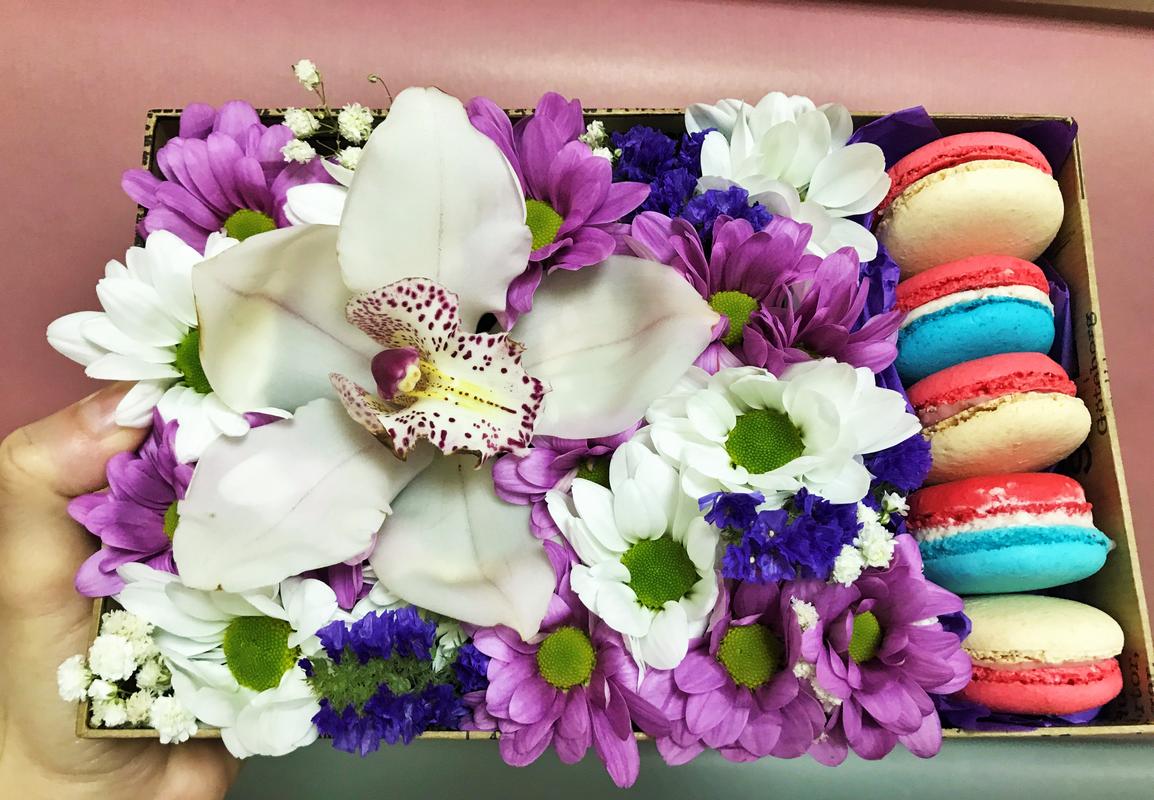
Packaging for sweets
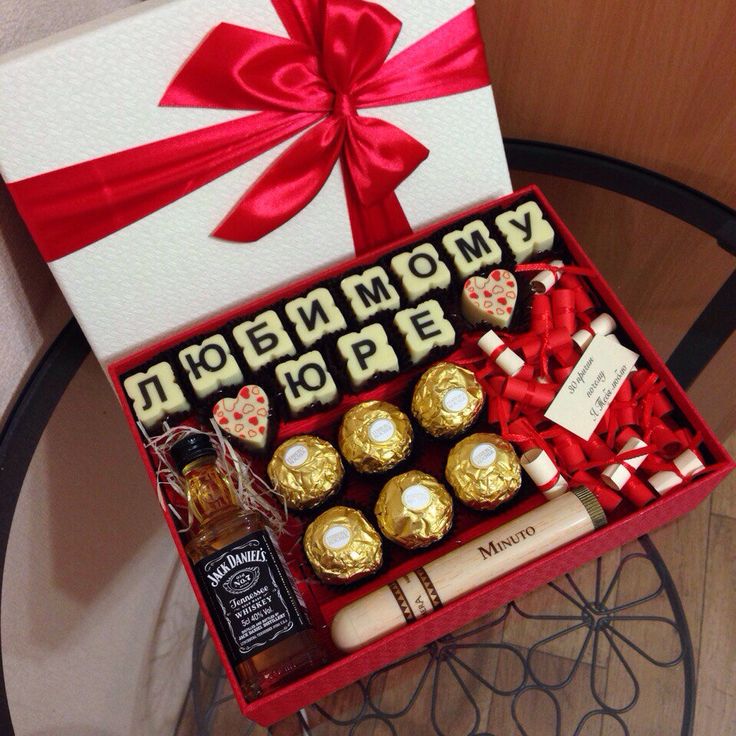
Packaging for sweets
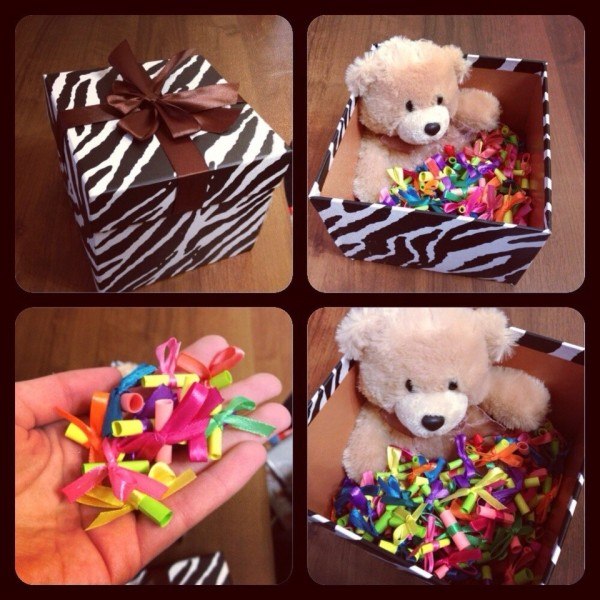
Packaging for sweets
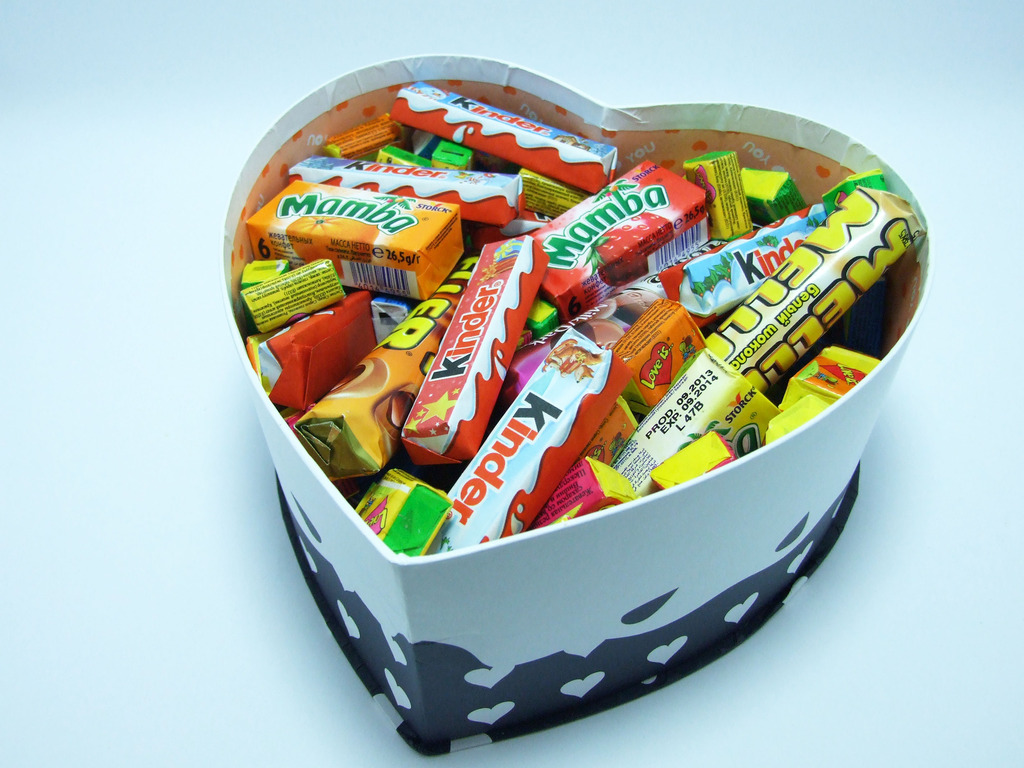
Packaging for sweets
And also, you can make it easily in the form of a big candy. Sweet tooth must appreciate this.
How to arrange and decorate a gift box with your own hands?
We provided above many options about technology and decoration boxes for all occasions. Therefore, give the will of fantasy and embody ideas into reality. Most often use:
- flowers (various values \u200b\u200band shapes)
- by the way, flowers can be made of paper, corrugated paper, cardboard, ribbons, fabrics or beads
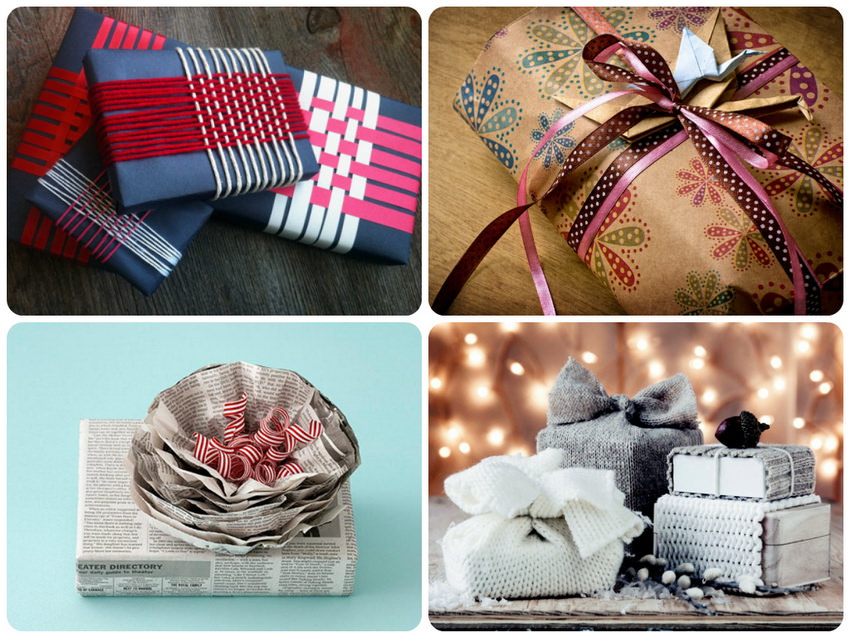
Gift decoration with your own hands
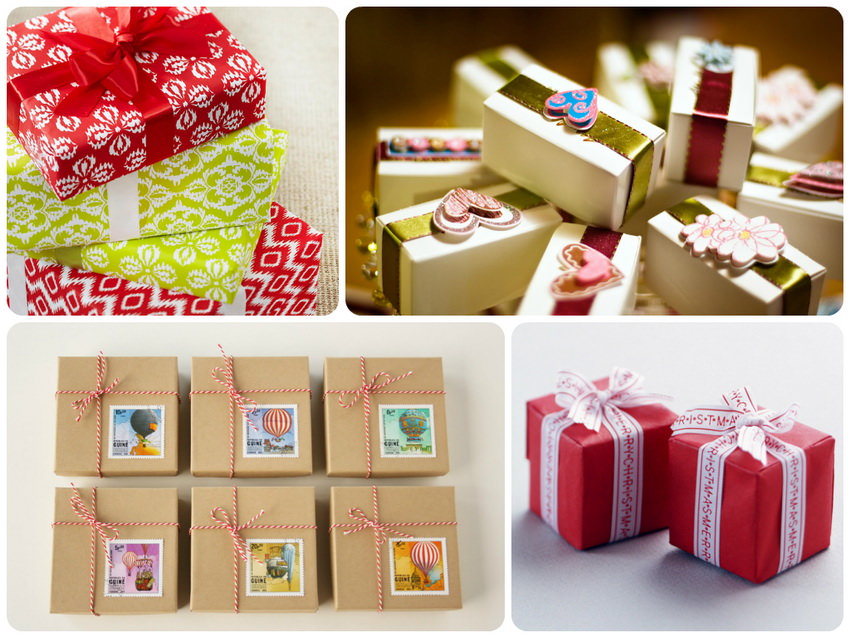
Gift decoration with your own hands
- bows (paper or fabric)
- do not forget about snowflakes, hearts and other interesting stencils
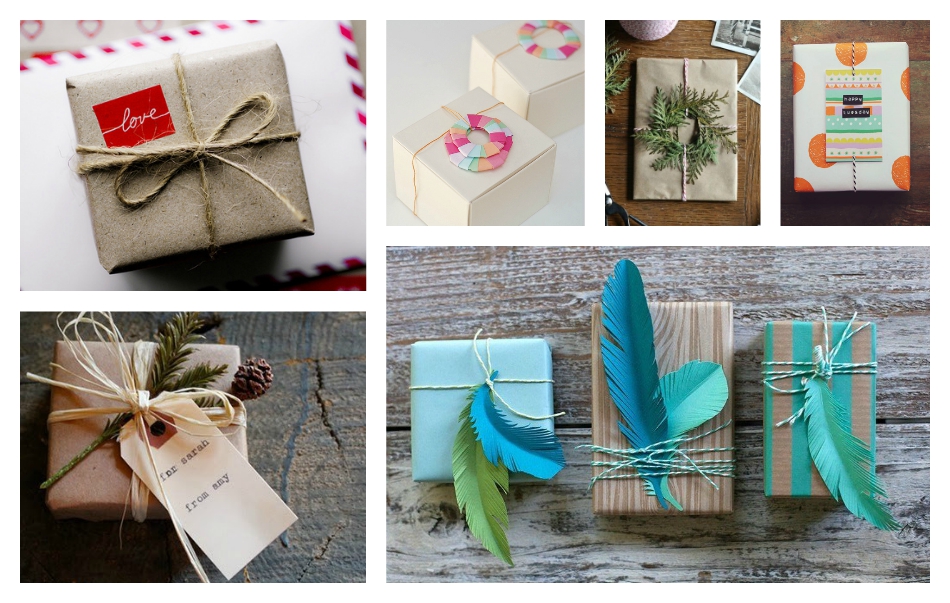
Decoration with rods and twigs
- you can resort to the help of sparkle, sequins or even real colors and fruits
Ideas, forms and photos of beautiful boxes for gifts do it yourself
We will not repeat, because we have already given many ideas above. Of course, in the photo you can understand more how to do, or just get inspiration. Therefore, below will provide several ideas in the form of photos. In the meantime, I wanted to give only a few recommendations.
- The template needs to be cut strictly along the lines.
- All bends must be accurate to a millimeter.
- Do not hurry, because in such a matter accuracy and accuracy are important.
- Do not take too heavy box for the first time. Yes, it can be done even in the form of a diamond. But for this you need some skills and skills.
- The edges must be smooth, otherwise the box will be released not very attractive.
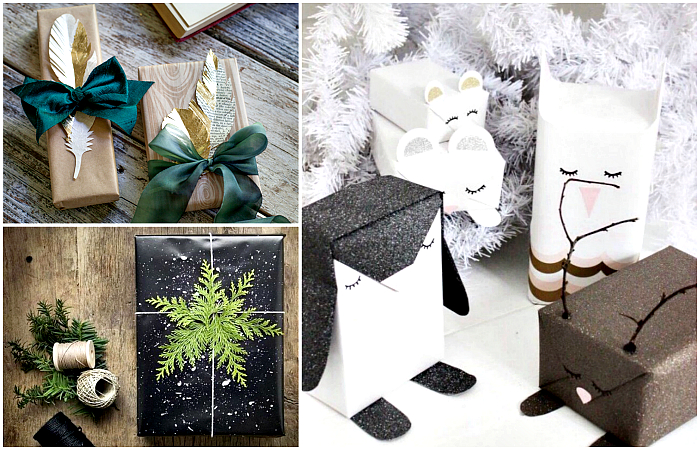
Catual
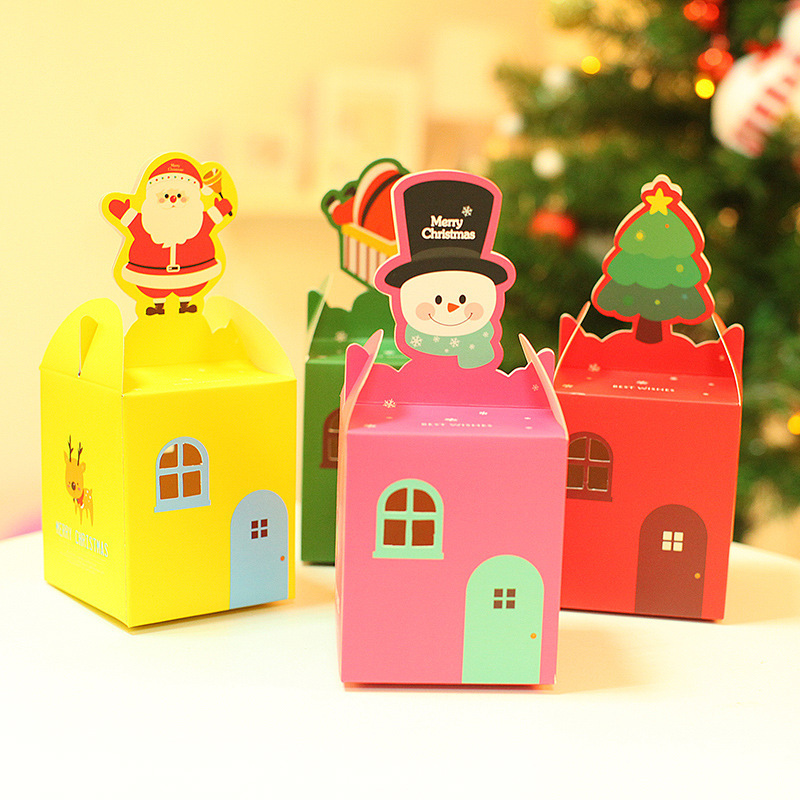
Gift in the shape of a house with little men
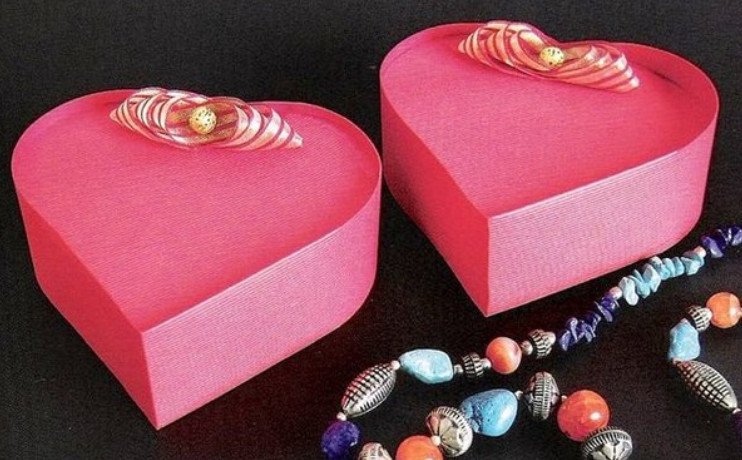
Heart shaped gift
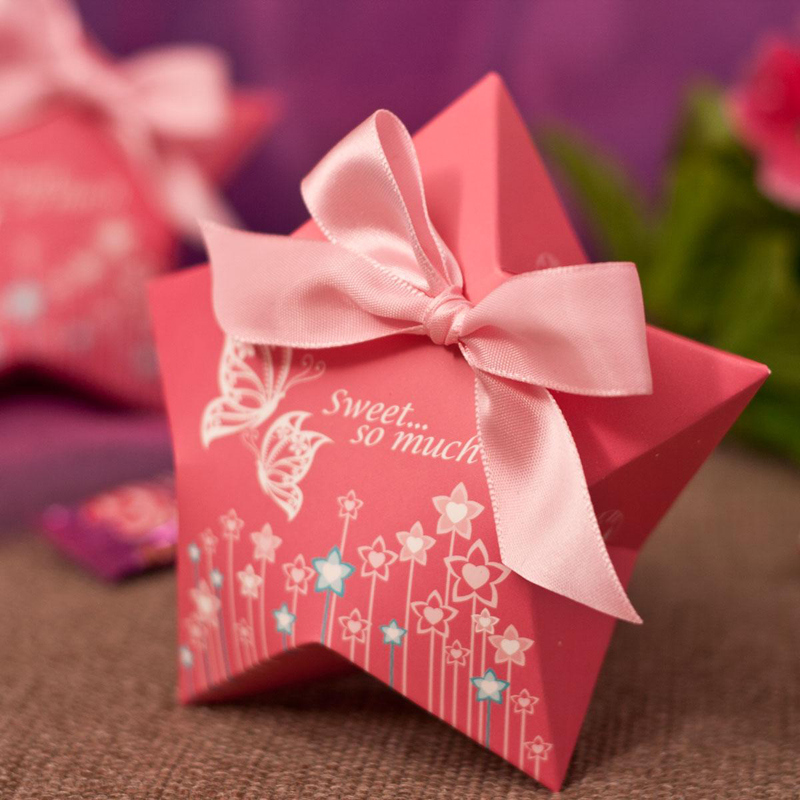
Star-shaped gift
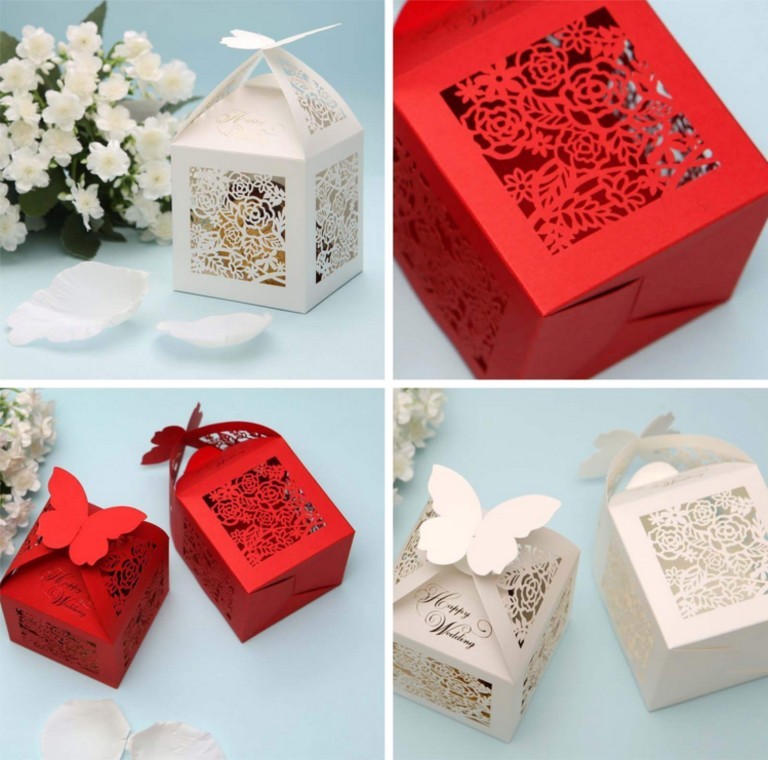
Thin work
If the first time did not work out the box, as in the picture on the Internet - do not be discouraged! You can even stretch at the beginning. And do not forget that the gift is made or packaged with your own hands, gets greater importance. After all, he was done with soul and love!
