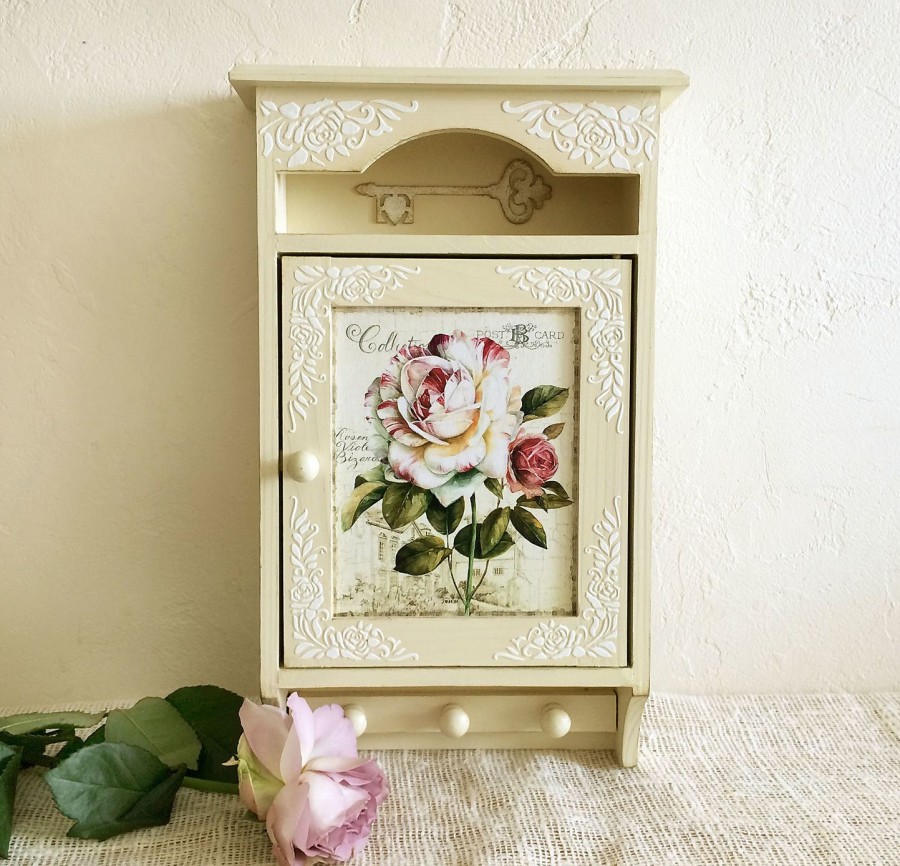
Create yourself a key key at home? Yes, it's simpler, just use our tips.
The content of the article
- Popular types of key
- Creating a keyboard in the Decoupage technique
- Decor key embroidery
- Keystone from branches in eco-style
- Keywords: Organizer do it yourself
- Wall key, made independently
- Keycharic with magnet
- Wooden keys
- Model keystone from small storage
- Lego Klezkit
- Tree Cutlery
- Pocket leather keyword
- Case for keys in the form of owls for a child
- Video: master class on creating and decorating key
The key is one of the ways to keep the keys in perfect order. You can always find keys by putting them in place. It will be a good and spectacular gift for friends, especially if he is made with his own hands.
Over time, the size of the key is constantly changing. At first they achieved large sizes, since the keys and locks were massive. They were also a variety of shape, from wood, metal, forged, painted, with carvings, etc.
Popular types of key
The most popular key keys in our time:
- Wall mounted - They are located close to the door, at the distance of the eyes. It is necessary that as quickly as possible to take the keys and at the same time without losing the precious time.
- Pocket - A small wallet in which the keys are stored. It is useful in that discarding the occurrence of scratches on mobile devices and holes in bags.
- Desktop - Similarly, can be in the form of a box with different patterns and shapes.
- On the door of the cabinet. You can attach a handwheel made of wood with hooks.
Now the most popular has become small planms for which hooks are attached. You can also meet the keystores in the form of the shelves. Often, to limit access to keys use drawers, which are closed on the key, or with a code lock.
Creating a keyboard in the Decoupage technique
Excellent technique for decoupage decoupage will be a decoupage.
Necessary materials:
- Wooden frame, size 13 * 18 cm. You can get the size and more. A more durable will be the key, made from a high-quality wooden frame with a good back wall. The frame should be hung over the hook, look so that it is also durable.
- To decorate, buy simple wipes with a pattern or special for decoupage.
- For decoupage, we need: glue, white soil, good acrylic paints, brush.
- In a specialized store buy hooks for keys.
- For installation of hooks, prepare: a sharp knife, a ruler, a sharp pencil, a screwdriver, drill, and a screw of 3.5 * 16 cm.
Stages of work:
- Before you start assembling the key, it needs to be reappeted. Disassemble the frame, we do not need glass.
- There are several ways to decoupage - direct and reverse action. You can choose more acceptable to you.
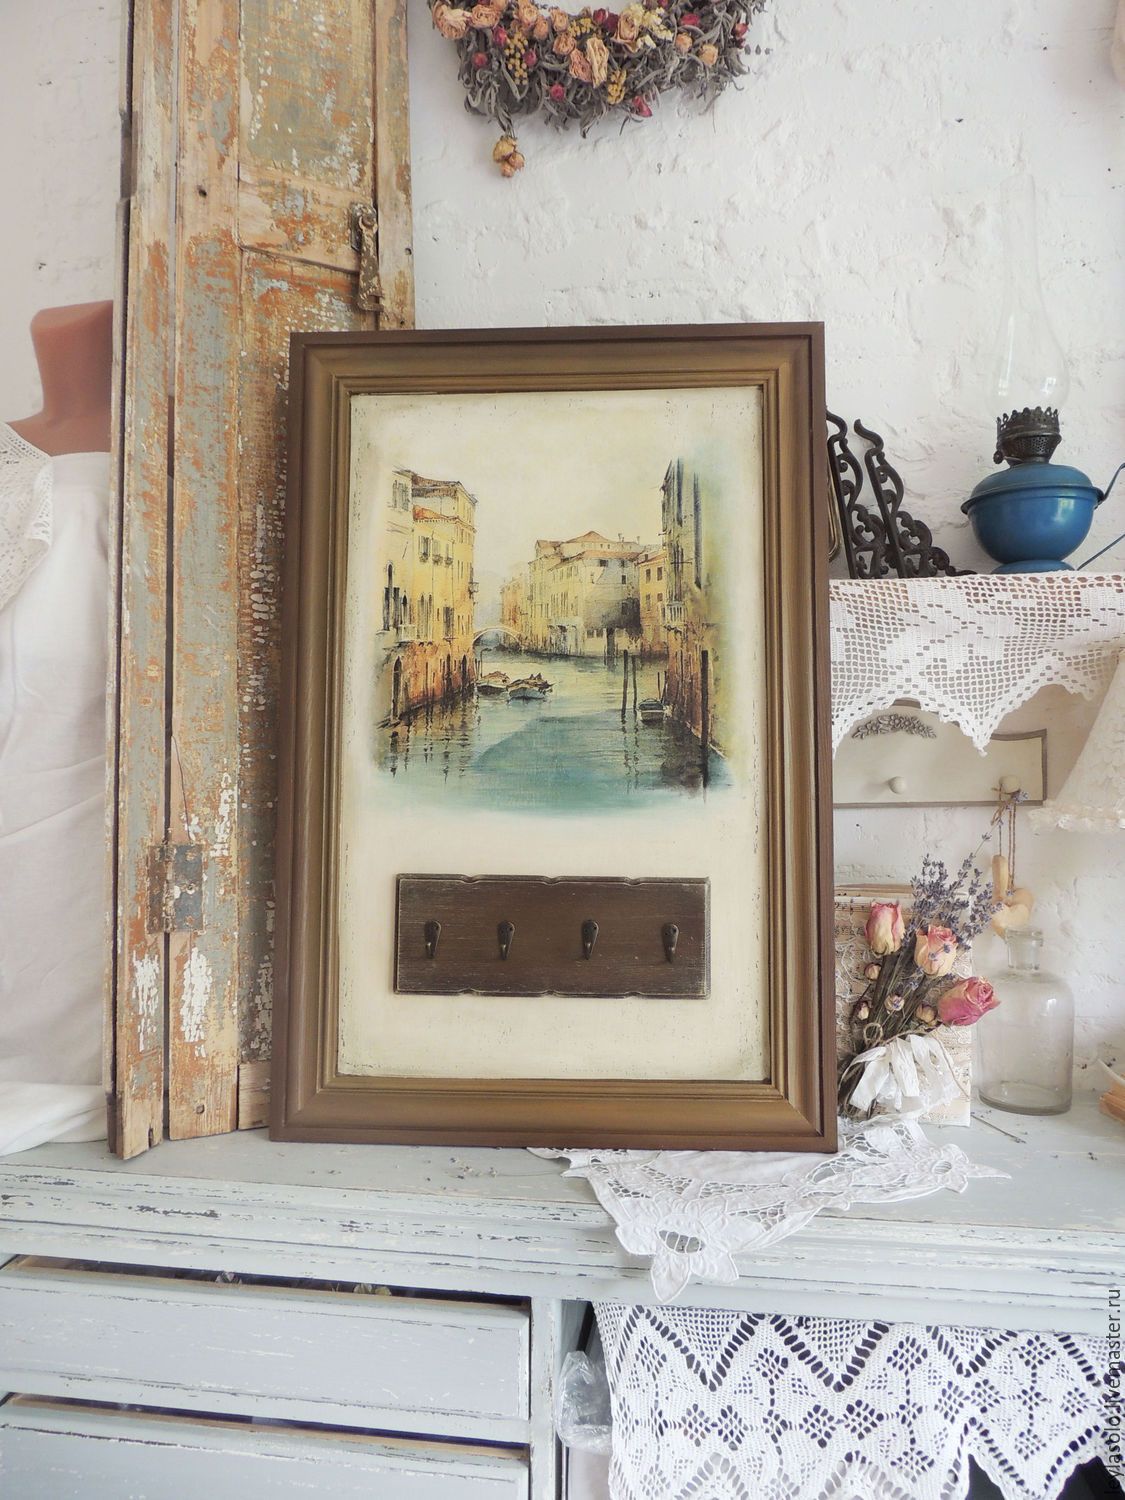
In frame
The first way: We cover the surface of the primer, we apply glue and gently glue the napkin.
The second way: we translate the prepared picture to the base. Wait for complete drying. Collect the frame.
- Now proceed to install hooks using a screwdriver or drill.
- To the wall Klezerka is fastened for two screws.
The whole work process is made on a wooden frame of good quality. The plastic frame or with a bad back wall must be strengthened or replaced.
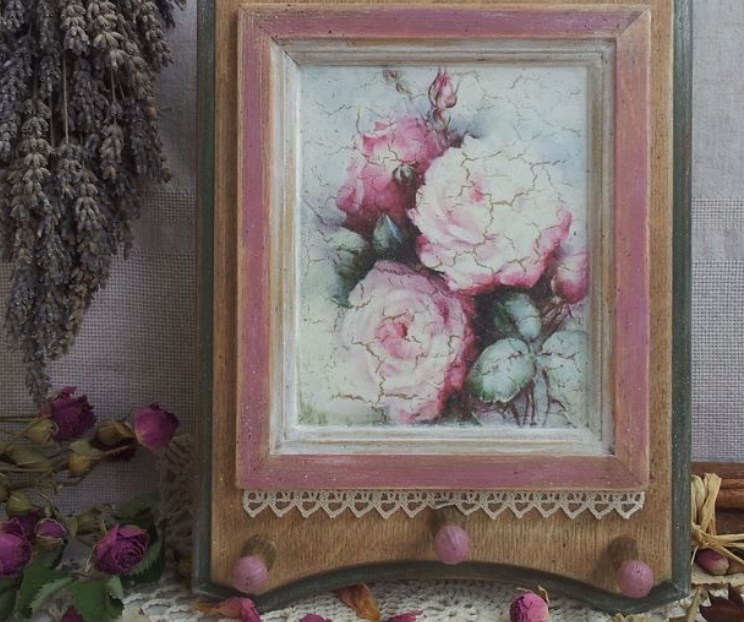
Decoupage
A couple of minutes of work and the key is ready! This is the easiest and budget way to make a key. Having spent more time, you can make it embroidery, photography or painter with oil paints.
Decor key embroidery
More time-consuming will be the decor using embroidery. To do this, you need to take both the finished box and make it yourself so that it opens and easily closed. In this case, the embroidery is fixed on the door and make out that it will be more neat than just glue it.

Embroidery
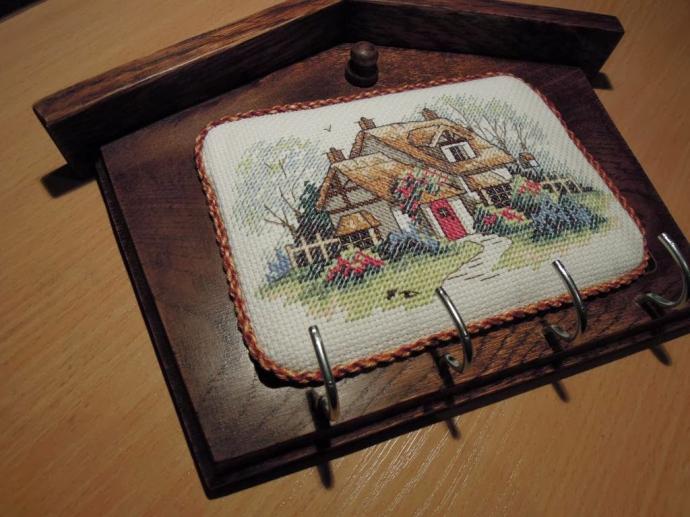
Decoration
Embroidery can be made thematic, for example, on housewarming or newlyweds. This gift will become personal and even more expensive for your friends.
Keystone from branches in eco-style
An excellent gift for nature lovers, the key is in the form of a durable branch. But before this tree should be dried and soaked with varnish and only after that hooks.
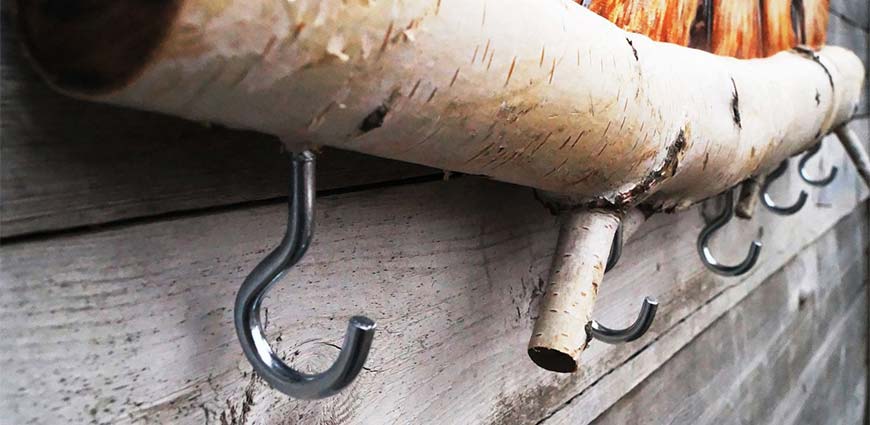
Eco option
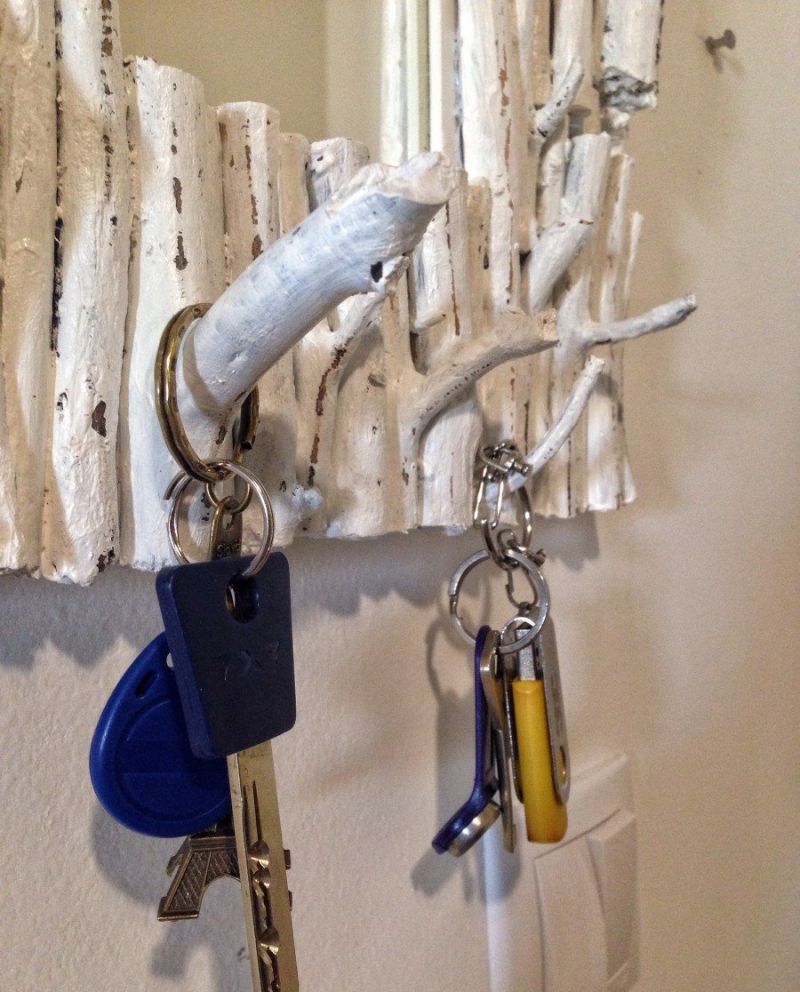
Eco option
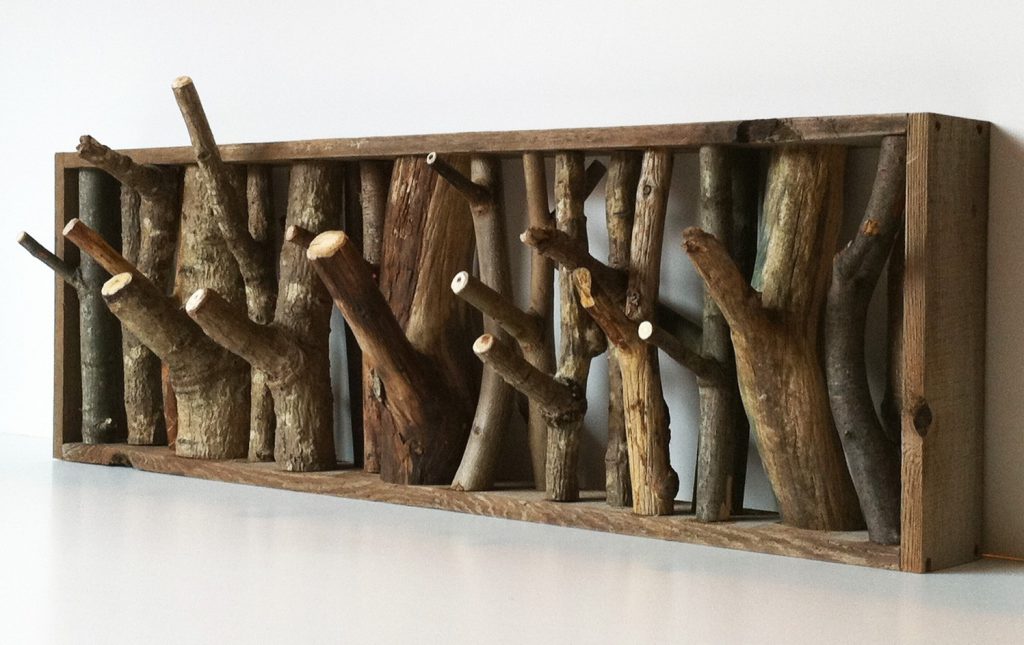
Eco option
Keywords: Organizer do it yourself
To connect several useful keystuffs, it can be combined to make it like an organizer. You can combine a wall notepad for entries, a shelf for glasses.
In this case, one hooks here can not do, they will also need shelves, a variety of pockets, drawers and a board for quick records.
We will need:
- Wooden old shelf.
- Multiple hooks.
- Emery coarse paper.
- A blackboard for drawing shameles or a mailbox (purchased it in a specialized store).
- Elements for decor.
- Acrylic quality paints.
Let's proceed:
- If the shelf is old, it must be updated. Treat the shelf with emery paper to remove all defects. Treat it with a composition for wood.
- Open the aqueous vessel in several layers using a synthetic large brush. Each layer let dry. After a couple of hours you can proceed to further work.
- Decorate the shelf with drawings using acrylic paints. Fasten the drawing with varnish.
- Screw the decorative hooks to the shelf.
- Screw to the top of the shelf the board for drawing or mail.
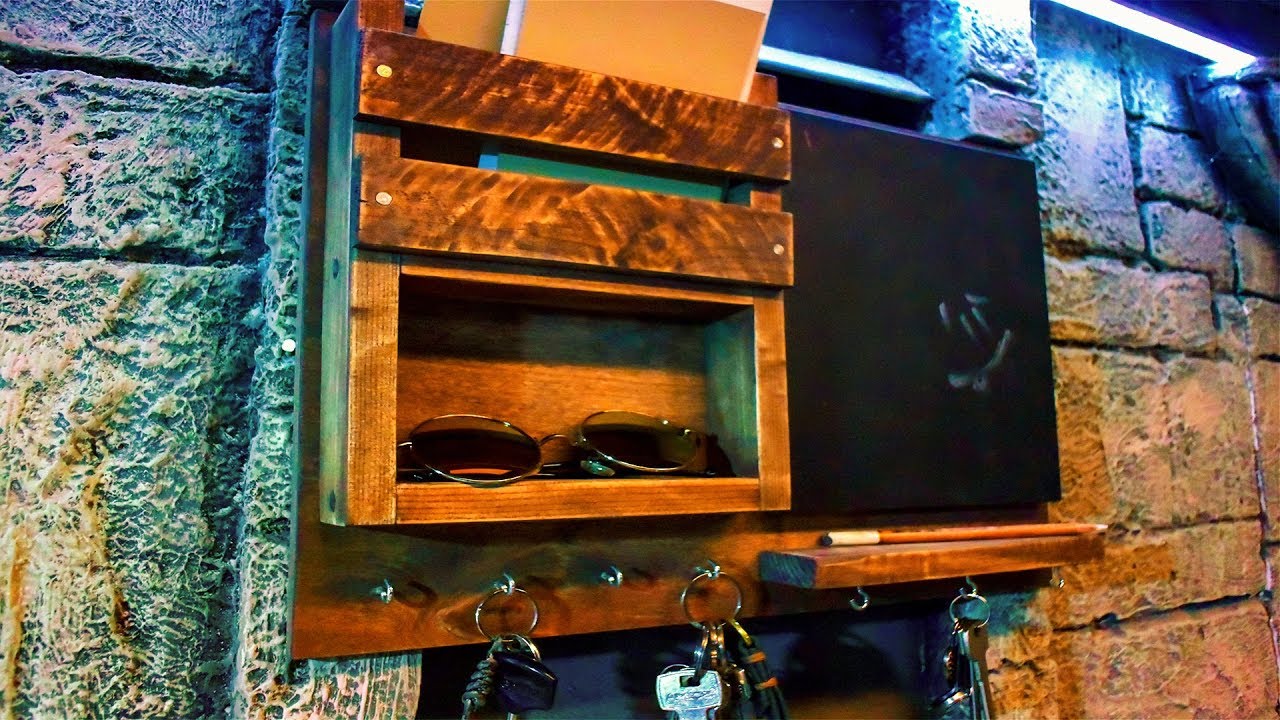
Housekeeper
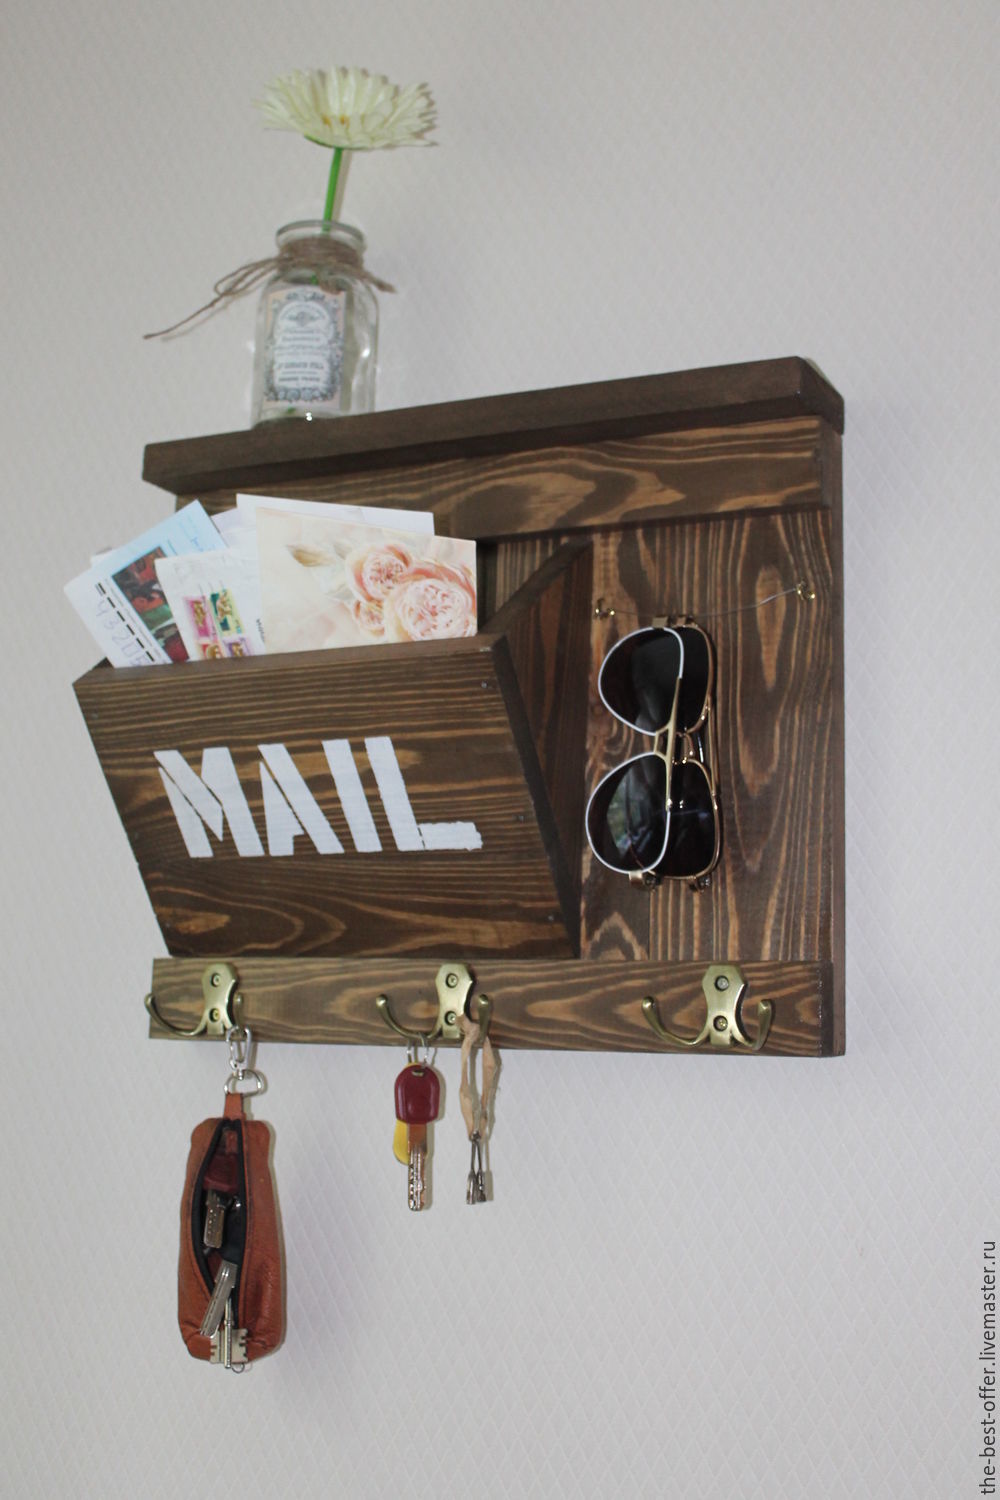
For mail
If you are a woodwood wizard, a keystone in this case, you can make from different wood species, in shape resembling a house. Door can be decorated with carvings, unusual drawings.
Wall key, made independently
To do this, you need to find an unusual box at home. For the strength of a wooden box, it must be treated with a special composition, which prolongs the durability of the tree, and retain it from moisture.
If you do not have a wooden box, slices are quite suitable. Before using Phaneur, it is necessary to polish and cover with varnish. From plywood you can cut different forms, such as animals, birds, plants, at home. But for this you will need a special laser car, which, according to your template, will cut everything that your fantasy is capable of.
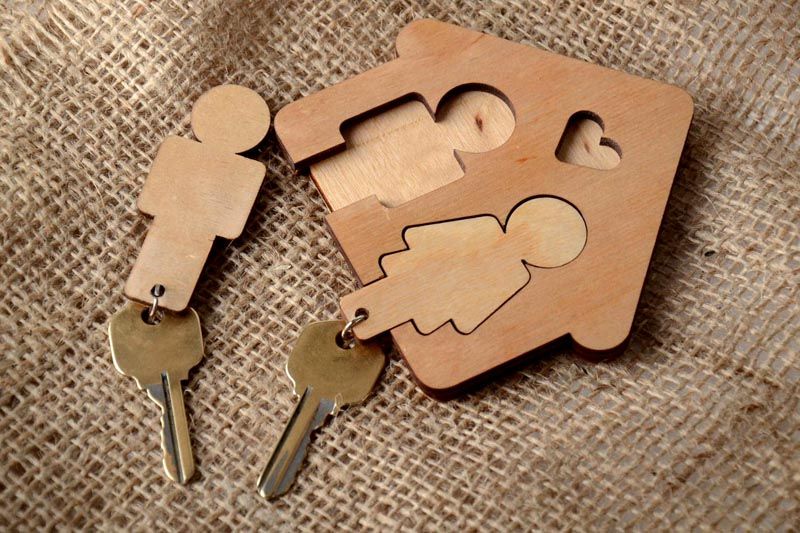
House
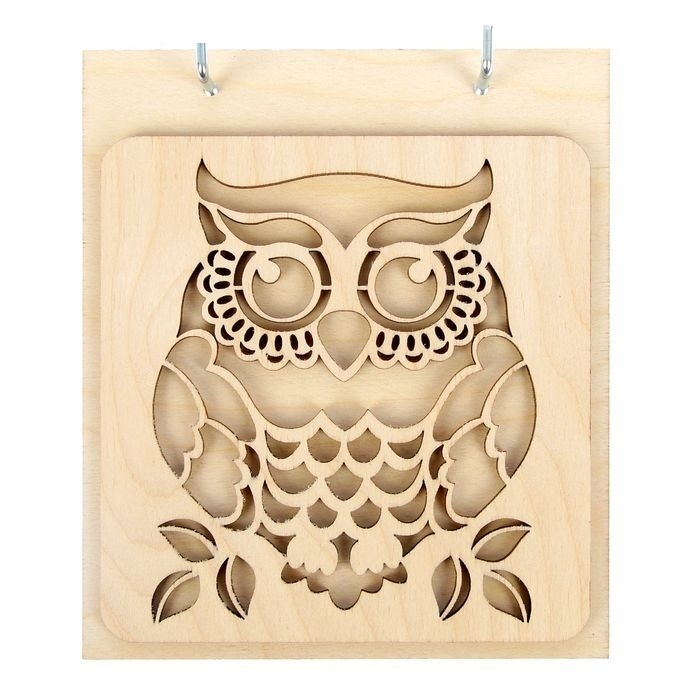
Sovuka
It can also be done at home:
- Print any drawing you find or come up with yourself.
- Using a manual jigsaw, proceed to work, with delicate sections, take the delicate of wood.
Another extraordinary key will be made of polymer clay, because after drying it becomes very durable material. In order to dry the workpiece, use the oven. Wait for complete drying and cover the lacquer for greater durability. In decoration, you can attract a child. After all, kids love modeling so much.
For surface decoration, such materials are needed:
- Luck - matte, glossy, with sparkles, flat, for a smooth surface.
- Varnish allows you to achieve a 3D effect. It creates a thick protective layer.
- Textured pastes - allow the structure of the structure of the cracks.
Equipment Krakl, allows you to create the effect of a cracked surface. There are many different compositions to achieve this effect in construction and creative shops.
Keycharic with magnet
The creative and convenient version of the craft will be the key to the magnet. Its weight is small and does not require much time for making.
We will need:
- Plywood or plastic. The desired form can be done using a jigsaw.
- Strong magnet.
- Acrylic paint or phosphoric sprayer (using a sprayer, you can easily find the place where the keys hang).
- Resistant glue.

Magnetic
You need only a few minutes for you to work. With the help of glue, connect the magnet and the workpiece (the forms you chose yourself). You can do near the input switch. Cover acrylic paint and attach to the wall using self-tapping screws.
Wooden keys
For work you need:
- The remains of plywood or sheet counters.
- Acrylic paints.
- Varnish for wood and all types of surfaces.
- Paper napkins.
- Glue.
- Dense, rigid brush.
- Elements for fasteners.
Cut a rectangle from plywood. For further work, pass the workpiece. Paint from the canopy cover the surface. Lacuate the product in several layers and let dry. Decorate the key to the methods described above.
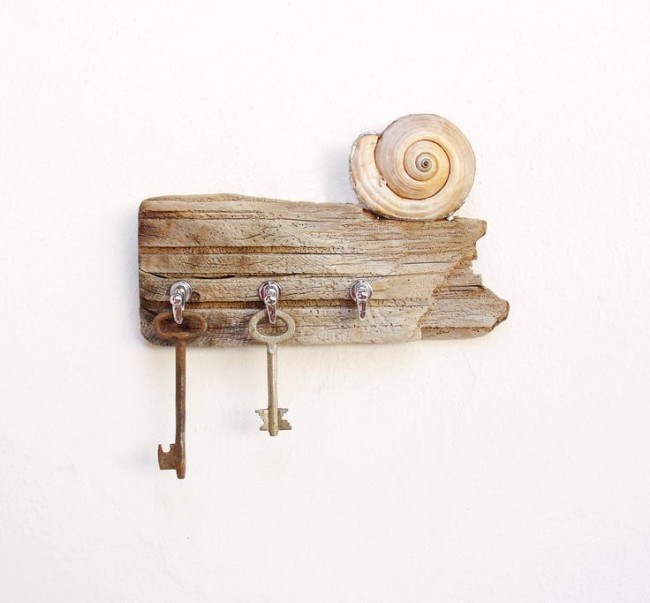
Simple key instrument with decor
Secure the decor, use moisture-proof varnish. Tale on the wall using self-tapping screws.
Model keystone from small storage
We need:
- Bar, size 250 * 80 * 30 mm
- Lobzik
- Vice
- Semi-finished products made of metal or wood
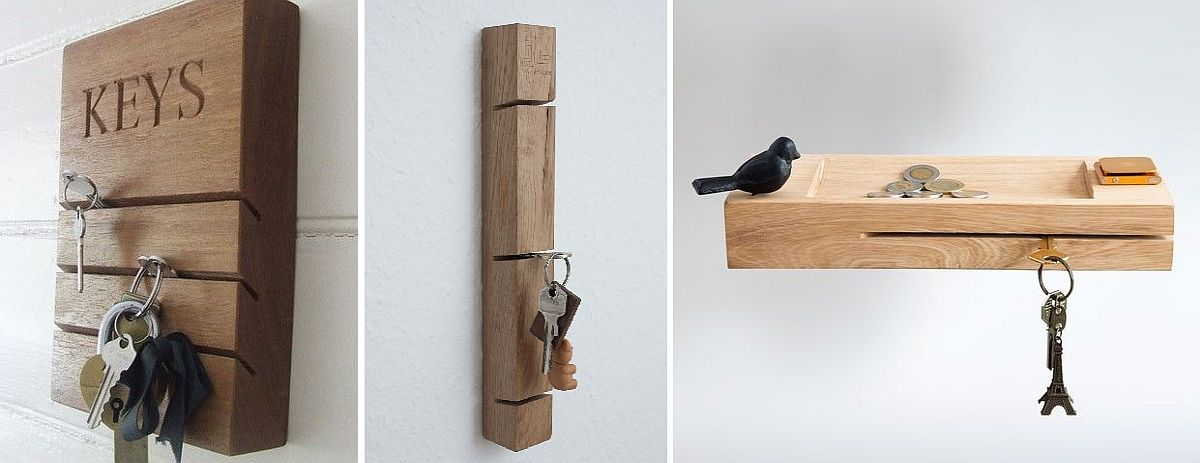
With notches
Progress:
- The timber must be seized.
- Round corners.
- Make notches.
- For each key bundle, make individual key chains.
- Insert keys in the slots.
Lego Klezkit
If your child is interested in the LEGO designer, then it will certainly have parts that can be used for the key.
You need to take:
- Flat shape and several parts of a rectangular shape with holes, in which we will ingest rings.
- Drill.
- 2 screws.
- Runners for keychains.
- Rule.
- Cord.
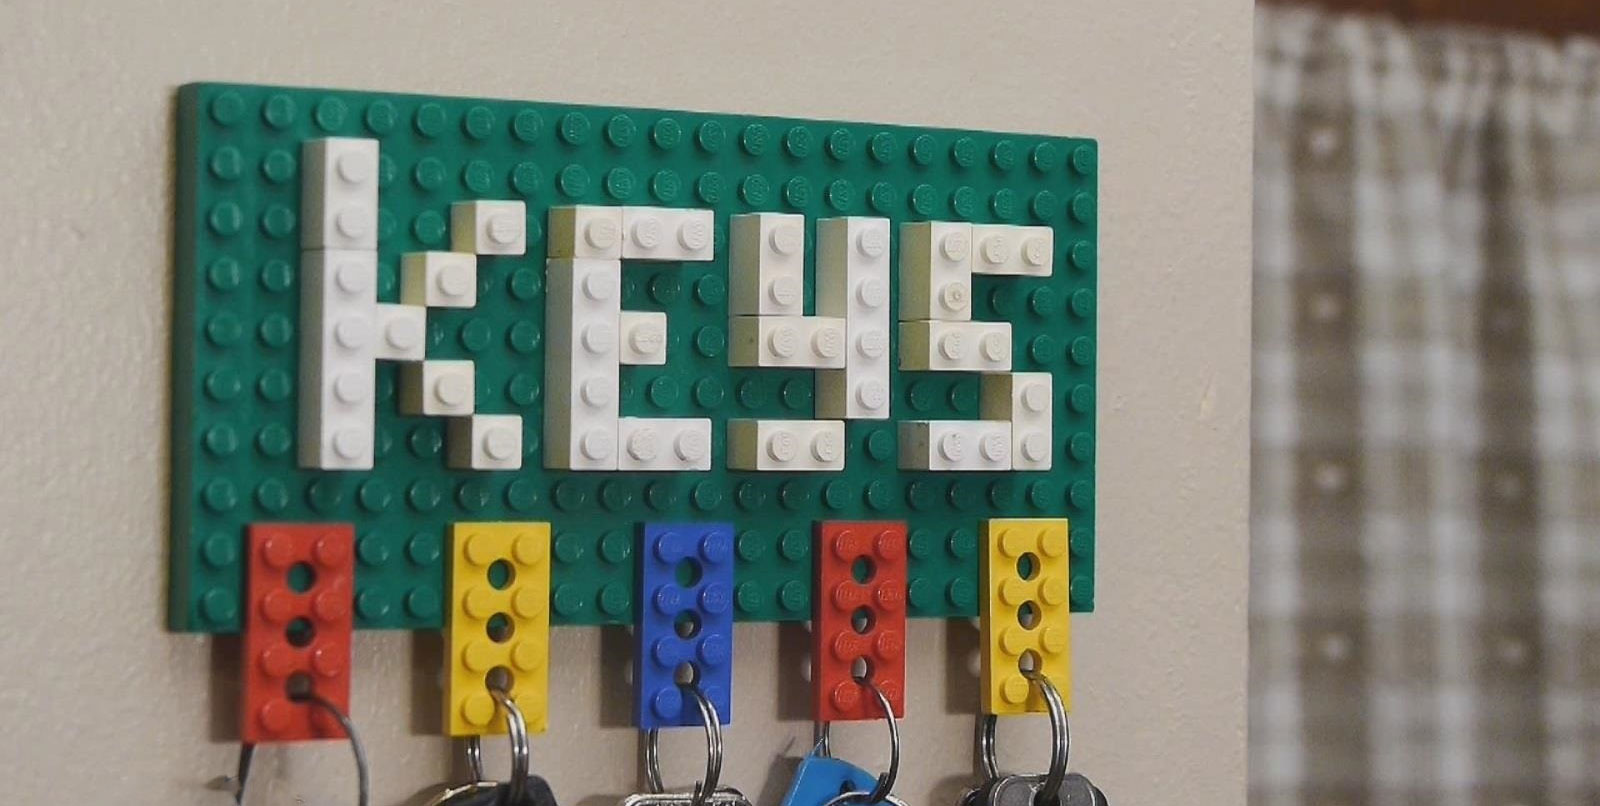
Lego
The base for the key is screwed to the wall with two screws. Tie the lace to the ring and the small details of the designer. Little designer details attach to the platform. An interesting decision will be the inscription "KEYS" on the platform with small details of LEGO.
The key is ready!
Tree Cutlery
- Cut of any diameter
- Wood processing material
- Sandpaper
- Varnish
- Brush
- Decorative hooks
- Several screws
- Drill
- Cross screwdriver
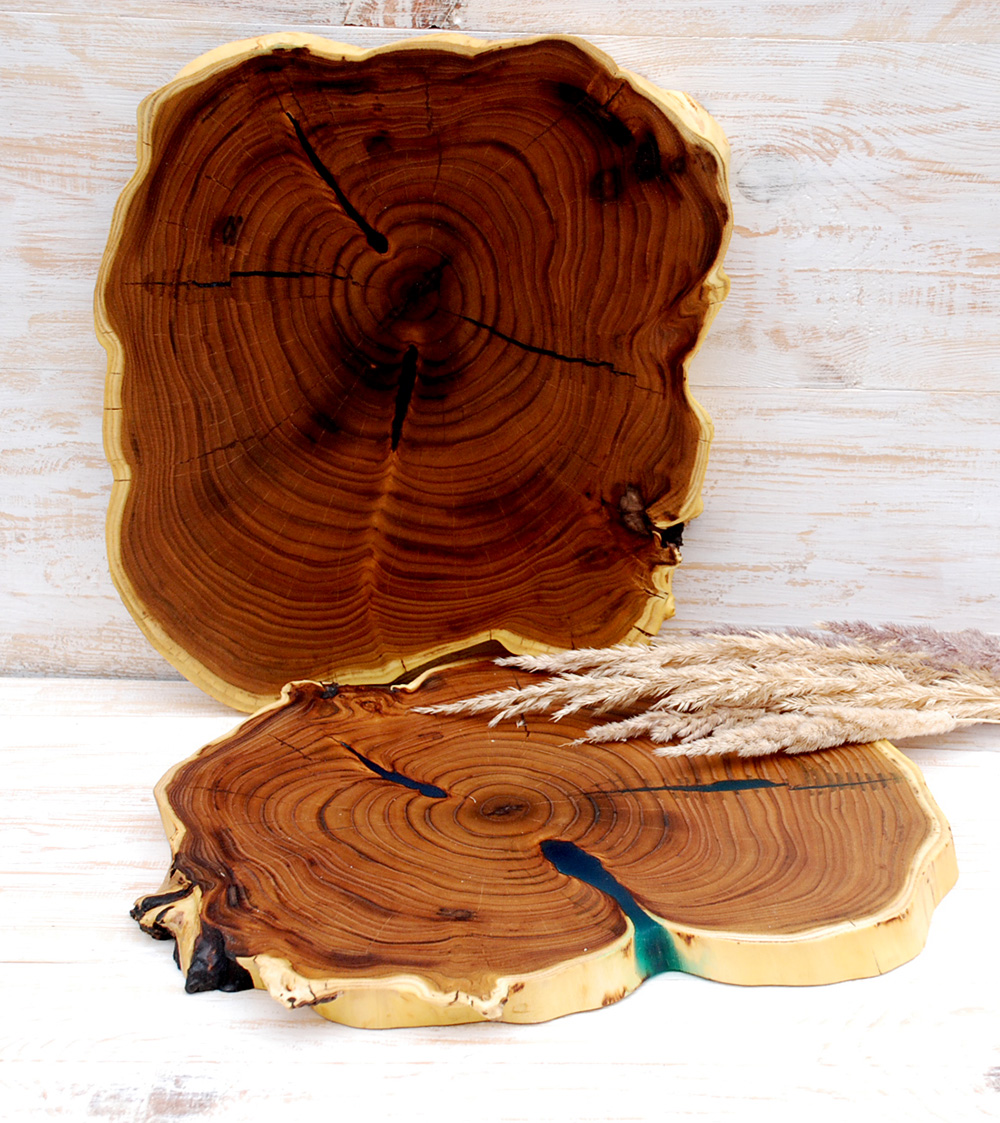
It remains to attach hooks
Let's start working:
- Treat the wood with sandpaper to remove all the knots.
- Cover 2-3 times spoke. Every layer let dry.
- You can re-organize any drawing like you, putting the face of the face and open the acrylic varnish, pre-smoothed over the entire surface. Let dry.
- Now carefully remove the top layer of paper with a sponge, until the picture is manifested.
- Breep the key to the wall.
Pocket leather keyword
The leather key will look great and will be a practical accessory of every girl.
To get started, you need to create a pattern of the key to the formula:
- The key length of the keys + 1.5 cm + 2 cm on the seams.
- The bundle width is +1.5 cm free of charge + 2 cm on the seams and multiply by 2.
From the numbers you received you have to leave the rectangle. Now transfer the pattern on the skin.
Tools for work:
- If you have not found a piece of skin in the store, you can take it from an old raincoat or jacket, or replace with artificial fabric.
- Fabric for lining.
- Sewing machine.
- Reinforced threads.
- Thick needle.
- Scissors.
- Lightning.
- Carbine.
- Materials for decoration.
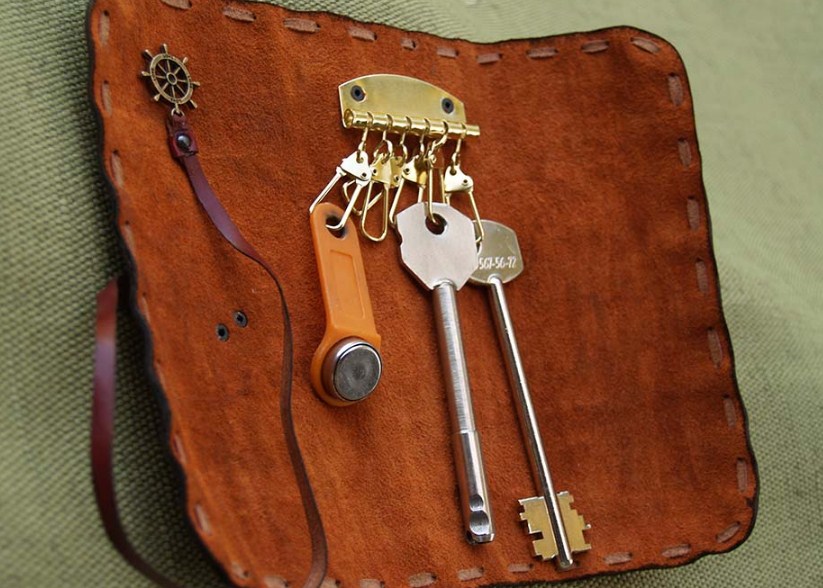
Handmade
So, proceed:
- From the lining cut the rectangle of the same size as our skin blank.
- We sew a zipper on the wrong side of the product, then sew the lining tissue from above.
- We collect all the details of the pins. The lining will perform 1 cm.
- Watch the workpiece from the wrong side, but be careful that all layers do not shift.
- After we shot one side and sewed a zipper, we turn to the tolst needle to the end.
- We put the key and align all the corners.
Leather key ready!
Case for keys in the form of owls for a child
Keywords for a child set, it can become a face of cats, dogs, in the form of fish or other animals.
- Material You need to choose durable (leather, denim, felt).
- From the Internet, you can print an animal, in the form of which you want to make the key and move to the fabric along the contour. Cut 2 details.
- On one side, make a face of a fabric: nose, eyes, mouth, ears.
- All parts are handed to manually, leaving the key hole and for a leash, with which it will be attached to the keys.
- Grind the lace from the fabric through the ring from the keys and stretch into the hole above.
- We sew the top and tightly sew the lace.
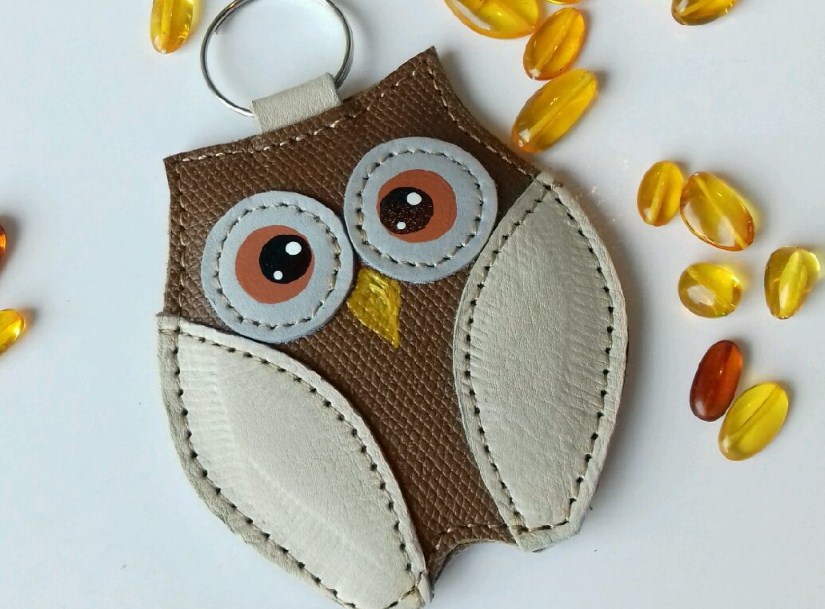
Children's
Original children's keystone ready!
The presented ways of making the key can be made in the presence of time. There are many methods, how to make the key, we brought only the most original of them. By connecting fantasy, you can independently come up with your own design and decor for the key. Also the key will become an original gift or souvenir.
