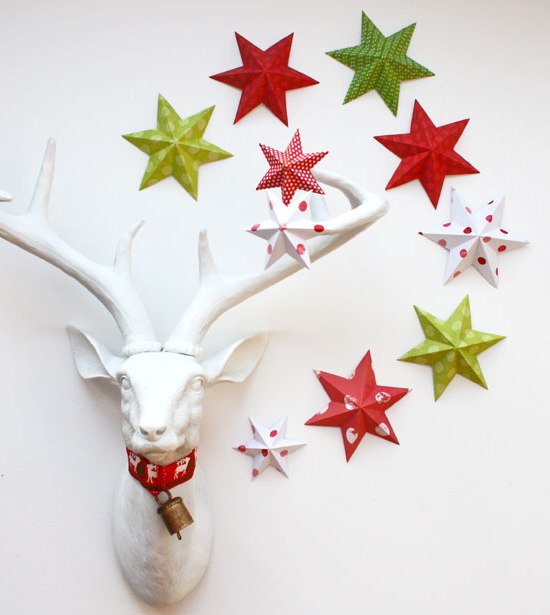
How to make a bulk star from paper?
The content of the article
- How to make a star from paper: templates and job description
- Video: Pentagonal star from paper
- Video: Volume Origami Star of Paper
- Crafts from old postcards: surround star
- Simple handicraft: Star of paper
- How to make a convex star from paper?
- Video: How to make a bulk star from paper with your own hands - 3 options
- The decor of the room in the form of stars from different materials made in different techniques will be harmoniously looked in the birthday decorated on the occasion, another celebration room.
- Unlike snowflakes, Christmas trees and paper primroses, asterisks - a universal version of the decor, which we suggest you to create with the children.
How to make a star from paper: templates and job description
- The process of assembling a star from any material only at first glance seems complicated and time consuming. But when preparing for this paper stars, the main thing is not to despair!
- A beautiful asterisk with bulk rays will make even the one who rarely can be seen for creating another craft. A child will cope, if the instructions will follow and repeat successively all actions.

Volumetric interior star
- A paper or cardboard star can be used not only in the form of a decor element during a celebration or as an original interior solution.
- Paper sprockets - excellent material for the development of shallow motility.
- Interacting during developing classes with voluminous complex figures (and you can't call a five-pointed star), the child is noticeably improved by spatial thinking. Parents after such classes will be able to assess how creatively their child comes to performing tasks.
- Drawn on a sheet of paper and cut out of an asterisk of a little fourth not interest. However, from the same affordable material, you can make perfect crafts for creativity.
- You just need to do a little more manipulations, to give a paper figure a certain shape, paint with paints, pencils or markers.
- Half an hour will not pass, and you will be able to admire paper stars together with the baby, which you can decorate the house or just please guests on a family holiday.
Paper convex stars
Before the process of creating stars check whether all the necessary available:
- Paper or paperboard
- Compass
- Ruler protractor
- Stationery cutter
- Simple pencil
The process of making a simple star:
- The basic material may be landscape sheet skrapbumaga or beautiful wrapping paper.
- When using cardboard sheets star can decorate the Christmas tree, or serve as a decorative element in the room, decorated for the celebration of important events in the life of the household.
- Paper unfold wrong side up and with a caliper or a suitable object such as a saucer, draw a circle, by setting the diameter for our future star. Take a protractor. With it, draw a line from the end point to the center of the circle.
- We measure an angle of 72 degrees. Again, draw a line. Repeat action, pigtail around the diameter of the circle until the five lines.
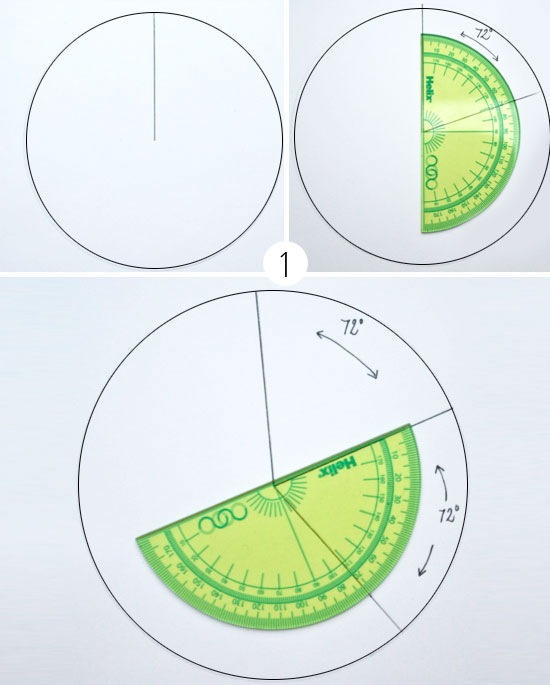
We measure an angle of 72 degrees and a holding line
- We connect all the segments previously conducted so as to form beams. On the central point of the connection points of the two beams perform dotted segments.
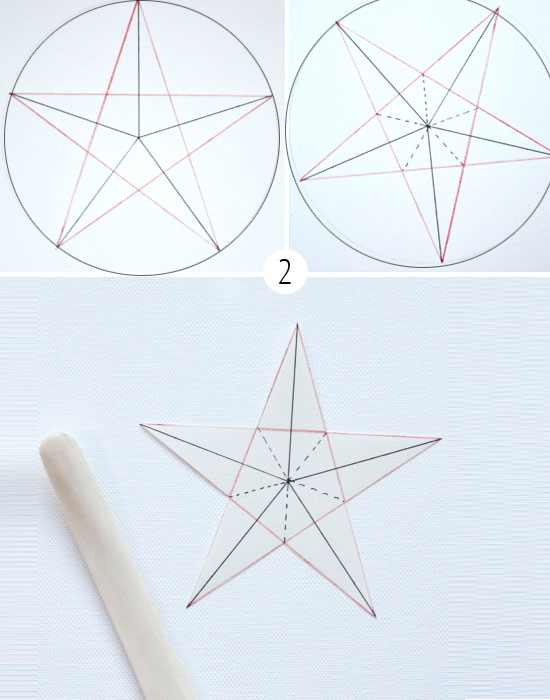
Connect segments in the rays
- We cut our billet. On the dotted line perform bends with a blunt object. It can be a ruler and a knitting needle, blunt side of the knife, scissors or other tools that you are comfortable to use.

The star of the paper
Important: The guide lines are drawn toward you, because verge asterisk will be directed inward.
- The obtained blank is folded along the dotted lines. The first star is ready.
- Now you can go ahead and collect dozens of craft of various sizes, or a similar, but different colors.
- Make a loop on one side of the crafts, you can decorate the Christmas forest beauty or connect bulky stars in rainbow garland.
Note: the original and spectacular five-pointed hack out, if you cover all the facets of glue and sprinkle with glitter.
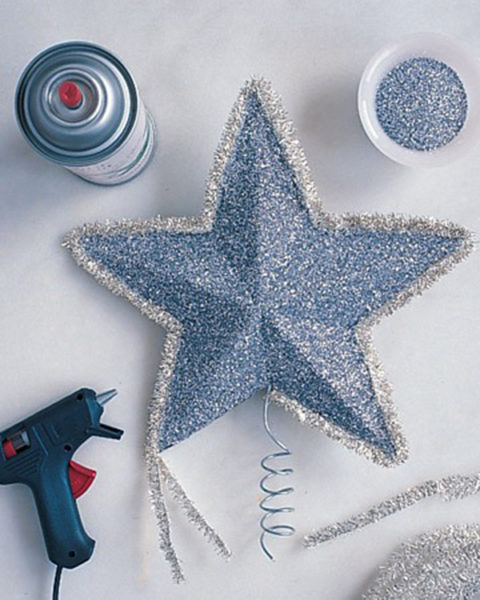
Hack: shiny star
Video: The pentagonal star of the paper
Star Bulk fit perfectly in place bored ribbons of silk ribbons on gift packages.
Video: Body origami star paper
Artifact of the old postcards: bulk Star
- If you have old postcards, you are sorry to send them to a trash can, now the time to get them and make something original, bright and beautiful - element of the decor in the form of a star. You can use the finished handicraft as an ornament for the New Year tree.
- And after all, after you spend a friendly time for creating Christmas tree decorations, you will look forward to the onset of the main winter night to look at your works and the reaction of guests. After all, they will definitely pay attention to the unusual and beautiful decor in the style of Hend-Maid.
Prepare the following materials:
- Old postcards
- Cardboard
- Scissors and glue
Work description:
- Print on the cardboard sheet stencil sweep of the star beam. And cut it out.
- We take old postcards. We put the stencil on the opposite direction (without a picture) and circle the outlines of the star beam. We do as long as 20 rays will be prepared.
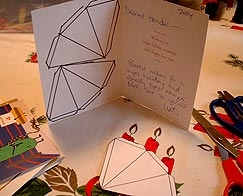
Transfer to the back side of the postcard templates of star rays
- Fuck inner lines on sweeps. To do this, it is better to use a stupid side of scissors, a knife.
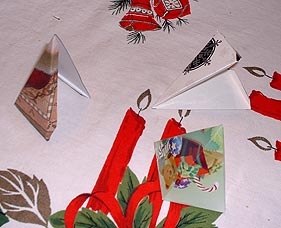
Assembling ray
- Cut out 30 blanks for our future craft and bending along dotted lines. Apply the glue to the parts left to connect the details. Billets rays in the amount of 20 pieces are ready.
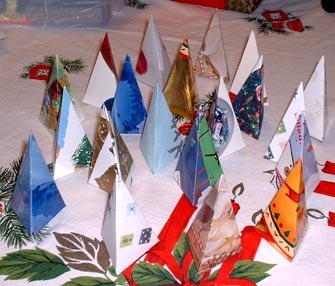
Finished rays
- We continue to work on the creation of a surround star: print the scan-body craft. Carved faces fix with specially left places of attachment. We should have the founding of the star with the faces.
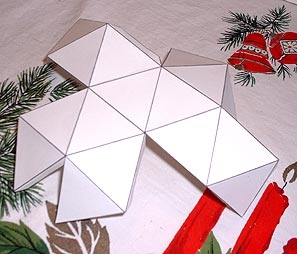
We carry on the paper printed star base contour
- We connect rays with edges of the base. As you can see, a complicated figure is made in a few simple stages.
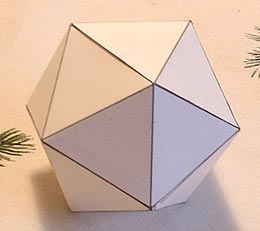
Fix with glue some faces and get a base for a star
- If you want to set the bulk craft to the top of the Christmas tree, then one beam does not need to glue. And inside the base will have to make a hole.
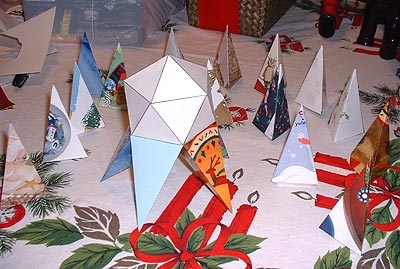
Fresh billets to the base of the crafts
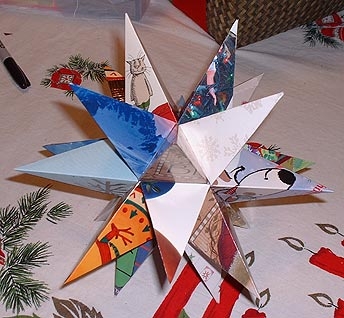
Star from postcards
Simple handicraft: Star of paper
- By connecting under the right corners, two flat parts cut from sheets of different colors, you can get the original craft - star. It is better to take colored paper contrasting colors.
- You can choose other combinations or use color interface with decorative elements in the festively decorated rooms.
- Asterisk is quite stable, because it can be installed on the holiday table as a decoration. Another use - suspension on the Christmas trees. Just need to fix the thread on one of the stars of vertices.
Materials and tools:
- star pattern
- Colored paper and cardboard
- Scissors
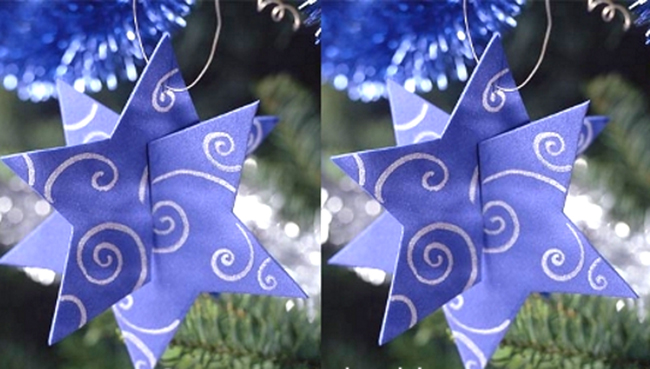
Star Bulk of two blanks
How to make a star?
- Transfer the circuit pattern printed on paper or cardboard.

Template simple bulk stars
- Cut the preform. Making cuts on each star: one - for the central line of one of the beams in the second - Mezhuyev two beams by the corner.

Making the cuts on workpieces
- Invest preform into each other through cuts. That's all! It can be hung on the Christmas tree or Christmas Stars continue to do for the garland.

Putting the workpiece
The original New Year's decoration of the room can be a large volume stars made out of construction paper. This hack will decorate a window or organically fit on your chandelier in decorating the room for the New year.
Materials and tools:
- Construction paper or cardboard (for one star will need two sheets of square-shaped)
- Pencils, scissors, glue
- A thin ribbon or thick thread
Manufacturing technology:
- Fold the paper along the center line - vertically.
- Turn over and repeat the action by flexing horizontally. We connect the two halves of the squares, bending the sheet along the diagonal. Repeat on the other side of the sheet.
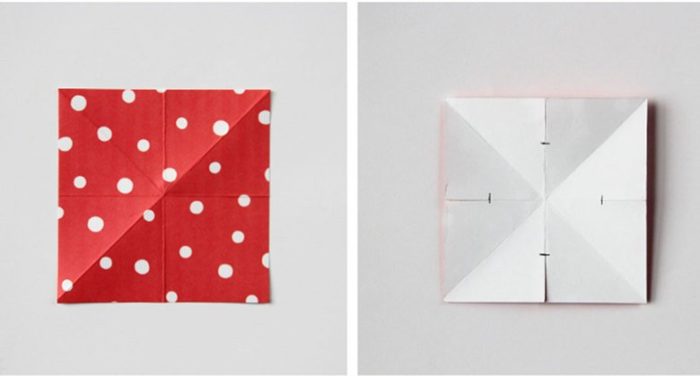
Fold the paper vertically, then - horizontally and expand the workpiece
- We make an incision along the perpendicular folds to half of the line length. We should be able to cut 4. Fold the halves into rays.
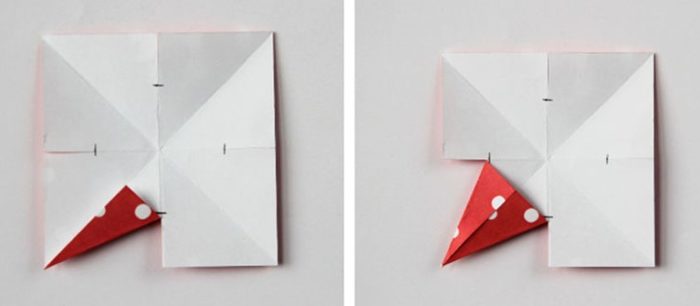
Putting the edge rays of incised lines
- On one half of the beam from the wrong side, causes the adhesive layer. The other half is imposed neatly covered with glue and connect. Repeat with the remaining beams.
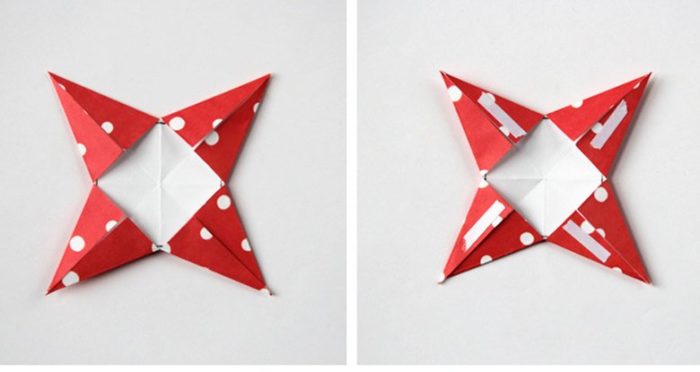
Apply the adhesive to the backside of the workpiece
- Repeat all the steps on the other blank-asterisk. This is the second half. Fix adhesive rays from the back side of the blank and join them.
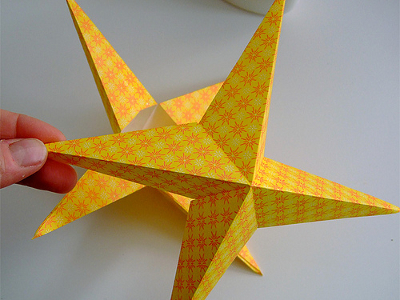
Sizing beams and connect the second blank halves stars
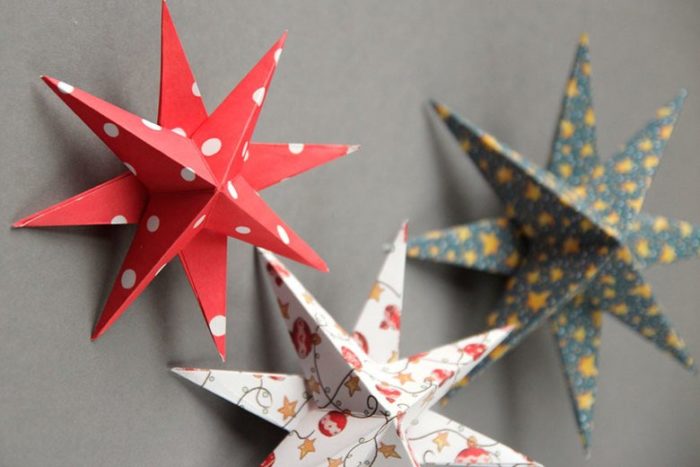
- Cute bulk star, which we propose to do, looks very impressive on Christmas barbed and radiant beauty.
- For the manufacture of handicrafts leaves little time, especially if all the necessary materials will be at your fingertips, and the star pattern is printed in advance.
What is needed for the manufacture of the star:
- printed star pattern
- dense set of colored paper
- scissors, glue, markers suitable color
Manufacturing Process:
- Transfer circuit cut pattern on colored paper of different colors.
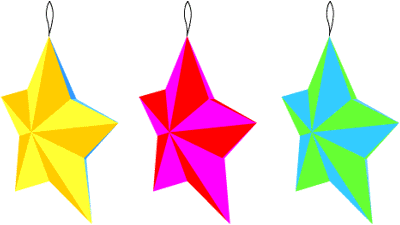
Simple star of two halves
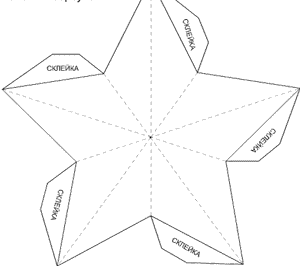
- Cut the preform and causes a darker color tone suitable marker beams into halves.
- Turn down the back of the Splice (you do not cut them off?) And with a blunt, thin object, such as a ruler or scissors, knitting needle, pushes the lines that were marked on the template dashed line.

Cut the preform of colored paper
- We fix the adhesive bonding locations and connect halves. In one of the beams make holes for fixing a thread. Threading ribbon or thread. We can boast of Christmas crafts!

We connect the two halves of the star
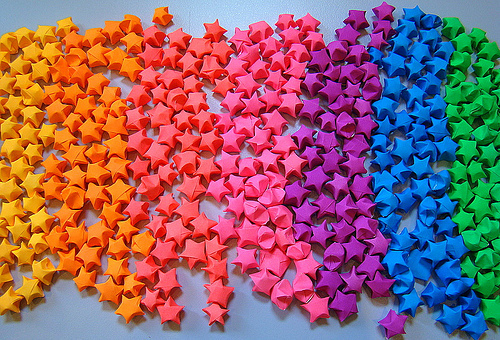
How to make a convex star out of paper?
Several beautiful young stars decorate the interior or serve as an excellent decoration for festive decoration of the room, greeting or add to a pleasant sensation of gift, as part of the package.
From what we can do:
- Of colored paper or pages of a glossy magazine
- Of the tools needed scissors
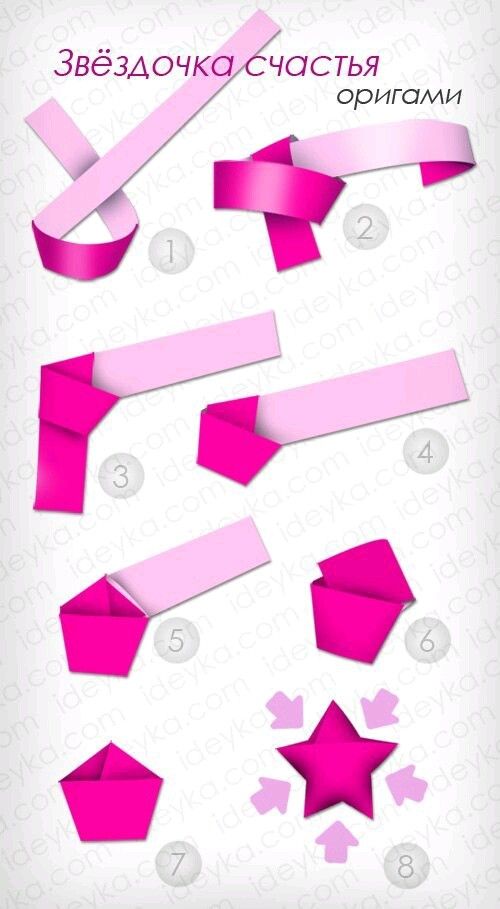
Note: An asterisk will look beautiful only if properly cut paper strips they should be equal. The length and width is selected depending on the purpose for which you choose to use an asterisk made with their own hands. We will cut the strips with a width of 9 mm and a length - 221 mm.

Convex asterisk paper
Instructions for the production of:
- Cut paper tape. We take one of them and start to make a star: to emerge in the form of loops (reference photo).
- Short tail wrap and form a knot. All the movements are carried out gently and slowly. After all, paper can easily be broken.
- Slowly tighten the resulting knot, pressing it to the base of the stars. Hiding tail, tucking in the middle to form a smooth pentagon.
- We are made the basis for the stars. We turn to the formation of the convex part. Long ribbon wrap each face of the preform, continuing action to form wrappings 12-15.
- We should get on each face at least two wraps. Hiding the paper tail into the middle of the blank. We have a pentagon between two fingers.
- Press one line, trying to get it the central part. We repeat the action with the rest of the edges before getting a beautiful bulk sprocket.
How to make a convex star
