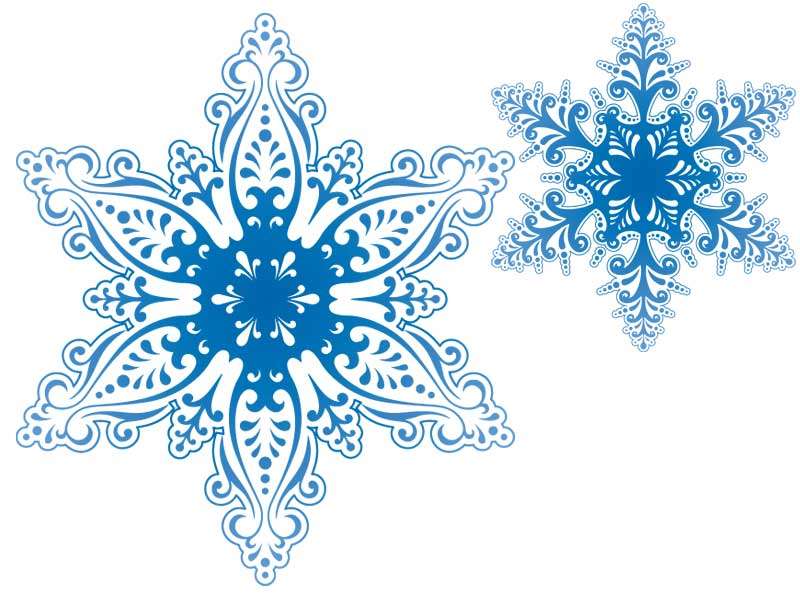
Home decoration on New Year's Eve Snowflakes is a real international tradition. At the same time, the creation of snowflakes from paper has become a real art that is striking with its masterpieces.
The content of the article
- How to make a bulk snowflake from origami paper?
- Volumetric snowflakes with their hands from paper: Schemes with instructions
- Video: Snowflake suspension in Quilling technique. Master Class
- How to cut snowflakes from paper with your own hands in stages?
- How to translate pattern for cutting snowflakes?
- Beautiful snowflakes schemes and cutting patterns
- Beautiful paper snowflakes do it yourself: photo
- Video: How to make simple paper snowflakes?
SnowflakesCreated by your own hands the best way to decorate your home for New Year holidays. The process of manufacturing snowflakes will help create an unforgettable festive atmosphere, especially if to create snowflakes to attract the whole family. This exciting occupation will not leave anyone else from your family members. With this simple lesson, you can truly reveal your creative potential.
How to make a bulk snowflake from origami paper?
Volumetric snowflakes They look very beautiful and unusual. They can be decorated and the Christmas tree, and the room. The main thing is to approach the task creatively and create your own unique design. To create a bulk snowflake in Origami technique you will need:
- Prepare 6 paper squares 5x5 cm. Better is better to take the slowest so that the snowfall keeps the form well
- From the same paper or from cardboard, take 2 mug, one 3 cm in diameter, and the second 2 cm
- Prepare the glue and decorations in advance. You can decorate the snowflake in various ways, you can use sparkles, rhinestones, colored sand, trimming the New Year's rain - everything you can apply
Our paper squares fold in the technique of "airplane", as shown in the scheme:
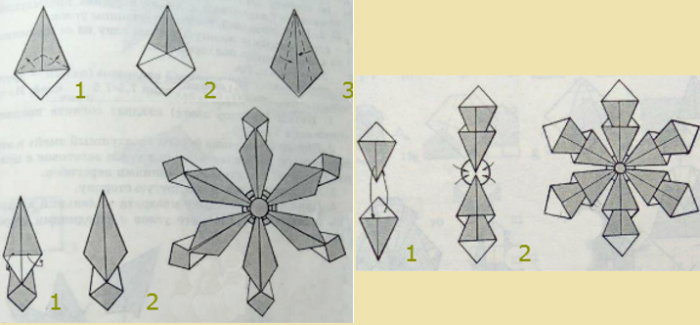
Snowflake in Origami
- Created 6 "airplanes" stick to a large circle with a diameter of 3 cm, and above glue a small circle to hide corners
- You can make a hole in a big mug with the needle and turn thread
- Decorate the snowflake to your taste
Second option creating snowflakes origami according to this scheme:
- Take 12 quadraticles of paper size 7x7 cm
- 2 Circle 3 cm and 2 cm in diameter
- Fold the cooked squares, as shown at the bottom of the scheme. Insert the 2 created billets one into one, fasten with glue
- Ready-made "rays" snowflakes stick to a large mug and cover the little on top
- Decorate snowflake with sparkles, drawings, stickers
In creating these snowflakes, the main thing is to use the blanks for the "races" same size. Paper take any color. Very beautiful will look such snowfish both just white and multicolored. Experiment and boldly follow the call of your fantasy!
Volumetric snowflakes with their hands from paper: Schemes with instructions
Volumetric snowflakes cut out of paper look very beautiful and unusual. Consider several options for creating such masterpieces.
"Classical Volume Snowflake"
Such a snowflake is done very simple, here the main thing is to be patient:
- Prepare 3 sheets of A4 format. Color Choose at will
- Cut the sheets smoothly in half
- You will have 6 blanks
- Each billet fold diagonally and put it in this way, as shown in the first picture of the scheme
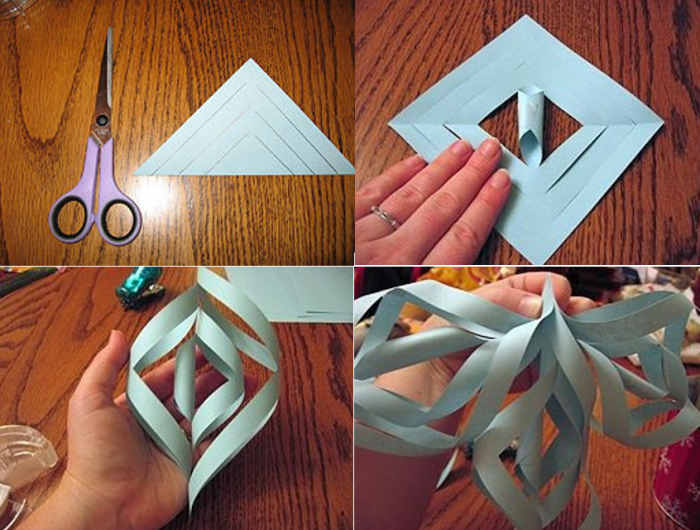
Space Snowflake Scheme
- After cuts, expand the workpiece and put on the table
- Coming to the center stripes are built by a stapler or glue
- After turning our future snowfall on the opposite direction and secure the following stripes just like the first
- Crerate all strips pairwise with each other
- You have to get the item depicted on the third picture of the scheme
- Do the same actions with the remaining five billets
- After all parts are ready, take 3 of them for free corners and secure the stapler
- Exactly the same procedure to do with the remaining three details.
- Two full halves of snowflakes connect to one whole
- Using a stapler, we secure individual rays among themselves so that the snowflake does not lose the form
Your volumetric snowflake made of paper is ready. Very beautiful such snowfish will be shown in different color. You can also use one-sided colored paper whose reverse side is white. It turns out very beautiful and unusual.
Snowflake "Fabulous"
Take:
- A4 paper sheet, fold them diagonally, cut the tips to get 2 squares
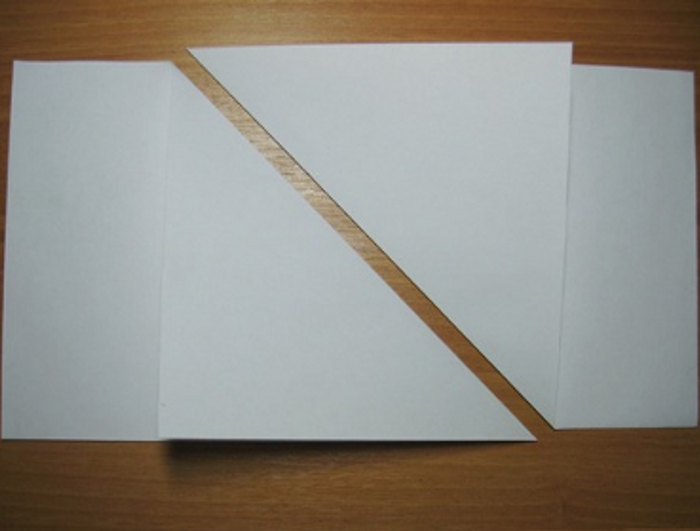
Billet for snowflakes
- The resulting squares do not instill and fold them again on the diagonal
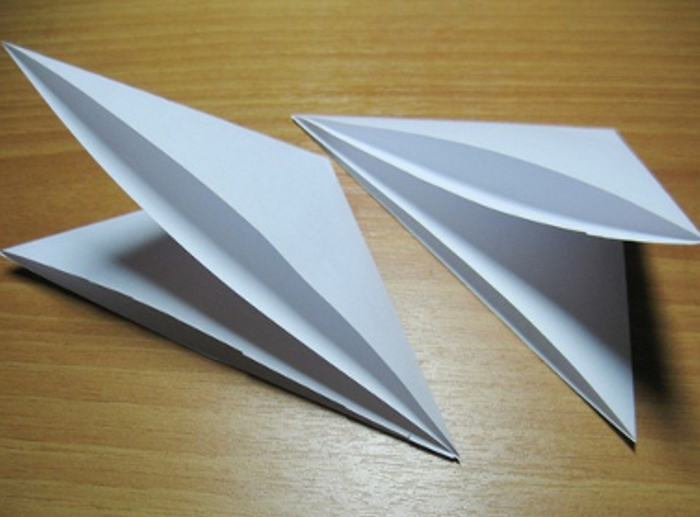
Squares need to be folded into triangles
- Cut the petals from the squares, as shown in the photo
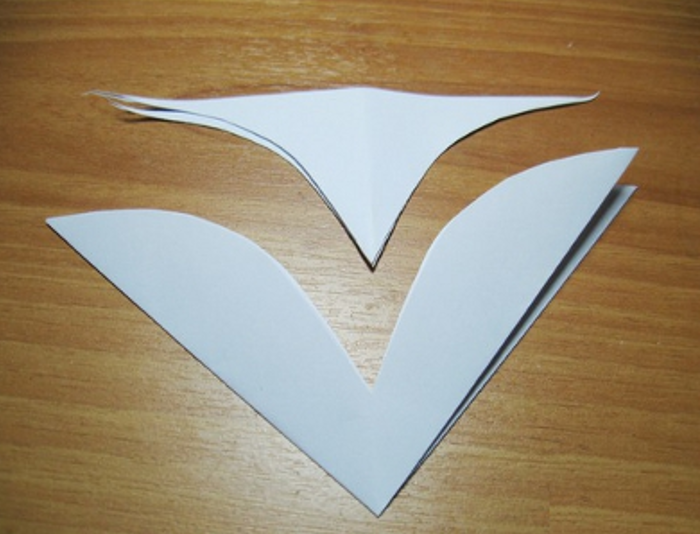
Blank "Petals" for snowflakes
- Everyone got on petals make 2 incisions on each side, as shown in the photo
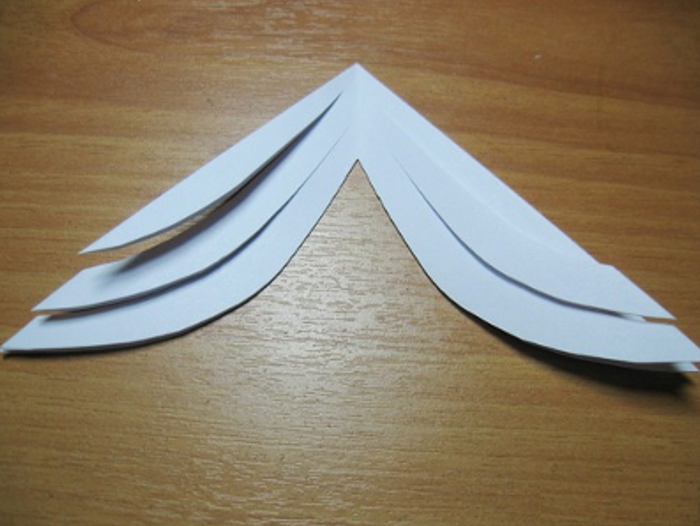
Create patterns on the workpiece
- Expand our zagotovochku. Here's what you should have
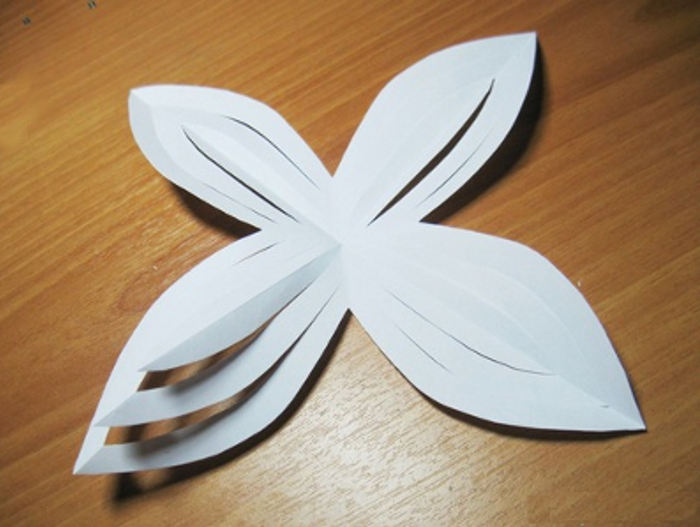
Creating petals
- The result was a flower with four petals. Now the average striped paste each petal of the flower to the middle,
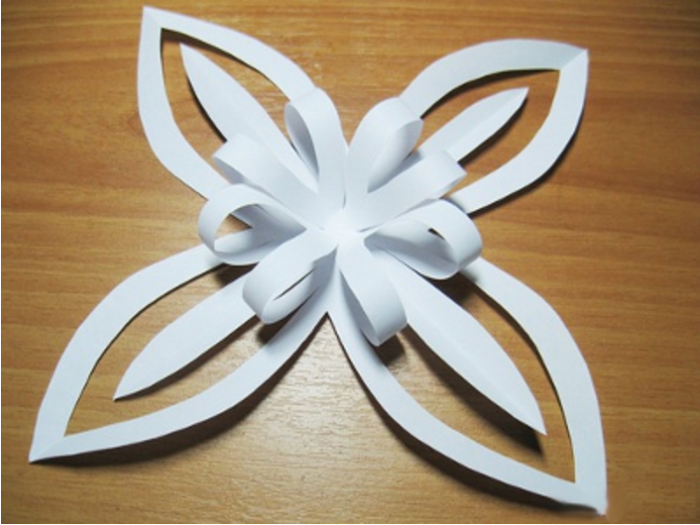
Rounding petals can obtain three-dimensional snowflake
- All the same actions and make the second workpiece
- Now that the two parts of our volumetric snowflakes are ready, you need to glue them together. Needed glue to the underside of the wrong side of and crosswise to happen like this
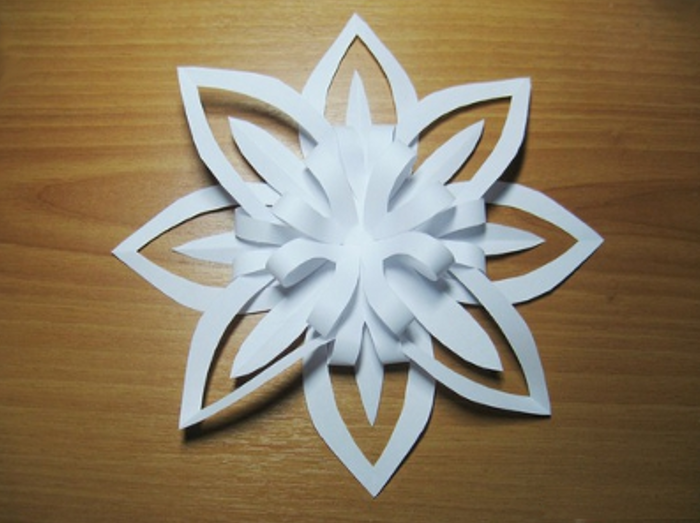
Finished snowflake
- For the convenience of the corner of snowflakes can be attached to the thread
- Volume snowflake ready
Bulk snowflake art Kvilling
Make such beauty is very easy. Snezhinochka looks so light and airy, and it is very simple:
- Take eight paper slips width of 1 cm
- Each of their slips fold so that one end is longer than 1.5-2 cm
- Screw tip of each folded slips on toothpicks. Twist the ends inwards
- Each of the first detalek merge in pairs, and then all together. Whorls seal the same with each other so they do not untwisted, and has not lost a snowflake shape.
- In the photo is clearly visible structure of a snowflake
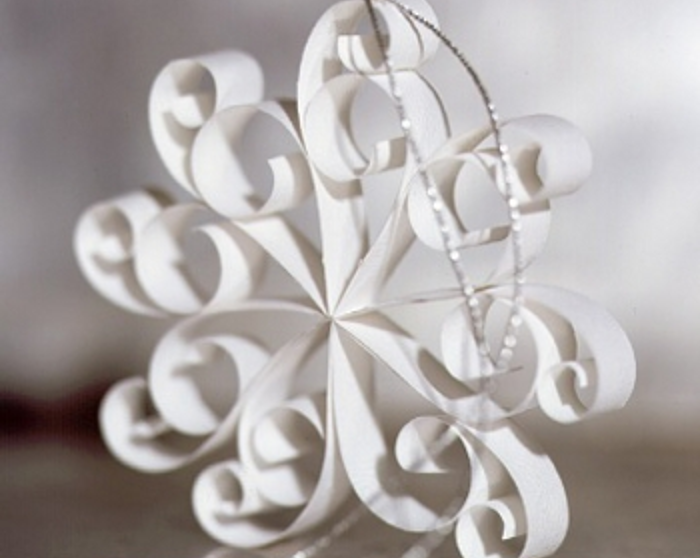
Snowflakes in quilling techniques
There is another way to create a volumetric snowflakes from paper quilling technique. This quilling snowflake make it even easier than the previous one, for this you will need:
- Strips 12 of thick paper with a diameter of 1.5-2 cm
- Using a toothpick or spokes twist spiral strips of paper
- Give the paper a little loose
- The obtained tidy curls glue between themselves so that the end curl gelled with another part. First row detalek 6, the remaining 6 therebetween
- While the glue will dry up, it is possible to bond curls using paper clips to Snezhinochka not split
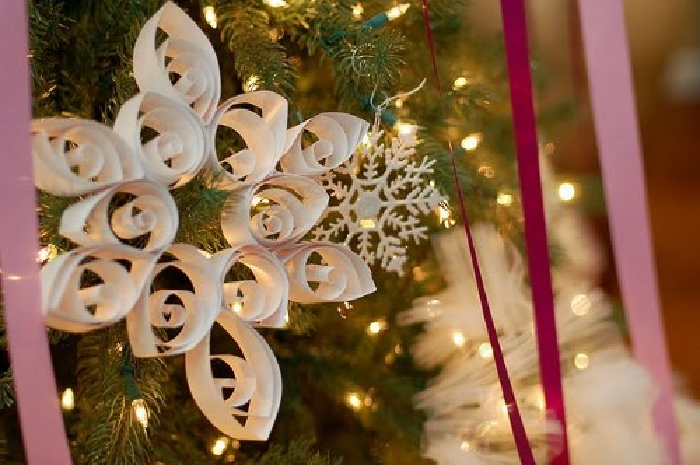
Bulk quilling-snowflake
Video: pendant snowflake in quilling techniques. Master Class
How to cut snowflakes out of paper with his hands in stages?
All you need to cut out snowflakes - Paper, Scissors, Christmas mood and boundless imagination. Better to take as a basis plain white paper - it is better if it is not too thick, but not too thin. While snowflakes are easy to cut, and will not explode in the process.
To cut snowflakes you will need:
- Paper, A4 or A5 (white or any other color)
- Manicure scissors and ordinary. With conventional cut the paper into equal squares, and with the help of nail cut out patterns
- Ruler for measuring pencil smooth square billet and to approximate sketch pattern
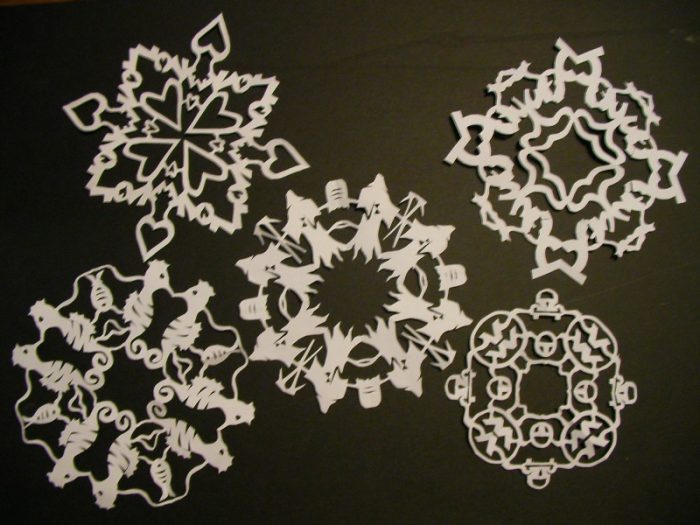
Various patterns of snowflakes, which you can create personally
Let's get started:
- Take a leaf A4, fold it diagonally, the free end of the single cut. Thus you get a flat box - blank for snowflakes
- Fold the resulting square diagonally, and then a few more times. You should get a triangle. Take care to keep your harvesting not too thick and scissors can cut through it well
- Pick up your triangle so that you can see the direction of the bend and start to cut a snowflake
- Try to cut out triangles, ovals, circles, zigzags, squares
- The more shapes you cut, the more "open-work" will be your Snezhinochka
- Once you've decided that finished with patterns and figures, expand your crafts
- If something did not work the first time, do not worry. Try again, experiment and succeed
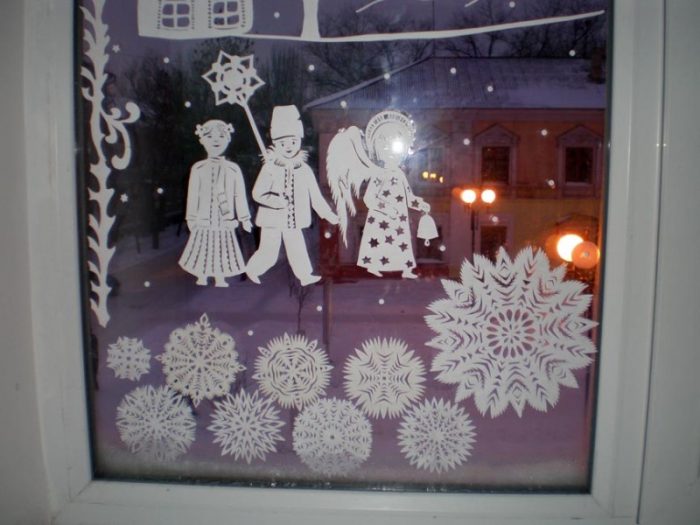
That's how you can decorate the window snowflakes
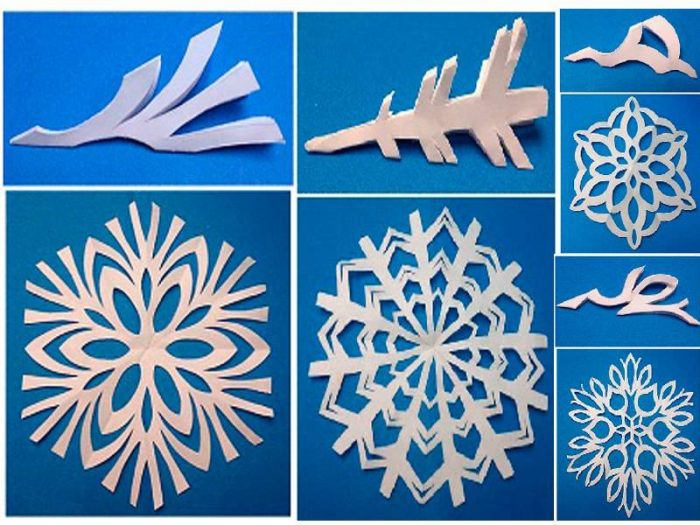
Templates for creating simple snowflakes
How to translate the pattern for cutting out snowflakes?
You can find ready-made templates for cutting out snowflakes and simply transfer the patterns on the vegan Triangular blank. So it will be much easier than coming up with their own pattern and you will immediately know what you get snowflake. You can print a template ready, transfer it to paper and just cut a snowflake.
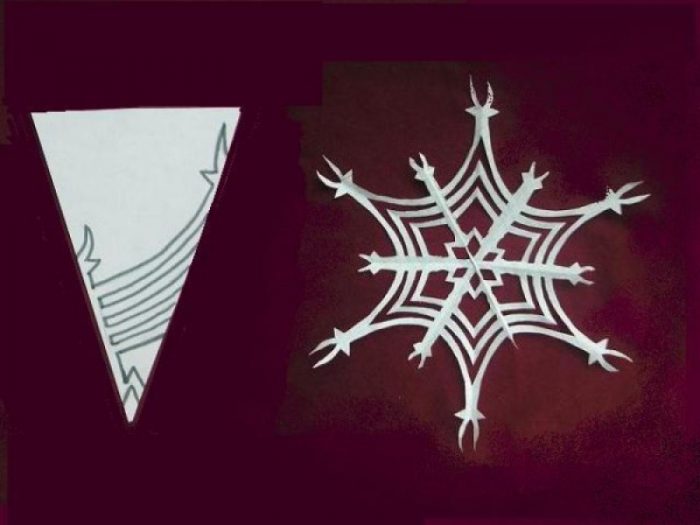
Template for creating snowflakes
Beautiful snowflakes schemes and templates for cutting
We propose to consider a few ready-made templates to cut snowflakes. Just transfer the pattern to a workpiece and create a triangle.
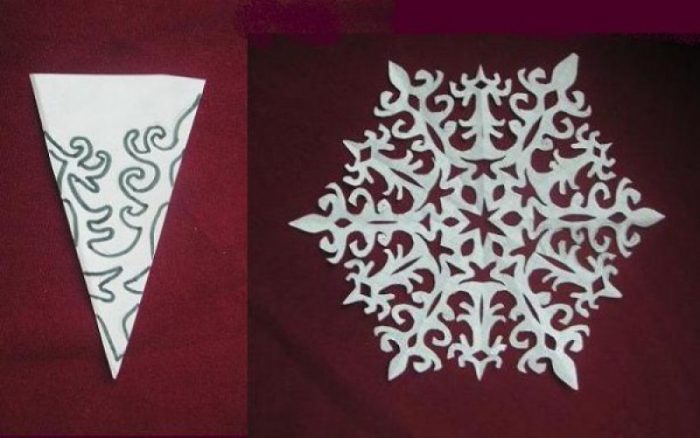
The original template snowflakes in oriental style
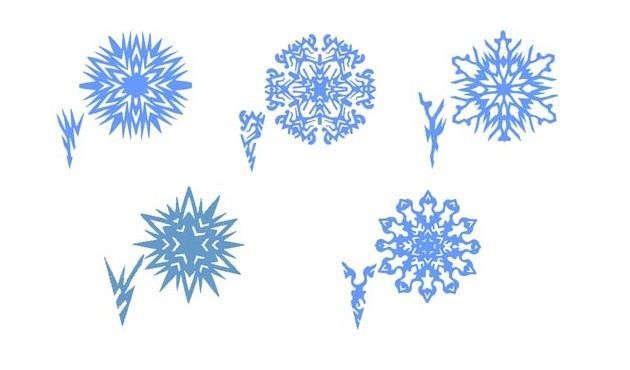
templates snowflakes
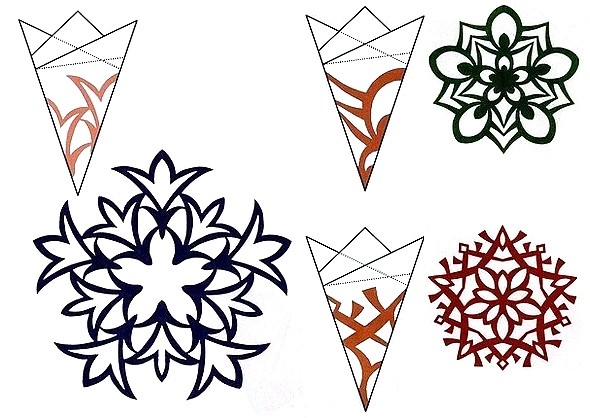
Templates and ready snowflakes
From ready snowflakes can create an original and very delicate Christmas garland with dancers:
- Prepare snowflakes on your taste. They will serve packs for our dancers
- Redraw on a print sheet or shemku
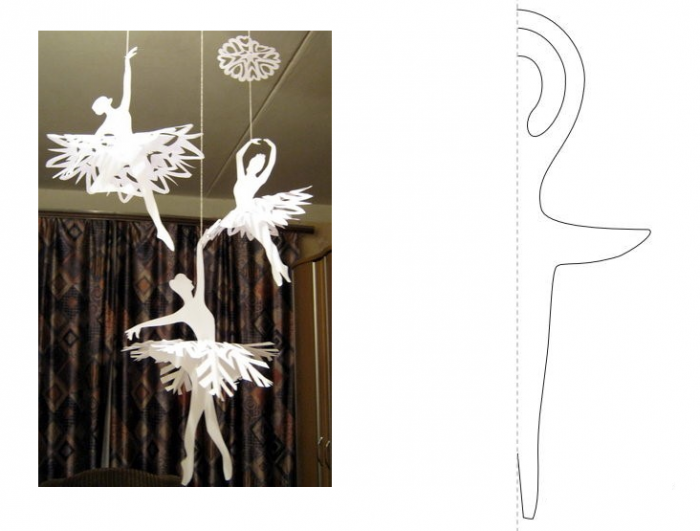
Template snowflake "Ballerina" and ready to garland
- Fold in half and cut out a leaf on a path. This will be our ballerina
- Make several of these silhouettes, put skirts snowflakes
- To do this in the middle of snowflakes make oblong slits. Strung ready "dressed in a pack" Ballerina on a thread. Our garland is ready
We also suggest try creating snowflakes with the symbols of the year on the Chinese horoscope:
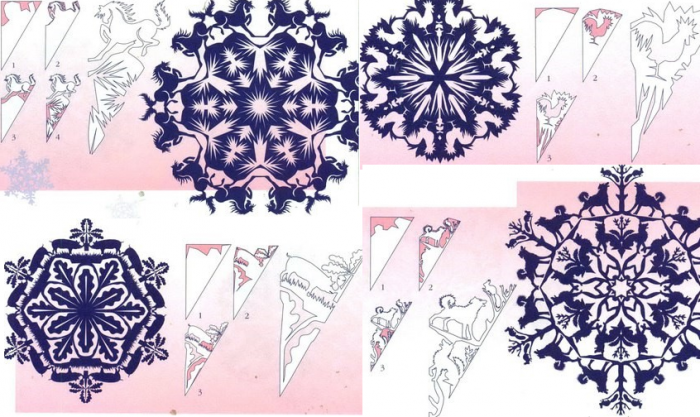
Chinese horoscope snowflake templates
Such templates "on the teeth" already experienced masters, but trying to everyone
Beautiful paper snowflakes do it yourself: photo
Beautiful snowflakes from paper under power to create absolutely everyone. Main, attach maximum effort, effort and fantasy. And, of course, do not forget about the miraculous strength of the festive pre-New Year mood.
Such beauty can be created to joy yourself and the whole family:
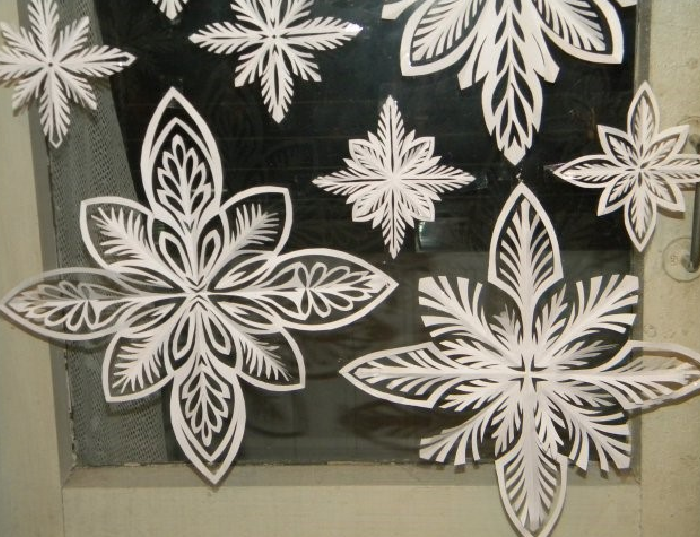
Christmas snowflakes from paper
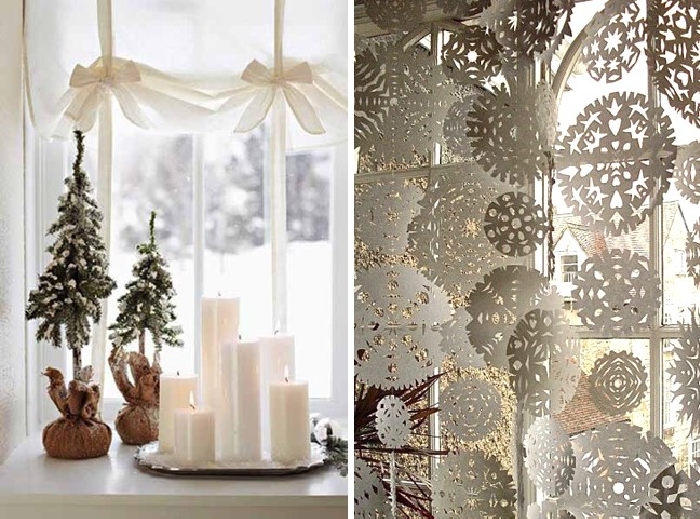
Snowflake cutting - interesting occupation for the whole family
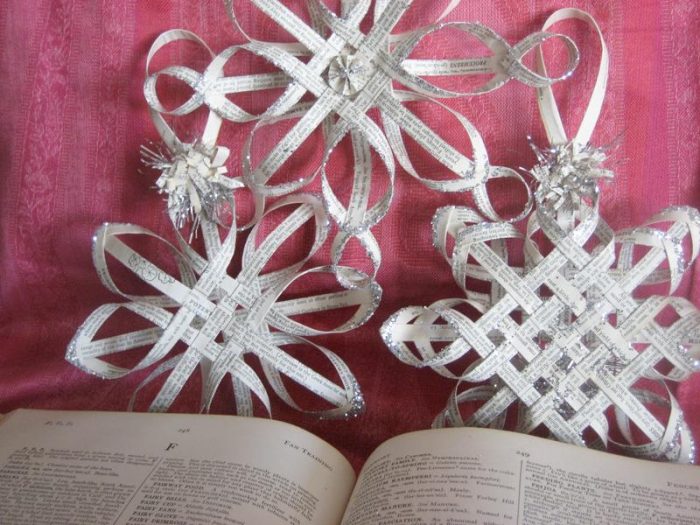
Original volumetric snowflakes with decor
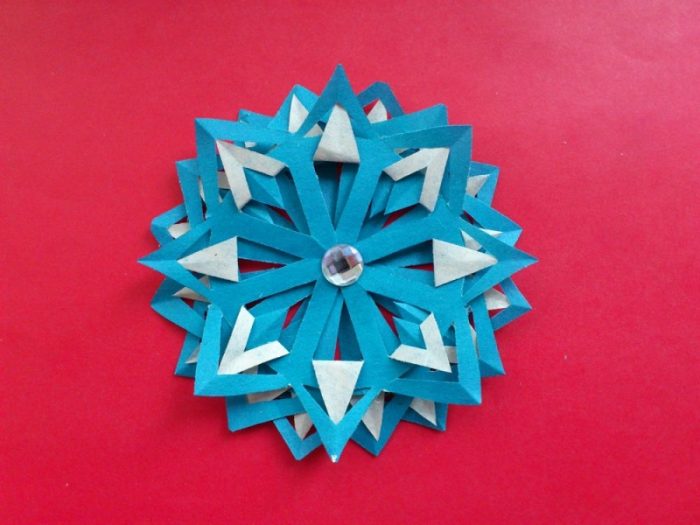
Blue paper snowflake
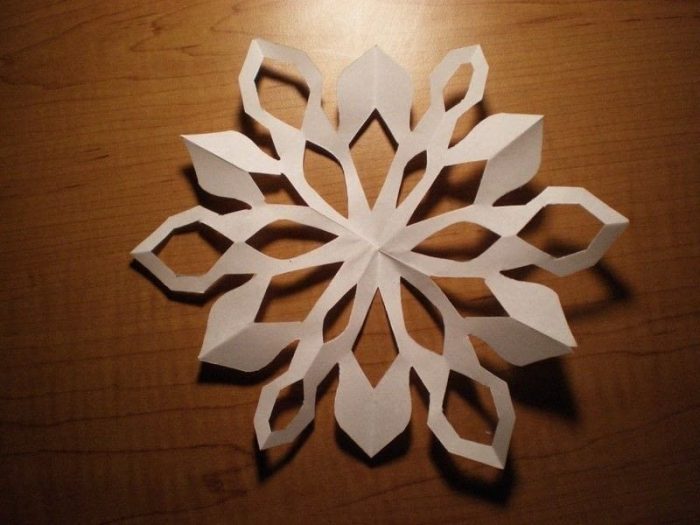
Easy paper snowflake
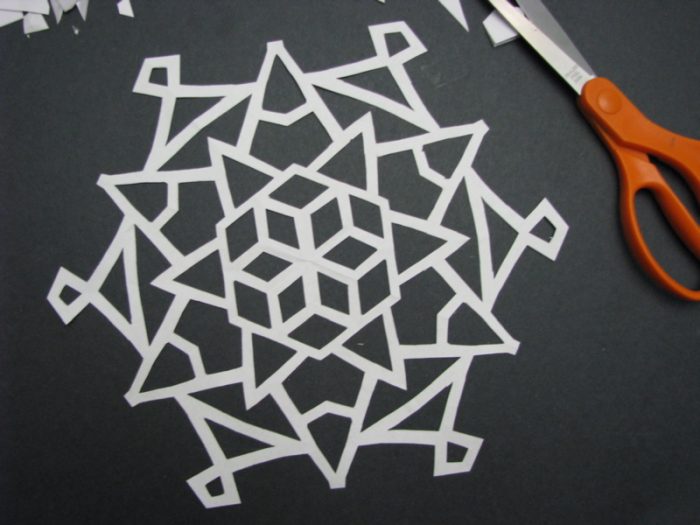
Snowflake with geometric patterns
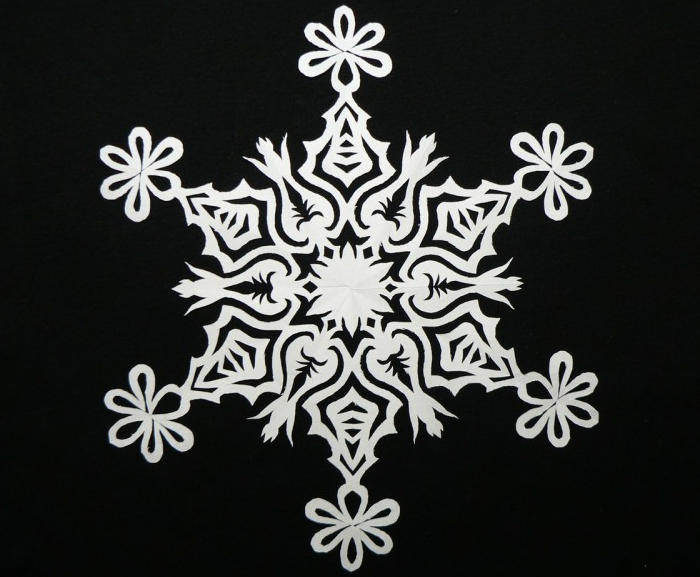
Difficult paper snowflake
