In order to please Mom on Mother's Day, it is worth just to make her a beautiful postcard.
The content of the article
- Greeting Card Chamomile for Mother's Day
- Postcard with Applique and Pattern for Mother's Day
- Postcard in Mother's Day Quilling
- Postcard from mother's napkins
- Postcard in the shape of a day of the mother
- Postcard with pompoms for the mother's day
- Postcard with an embroidered card for mother's day
- Postcard for Mother's Day with the image of the palmus
- Mother's Day postcard for kids 1-3 class
- Postcard in the form of sweets
- Video: Mother's Day. Card for mom do it yourself
Mother's Day, holiday, which is celebrated every year, at the end of autumn. This holiday is special, because on this day we try to delight mom, not only with words, but also with gifts. And the most pleasant gift will be made by their own hands, because the child puts the child in him and makes it from a pure heart.
Any of the presented MOM options will definitely appreciate and will be happy, because it is made with love and independently.
Greeting Card Chamomile for Mother's Day
The first question that arises from the kids to give mom for the mother's feast? The original and easiest gift will be the postcard that the child will make himself. For this gift, you will not need a lot of materials, and much can be found at home. It will not be so neat as purchased in the store - the main thing, the child will invest all his love and attention.
There are many options and idle ideas, depending on the age of the child and the presence of material.
For example:
- For children who are still in kindergarten, simple appliques are suitable with a circuit that needs to be prepared in advance. Since kids still do not use scissors, all items must be cut.
- Children 4-6 years can already draw themselves and collect the composition for the postcard, and even cut all the elements.
- Little schoolchildren boldly own scissors and can work with decorative ribbons, beads.
- Class 3 guys can make cards in different techniques, following instructions.
You need:
- 1 sheet format A4
- Multicolored cardboard and paper
- Glue
- 1 sheet of paper with drawing
- Simple pencil
- Knife
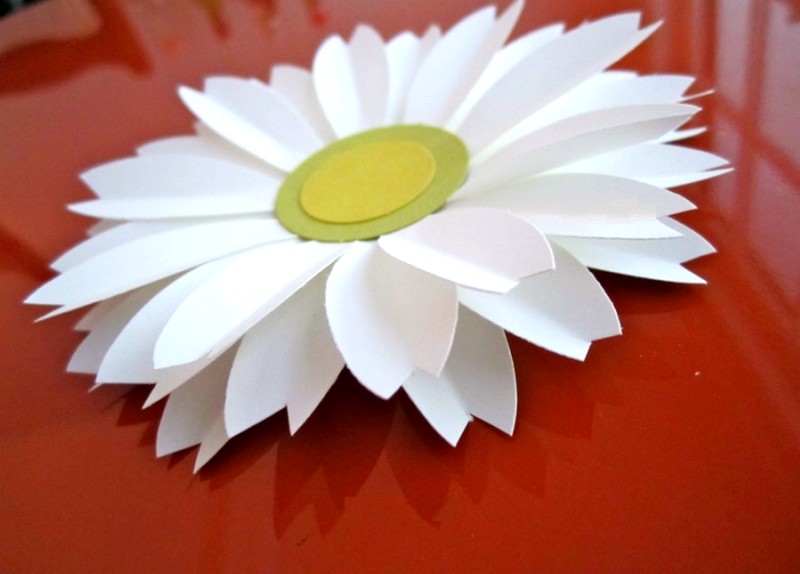
Chamomile
So, proceed:
- Make a daisy petal pattern from white paper. The number of petals should be 32. Make a 2 mug from yellow paper, it will be middle.
- To beautifully wrap the petals, use a pencil. Half petals glue one of the halves, and the rest to the other. As a result, we received 2 chamomile.
- To create a volume, you need to glue 2 chamomiles with each other.
- Yellow cardboard Bend half and draw a chamomile in the center and very carefully cut it out. The sheet should not, damage, because it will be the basis of the future postcard.
- Color paper cut out the form of one of the halves of the postcard and stick to the inner side.
- Cut out the thin strips of green and wrap them with scissors in the spiral. We glue to the chamomile. Pencil draw the ladybugs and cutting them out, stick to the chamomile.
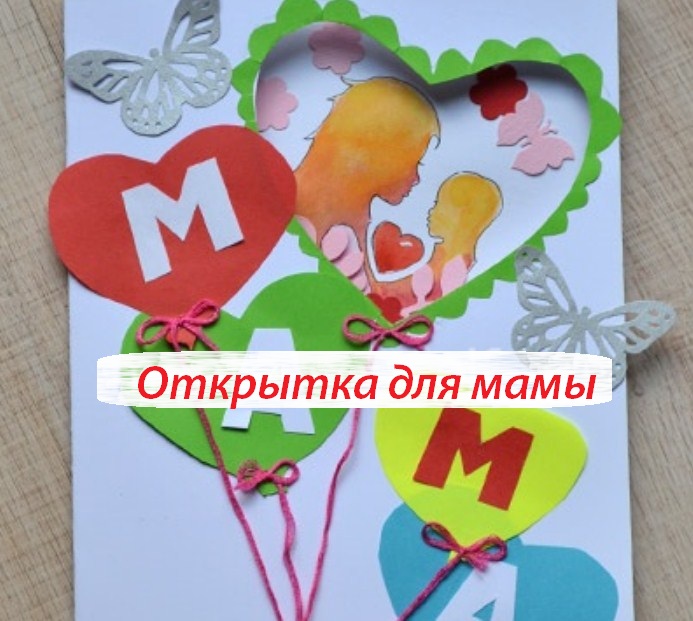
Postcard with Applique and Pattern for Mother's Day
- The basis of the postcard should be made of thick paper or multi-colored cardboard. On the front part it is necessary to cut a heart. It can be located anywhere, at the bottom, in the middle or on top. It can be outlined by markers or pencils by contour.
- From colored paper cut the heart of different shapes using multicolored paper. They should be 4.
- Enclose the heart so that they resemble the balloons.
- On the balls stick the word mom.
- Take a thread of any color and connect her balls.
- Inside the postcard, draw mom and child, and heart between them. The drawing can be decorated with various decorative elements in the form of butterflies, flowers, birds.
- In the postcard, write the most affectionate words you want to say mom.
With hearts
All - Card ready!
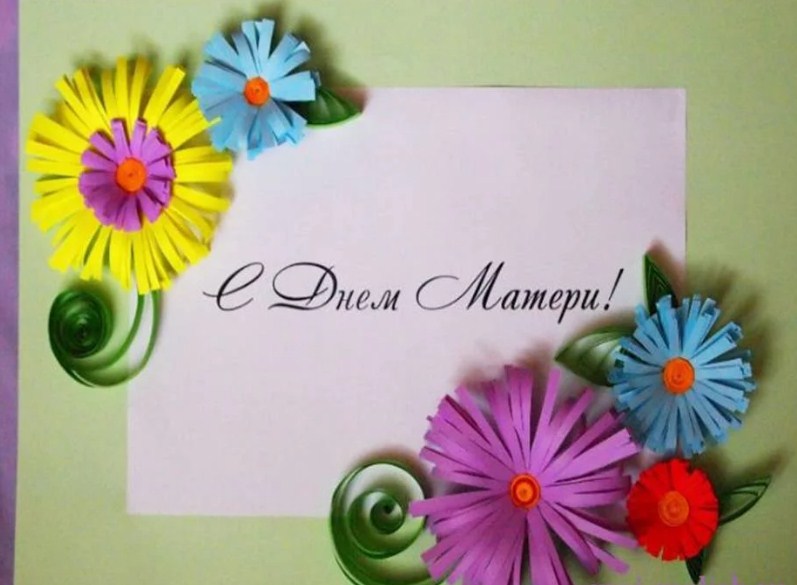
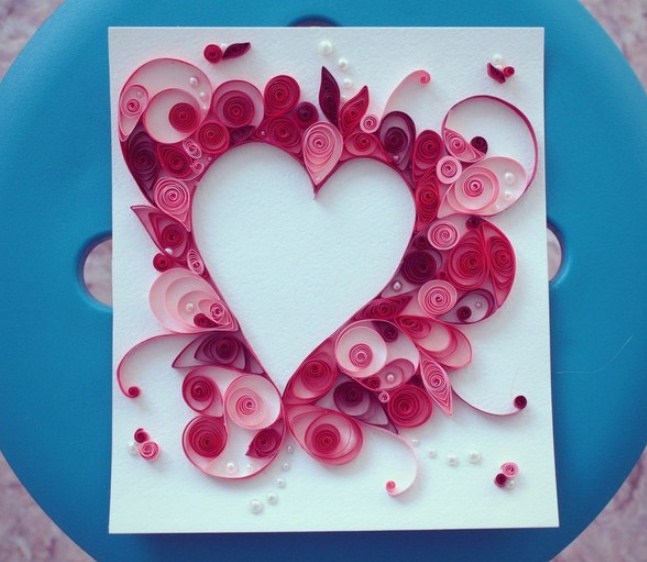
Postcard in Mother's Day Quilling
Quilling is the art of the manufacture of flat or volumetric compositions from twisted in the spirals of long and narrow paper strips. Strips must be purchased in the store. The postcard in this technique will be colorful and unusual. At first glance it may seem that the technique is very complicated, in fact it is very simple. Making a postcard will not be any difficulty even for a child.
You need:
- Color double-sided paper
- 1 Toothpick
- Tool for twisting strips can be purchased in the store
- Scissors
- Glue
Let's proceed:
- If you do not have a ready-made queen material, you can do it yourself. Green paper cut out strips with a width of 5 mm. Strip one of the strips to the toothpick and, removing from it, let's spin a little. To the element does not spin, glue the tip to the base.
- To give shape, for example, to make a leaf, press the part on one and the other. Make several such leaves.
- We make flowers. The width of the strips should be 35 mm. We fold the strip 4 times and on one side we make thin incisions, but, not reaching the edge of about 5 mm.
- Make it from yellow or orange paper, strips of 5 mm. One should be twisted very tight and glue the end. As a result, the middle of the flower came out. Glue the part with the fringe to the base of the flower, wrapping around.
- The end with the fringe should also be glued to the base, and straighten the petals with a toothpick. By the same principle, you can make several buds. They can be of different sizes and a flower.
- To make the middle of the flower color, you should use several colors together, or alternating.
- The flower can also be made color. First, make a smaller flower, and glue it to the base, but do not straighten it, and on it, glue a part with a fringe of a different color and a little larger.
- Green curls will also help decorate the flower, which also make from green stripes, but this time do not glue the end, but let the curl of spin.
- Having collected all the elements in the composition, glue it on the basis of your postcard.
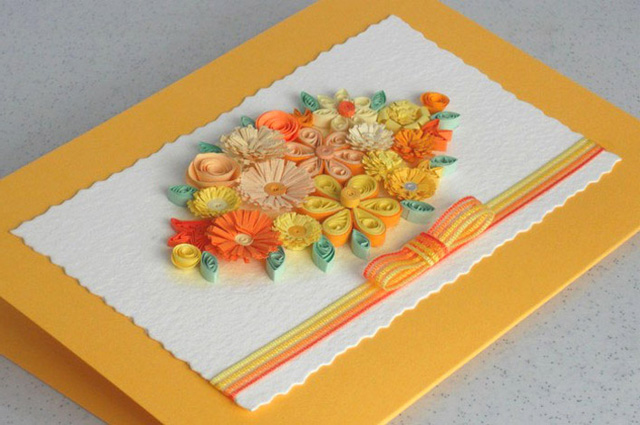
Card
By the same principle, you can make a card in the form of a heart:
- Take the white cardboard in half and stick a red or orange heart on it.
- According to the quilling technique, make a lot of blanks in the form of circles of pink, red, yellow and orange. The size is arbitrary.
- On the heart, begin to glue our round blanks in a chaotic order. That the circuit would be clearer, glue a strip of paper along the edge of the heart.
A heart
A congratulatory card for mom is ready!
Mother's Day postcard
For her we will need:
- napkins (different colors, single -layer)
- cardboard of different colors
- skewer
- stapler
- simple pencil
On napkins we draw small circles. Cut the elements. Take the basis for the postcard and bend it in half.
To make flowers from blanks, we need to fasten them in the center with a stapler. Spread each of the petals. Make the petals from the green napkin, twisting the cloth tightly and also leaflets. Glue all the elements onto the postcard in the form of a bouquet in a vase.
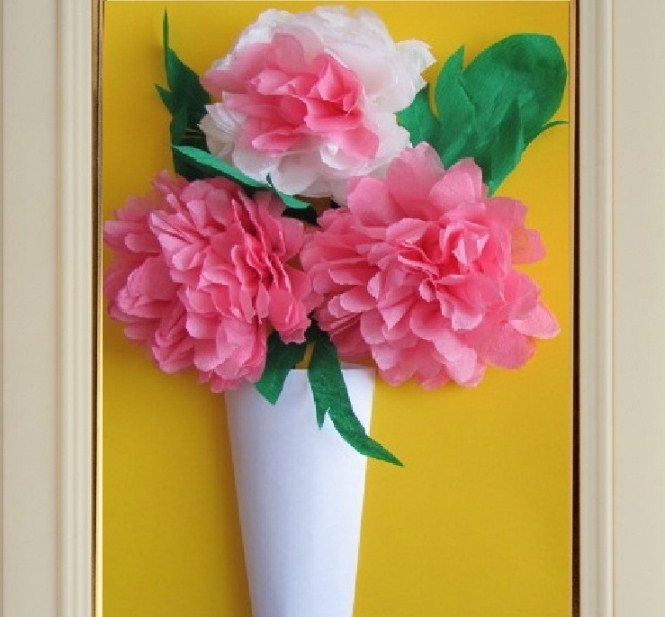
Bouquet
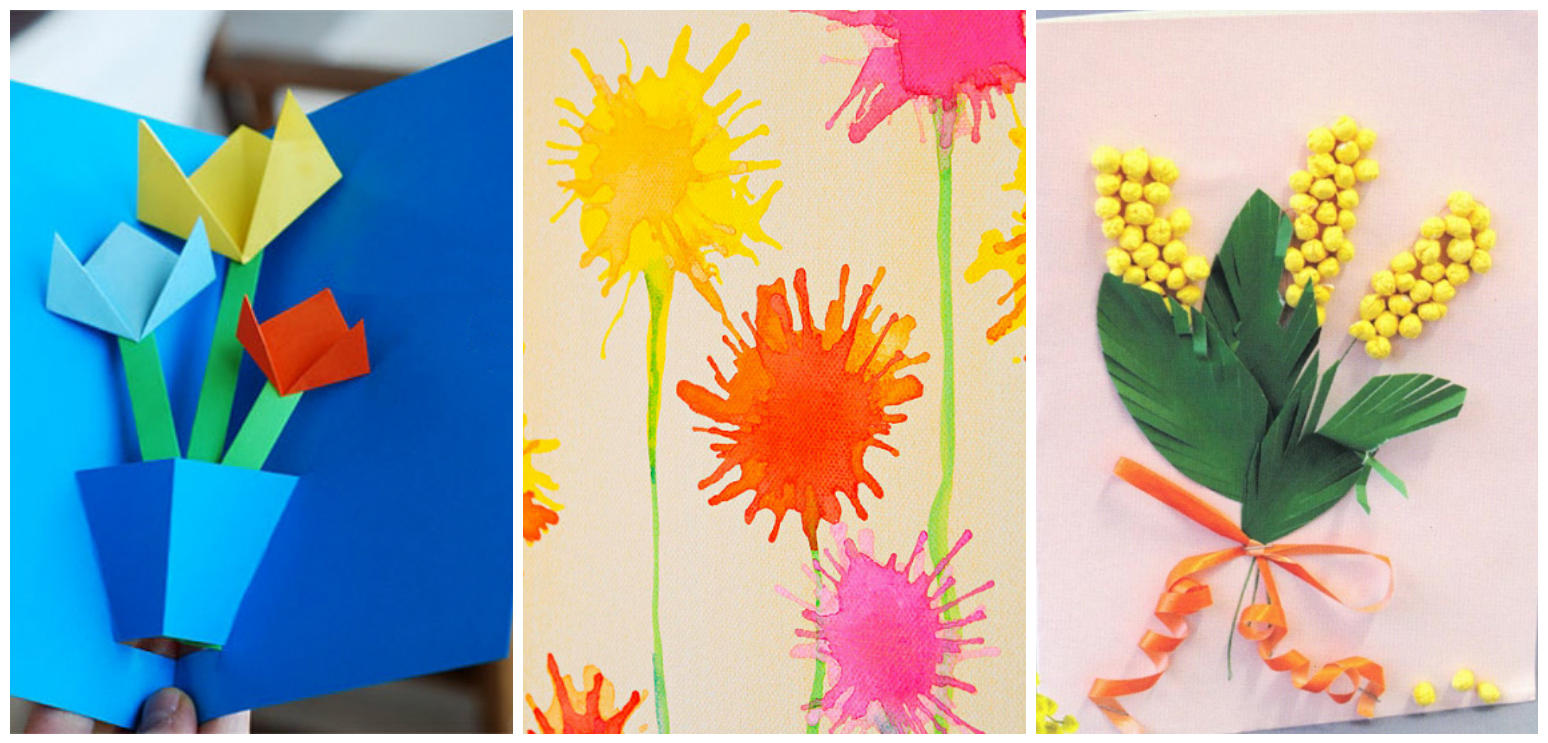
A postcard in the form of a dress for Mother's Day
Dress make in the style of scrapbooking from a newspaper or magazine. It is necessary to take a page from the book, newspaper, magazine, or not a notebook. We draw the bottom of the dress with folds, whatever it looks volumetric. On a tight cardboard sheet, draw the top of the dress (it can also be cut out of the newspaper).
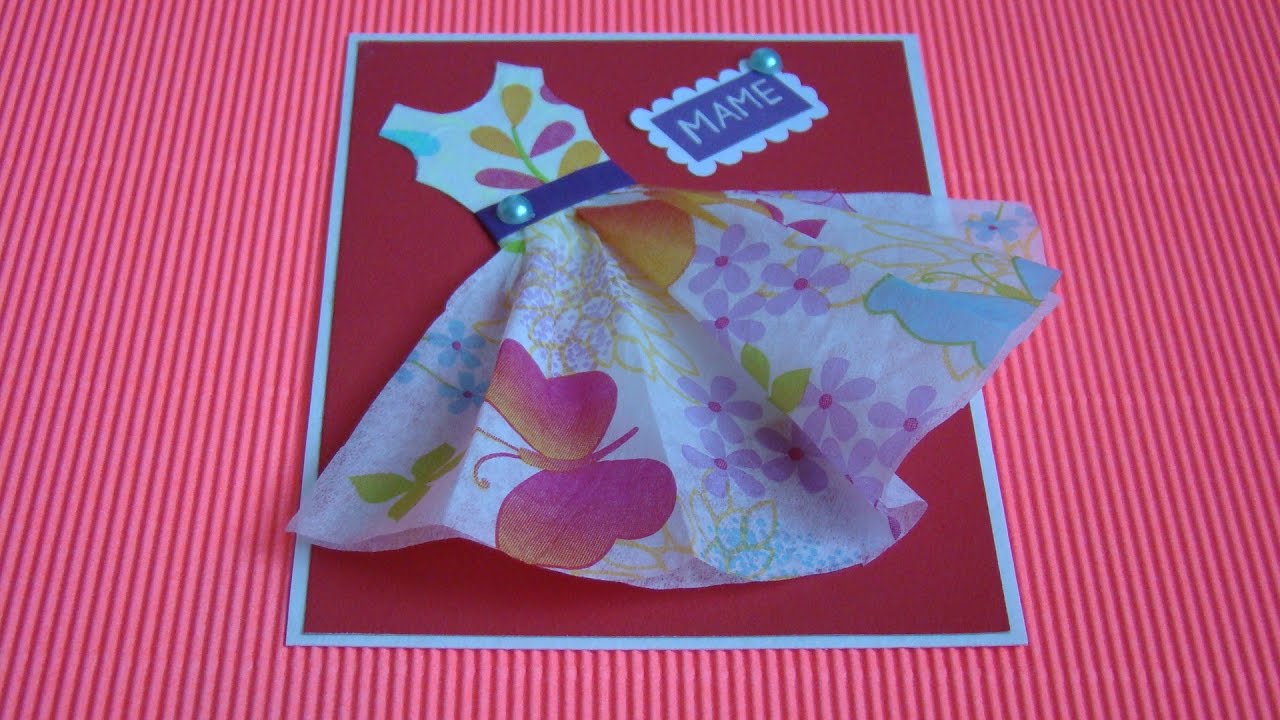
The dress
Make folds using a ruler. Get the finished billet to the base, giving the scope. When all parts are glued, proceed with the decoration of dresses with different beads or ribbons.
Postcard with pompoms for the mother's day
All items for the manufacture of pumps are quite simple and the postcard will be the original.
So we need:
- 1 tight paper sheet
- Sharp colored pencils
- Adhesive Pistol
- Glue
- Yarn or other fabric
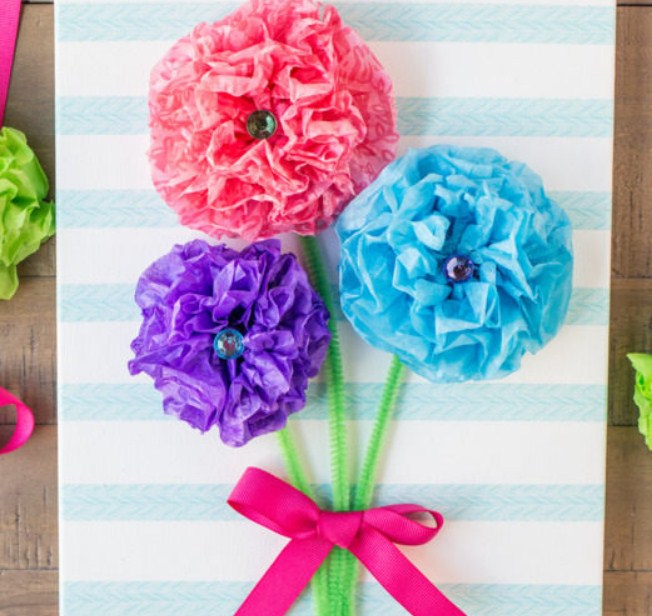
With Pomponami
Working process:
- Cardboard leaf bend in half for the basis of the postcard. Background color with pencils.
- Pompons can or buy ready-made in the store, or do it yourself. Take threads and wind it on the plug. The more layers, the pompon will be more magnificent.
- Then remove the workpiece and link in the middle. Cut on the edges place the connection of the thread.
- Threads can be used any colors or combine them together. Spray the pomponchik. The greater the basis for cheating thread, the pompon will be released more.
Stick ready-made pumps to a postcard.
Postcard with an embroidered card for mother's day
Such a postcard can be trusted with older children who know how to work with a needle.
You need:
- Tight bright threads
- Pencil
- Needle
- Cardboard for basics
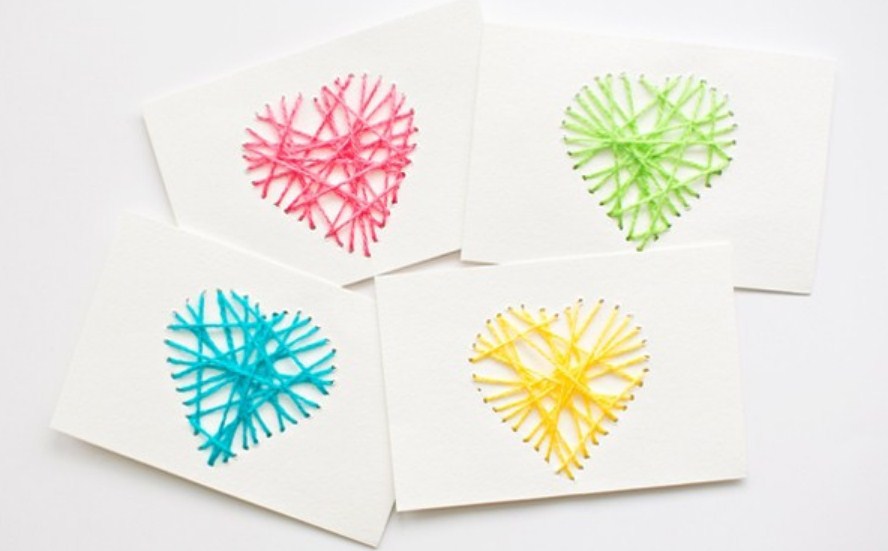
A heart
We fold the cardboard in half and draw a colored heart with a color pencil. Need a needle on the outline of the hole. Now inhale threads in needle and start connecting opposite points to each other. Be careful enough to do not break the base. The original postcard is ready!
Postcard for Mother's Day with the image of the palmus
- On a white sheet, circle your palms that will touch, creating a postcard.
- Bend 2 halves.
- Get palms on thick paper or multicolored double-sided cardboard. And cut down the contour, retreating 1 cm. Place them in the shape of a heart.
- Cutting 3 hearts from red paper. Stick it to half the palm.
- Cut the flowers from the colored paper and stick them into the postcard.
- And, of course, congratulations to the beloved, dear mom.
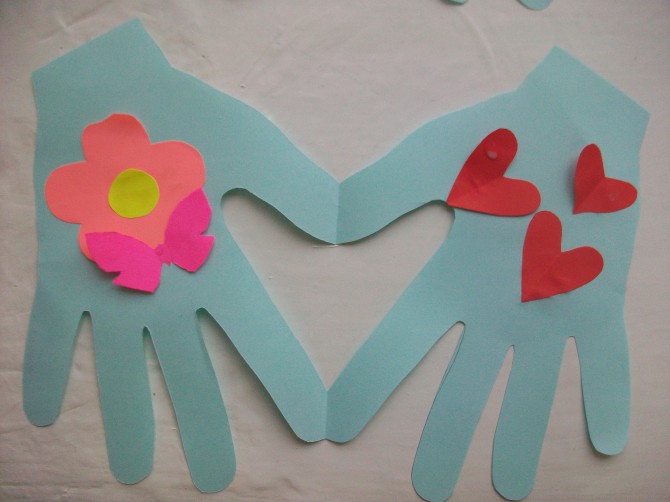
Pens
Palms warm mom in the most cloudy day and raise the mood.
Mother's Day postcard for kids 1-3 class
- Beige cardboard give the shape of the square and fold it in half.
- Open the workpiece and glue the white paper, but 1 cm is less than the base.
- At the bottom of the front side, glue the drawing.
- So that the connection was not noticeable, decorate it with a decorative ribbon.
- A bit above the tape can be glued lace. All decorative elements glipulate the gun.
- Make a bow from the ribbon and decorate a postcard. Sign the postcard in gentle words for mom.
Ideas
Postcard in technique applique
To get started, we need to prepare the foundation of thick paper. For leaves, flower and stems make modules in the form of a double triangle. For a flower, 4 triangular forms are needed, and for leaves one. Leaf and stem will be green, but for a flower, use double-sided paper.
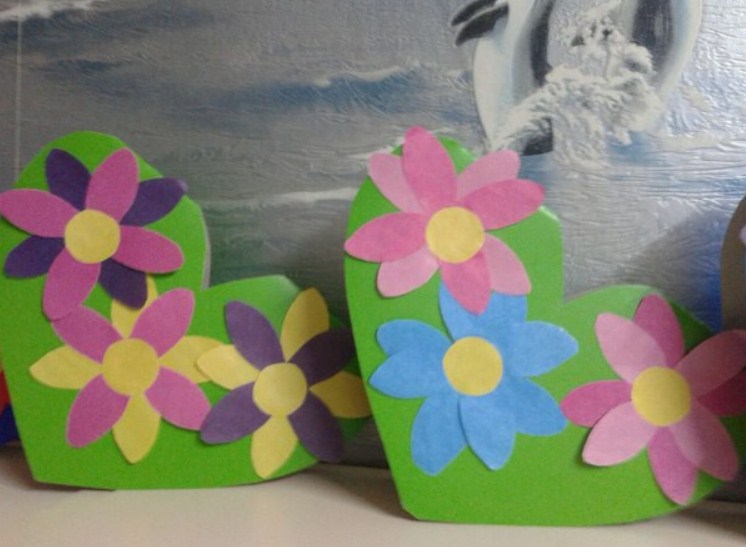
Flowers on the heart
- For a flower and for leaves, we produce 4 squares for the flower and 1 with parties of 10 cm for leaves.
- From the received squares, we make triangles by folding them diagonally. Expand and fold on another diagonal.
- Fold the square in half to come out the rectangle and again, expand the part. As a result, we had a square with two diagonal bends and one transverse.
- We fold on the planned lines of the bend double triangle.
- The resulting form fold in half.
- Pencil give the shape of the heart and cut off unnecessary pieces.
- Deploy the workpiece. We had a heart.
- All, too, do with the rest of 3 billets.
- For a leaflet, the cut line should be wider.
- Long narrow paper strip will be stem.
- We start the assembly. Stick one to another all flower details.
- For giving volume, lift, layers of parts.
- Glue stem and leaves. You can also supplement the postcard with other elements at your discretion and fantasy of the child.
Postcard in the form of sweets
Required material:
- Gouache paints.
- Brushes
- Cardboard
- Colored paper
- PVA glue
- Multicolored knots
- Sharp scissors
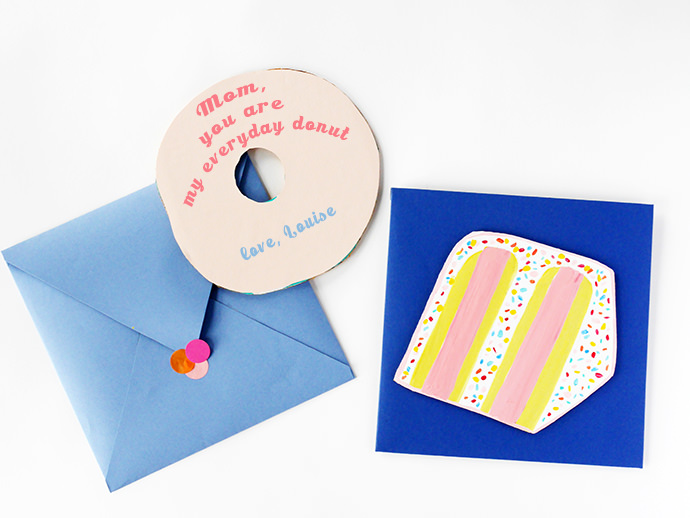
Donuts
Let's proceed:
- Draw an envelope on a sheet of thick paper. Cut and glue the converter. You can also buy a finished color envelope without inscriptions.
- On the cardboard, draw a circle so that the form fit into the envelope. Inside the details, draw the circle is smaller, so that the shape of the donut. Exterior edges must be wavy.
- With the help of paints, color donuts. Color can be any. By the same principle, you can make your favorite sweets mom.
- When paint dried, write on the back of the congratulation.
Tasty postcard with Mother's Day is ready! Whatever your postcard you do for my mother, she will be especially the way to her, because filled with love and sincerity. Appreciate and love your moms!