May 9 - a great holiday. Let's spend this holiday along with your children - for creating postcards.
The content of the article
Spring brings not only warm, bright greens and affectionate sun rays. On its wings, Spring brings a series of holidays, among which there is one very special. This is the day, about which our grandfathers and grandmothers, as well as the great-grandfather and great-grandmothers remember with tears in their eyes. Day, when each family should lead their children to visit them and listen to stories from which the heart freezes.
Creating a postcard for veterans on May 9 is not just a snaps. This is an educational moment. By making a postcard, you will be able to tell children about the war in parallel, about the horrors that she carries and about the values \u200b\u200bof human life. Today we will tell you about the simple and interesting ideas of postcards that will delight your veterans.
Postcard by May 9 with cloves
This postcard is suitable if your handicraft is designed to be a close person, remembering the war, or participating in it.
What do you need?
- 1 sheet of decorative cardboard A4
- 1 sheet of red corrugated paper
- 1 sheet of green corrugated paper
- 1 orange colored paper sheet
- 1 sheet of black colored paper
- 1 Tube Glue PVA
- 1 Tassel for glue
- scissors
- 1 Bilateral Scotch packaging
- 1 gel handle suitable color
- motion aluminum wire
What do we have to do?
- Let's make our flowers. Flowers can be larger than people in the photo, but must not close the faces. One carnation cut 5-6 red paper circles. Fold them alone on the other and fold four times. From the outer part of the circle, make the most narrow cuts so that the carnation turns out lush.
- Cut the piece of wire 6 cm long, secure it at the base of the flower using double-sided adhesive.
- From the green sheet of paper, cut a narrow strip and wrap the wire. Secure the paper at the base of the flower with glue. Our carnation is ready.
- Down the george ribbon below the Paper.
- Sign up the postcard below.
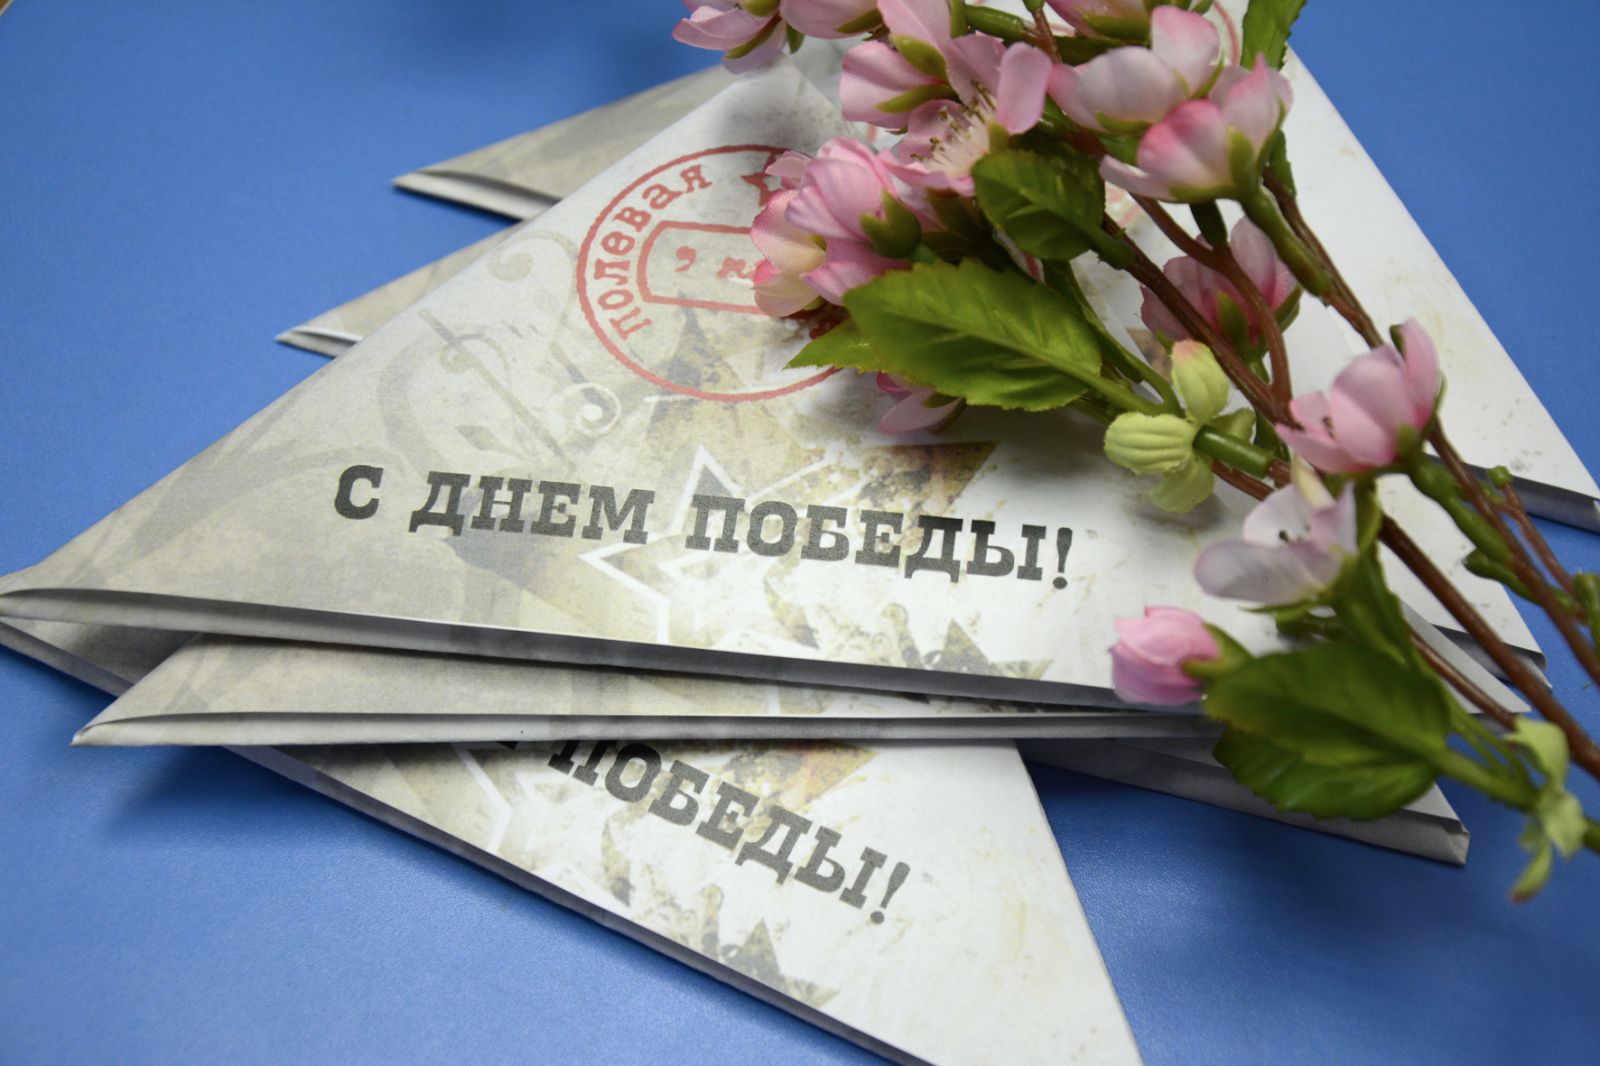
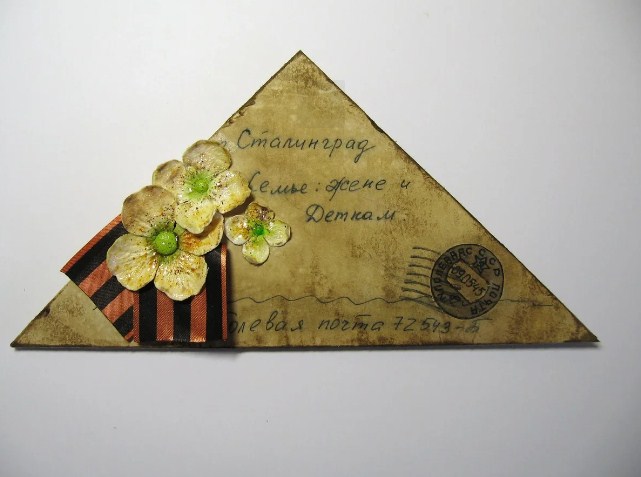
Triangular postcard by May 9
The triangular postcard will especially appreciate veterans. This is a small piece of history, because it was in such a form from the front who flew the news relatives. We decorate our triangle apple color - a symbol of spring revival.
Collect the triangle is not very difficult, but just in case, find the triangle scheme on the Internet to do everything right. This postcard will look more authentic if you acquire the most simple notebook into a dark paper cell and make a triangle from her sheet.
What do you need?
- 1 sheet of paper with a print or printout of a sheet with thematic print A4. The picture should have a "field mail" stamp.
- printout of the triangle scheme
- 1 Red Double-Sided Color Paper Paper
- 1 Tube Glue PVA
- 1 Tassel for glue
- scissors
- pencil
- 3 artificial flowers apple
- 3 artificial leaves
- gel handle of black
Under ancient
What do we have to do?
- Using a pre-printed diagram, fold the triangle.
- Introduce the detail of the folded triangle from the inside to keep the postcard longer.
- On a sheet of red paper, draw a star. Next to the rays of the star draw small rectangles - indents for gluing, with which we glue the star to the triangle. Cut the star with flashes for gluing.
- Bend recesses for gluing.
- On one side of the triangle, write the text and close the flower.
- Stick Georgievskaya tape.
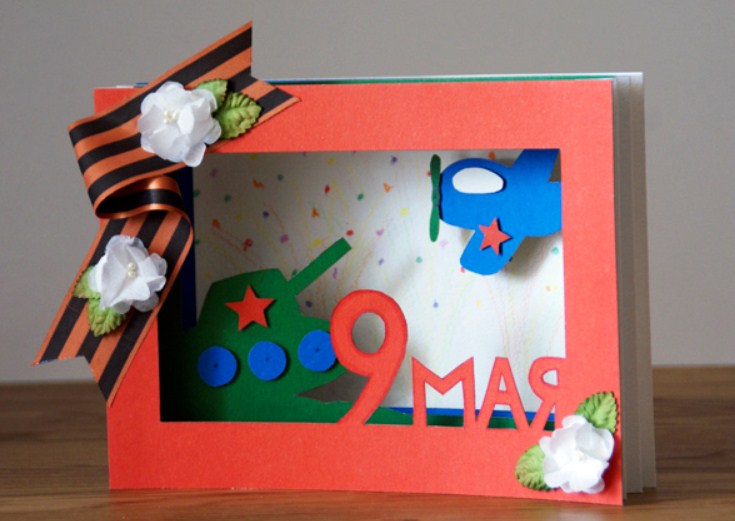
Postcard by May 9 in the Technique "Paper Tunnel"
If you want to do something more complicated and more interesting, you can try to make a postcard in a paper tunnel technique. Such techniques are used in the creation of theatrical decorations or bulk children's books, as well as for postcards made by their own hands. We will do a three-layer postcard with the inscription "May 9", aircraft and tank.
What do you need?
- 3 Sheet of white office paper A4
- 1 sheet of thick paper for drawing format A4
- 3 sheets of colored cardboard green, blue and red colors
- 1 Tube Glue PVA
- 1 Tassel for glue
- scissors
- pencil
- stationery knife
- wax multicolored pencils
What do we have to do?
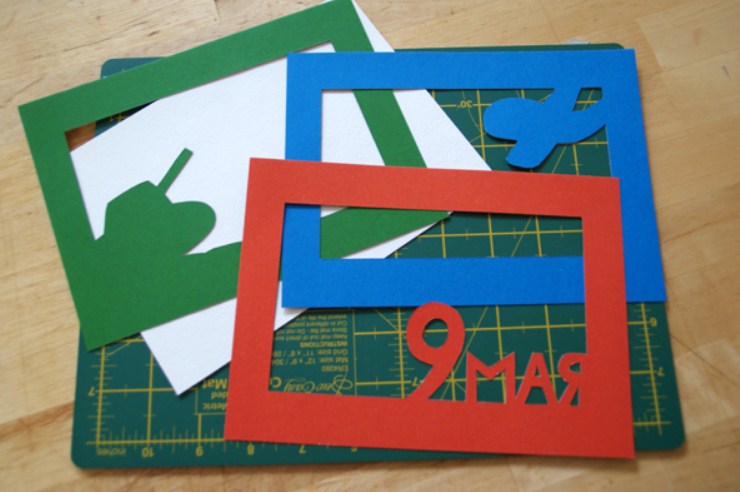
- Fold the sheet of white office paper A4 format in half. On one half make a template for the inscription "May 9". On the second half - a template with a tank. Fold the second sheet A4 in half and on one of the halves, make an outline template of the aircraft.
- Cut patterns.
- Attach templates to color cardboard, and cut out the blanks. "May 9" Make on red cardboard, tank on green, and a plane on blue.

Billets
- On color cardboard remnants, make parts for an airplane and a tank - asterisks, wheels and a propeller. From the white sheet residue, cut the glass for the pilot cabin.
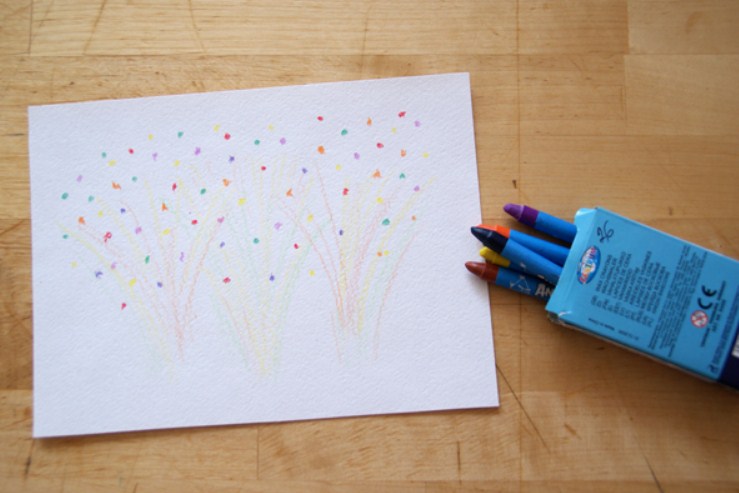
- Wax pencils on half a white sheet for drawing. Draw a multi-colored and bright salute.
Firework
- Cut 2 rectangles from the A4 office paper sheet. The height of them should be equal to the postcard altitude, and the width is 10.5 cm. Using the line, divide one rectangle on a 1.5 cm wide line each. Collect horrors on the lines. Repeat the same with another rectangle.
- The first to the harmonics are gluing a white sheet with a salute pattern.
- Stick the rest of the workpiece. You will get a bright and bulk card.
- Sign up a postcard.
Volume
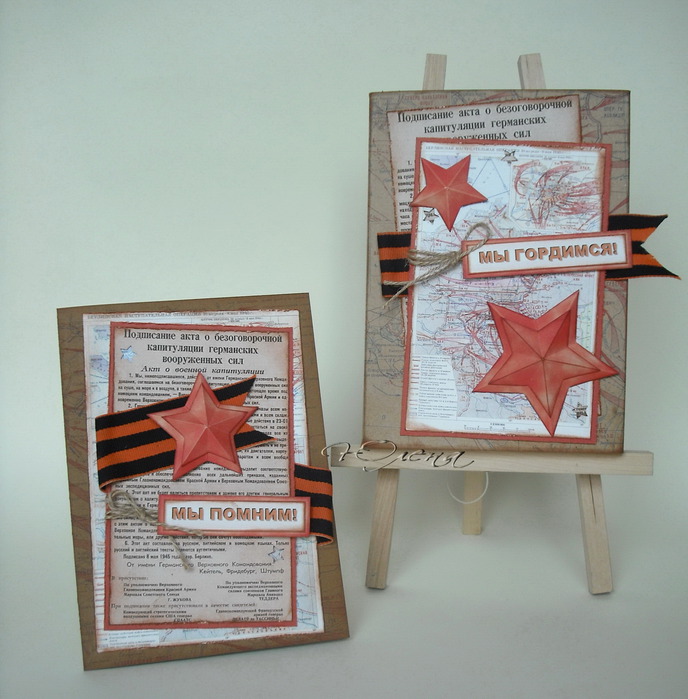
Postcard by May 9 with cuts from newspapers
This postcard will be for your addressee a reminder of the long-stayed days. The ideal newspaper note for this postcard will be the news about the surrender of Germany and the complete victory of the Allied Troops. Of course, it is not worth cutting for this a real newspaper if you have it.
Just print the image found on the Internet on a color printer. Card, too, print on a color printer. If you know, in what places the veteran fought for which you make a postcard - print a map of this particular area.
What do you need?
- 1 sheet of orange double-sided cardboard
- 1 sheet of color black paper
- 1 orange colored paper sheet
- 1 Card Printing (twice as largest than the newspaper)
- 1 Printing newspaper
- 1 Tube Glue PVA
- 1 Tassel for glue
- scissors
- pencil
- stationery knife
Ideas
What do we have to do?
- Fold a sheet of orange cardboard in half. It will be a blank postcard.
- Card stir up on black colored paper. When it dries, cut it out so that there are several millimeters in the black frame around the card.
- The newspaper clipping is shoved on orange colored paper and after the glue dries, cut it out on the same principle.
- Get on the postcard first a map of slightly male. Then get the newspaper.
- Sign up a postcard.
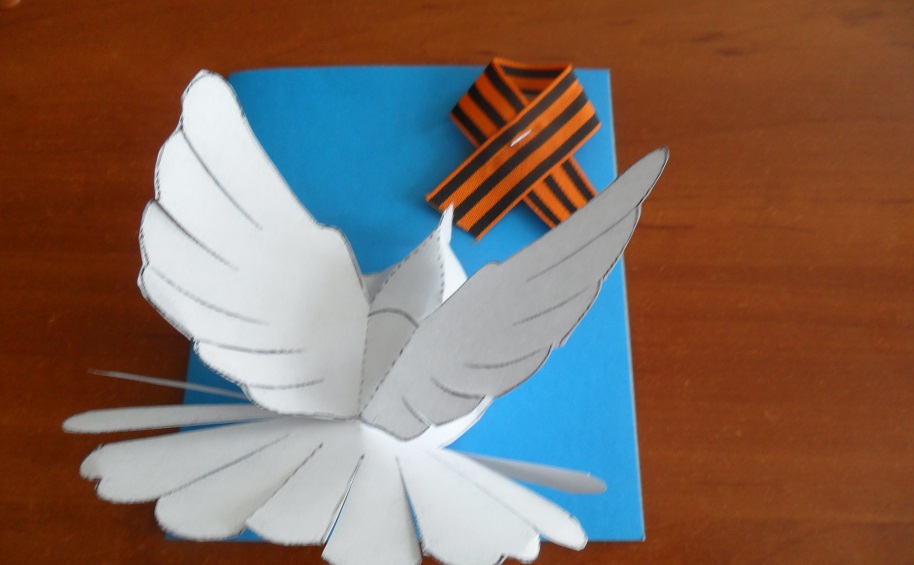
Postcard by May 9 with a dove of the world
Pigeon - symbol of the world. This is a reminder of how price this world was produced by our forefathers for us, and how important human life is important. Such a postcard can be made as with the usual cut out of paper with a blue, bulk dust or with a blue origami created in the technique. We will make a bulk pigeon.
What do you need?
- 1 decorative paper sheet blue
- 1 sheet of colored paper white
- St. George Ribbon
- 1 Tube Glue PVA
- 1 Tassel for glue
- scissors
- pencil
Dove of peace
What do we have to do?
- Make on white paper sketch pigeon. Cut it.
- Glue dove on blue paper, blossoming dove calf and tail portion.
- Bend the wing of the pigeon and part of the tail that was not glued to paper.
- Enclose Georgievskaya tape