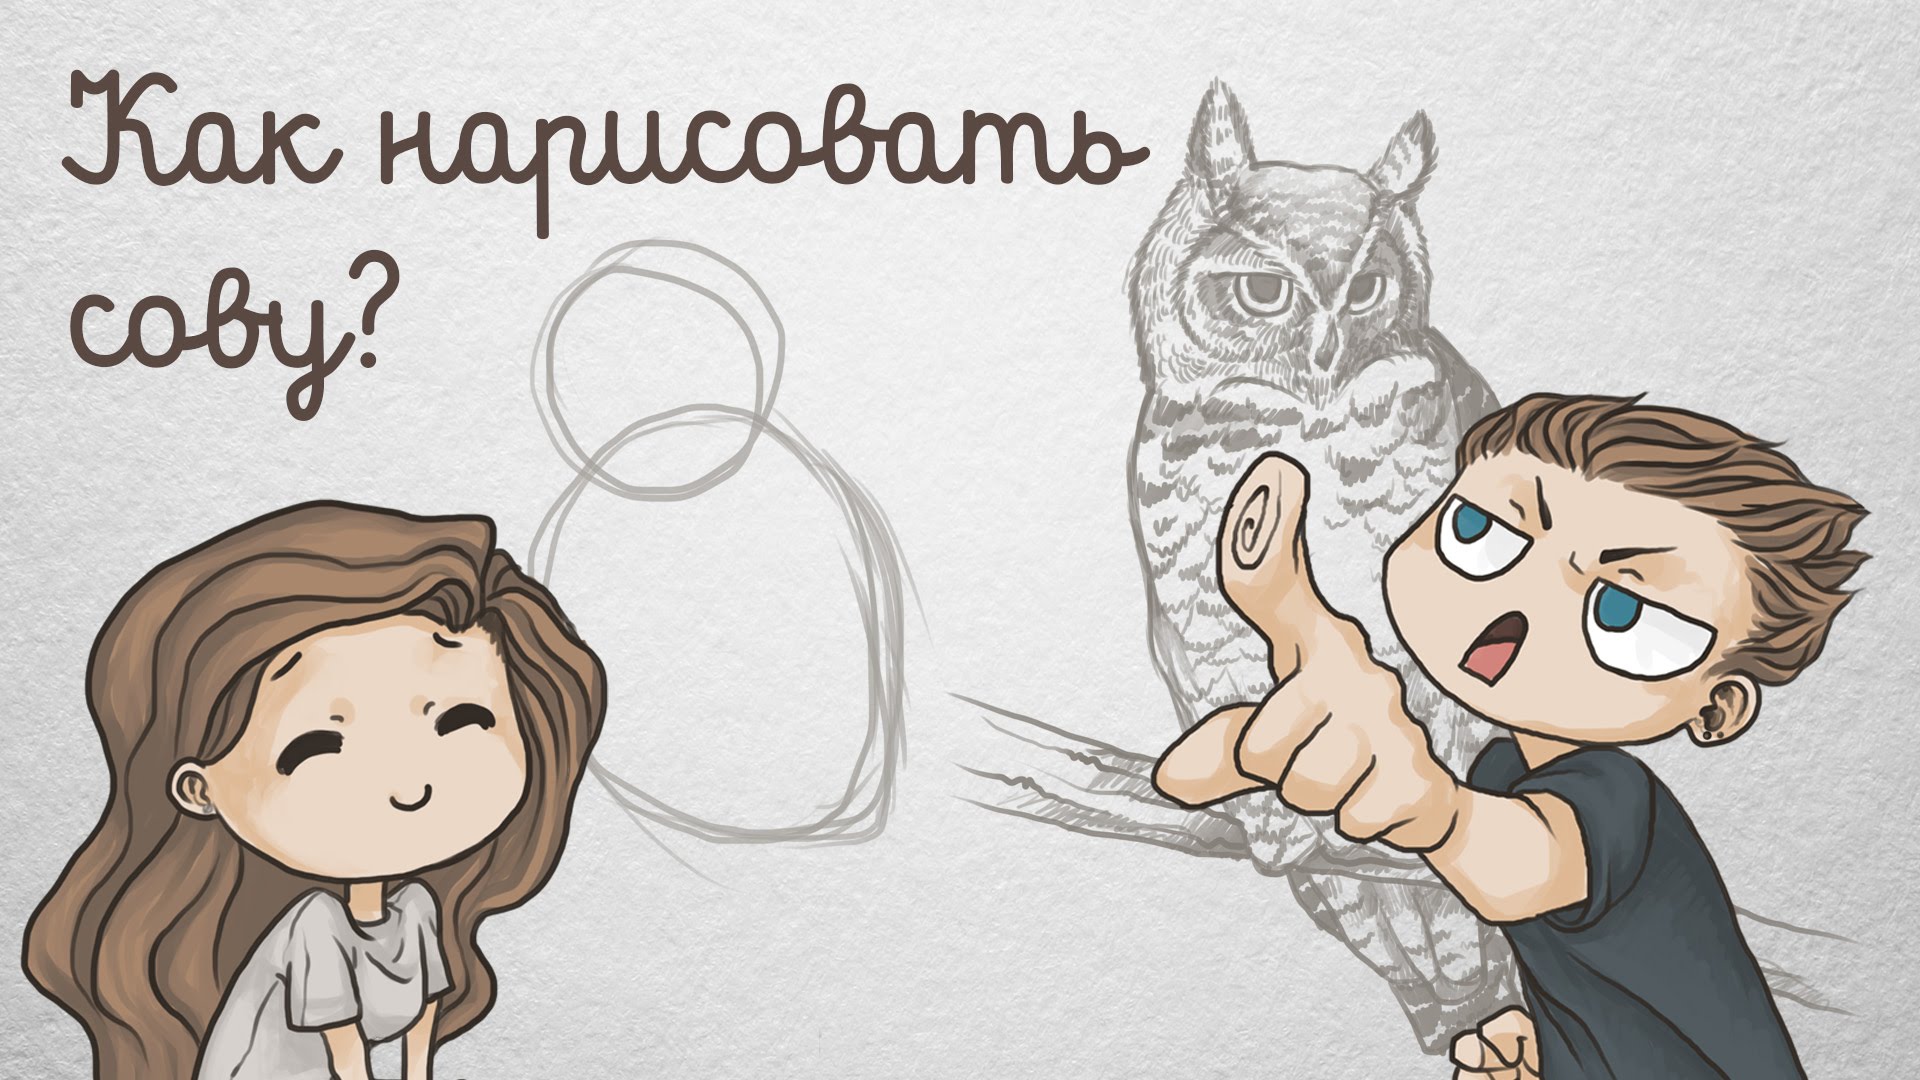
Techniques for drawing owls with a pencil and gouache for beginners and children.
The content of the article
- How to beautifully draw an owl with a pencil in stages for children and beginners?
- How to draw a sweet, cartoon owl?
- How is it easy to draw an owl on cells?
- How to draw a flying owl?
- How to draw a owl head?
- How to draw an owl with gouache?
- Drawings of owls for children with pencil and watercolor for sketching: photo
- Video: How to draw an owl with a pencil?
The world of nature is diverse and rich in species and color colors of animals and birds. Therefore, a person will always be interested in drawing different representatives of the fauna and teaching such an occupation of his children.
Fine art, in addition to aesthetic pleasure, is useful for children as a simulator for the development of thinking, imagination, patience, perseverance. Therefore, our task as parents is to find an interesting object to draw a child and help him in case of difficulties.
Continuing the themes of drawing animals and animated heroes, let's talk more about the features of the image of an owl from different angles with a pencil and gouache.
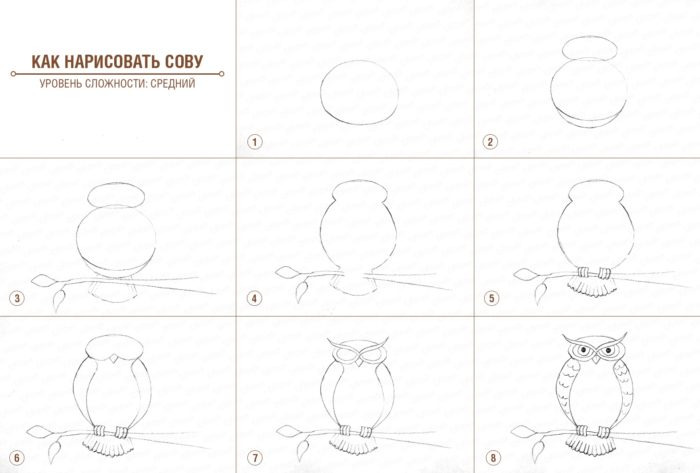
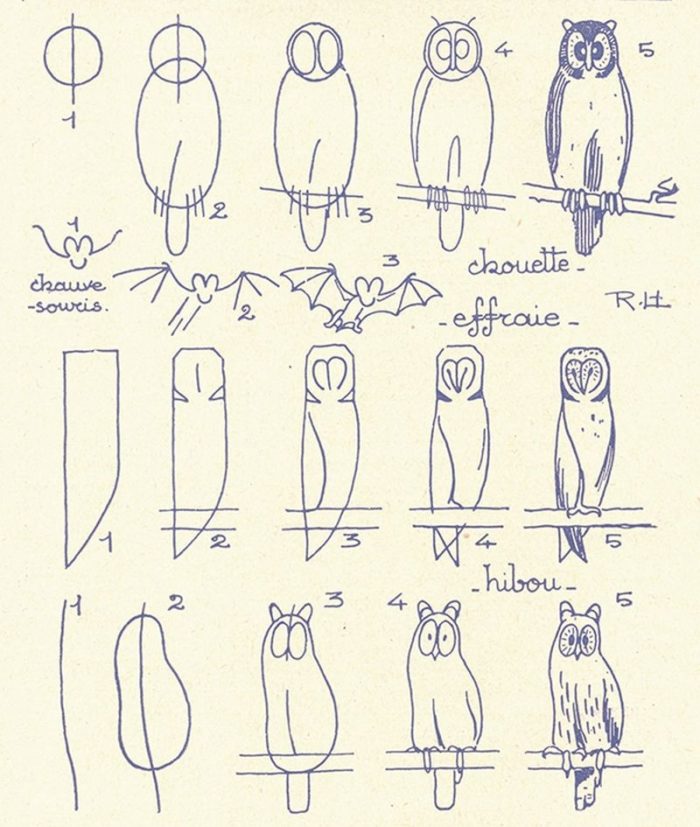
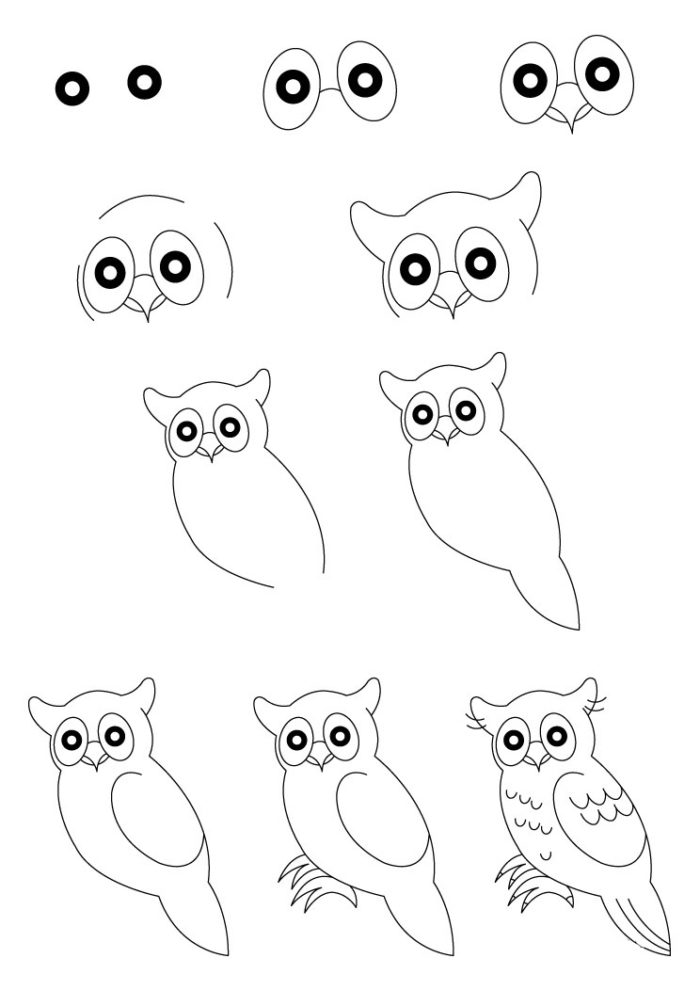
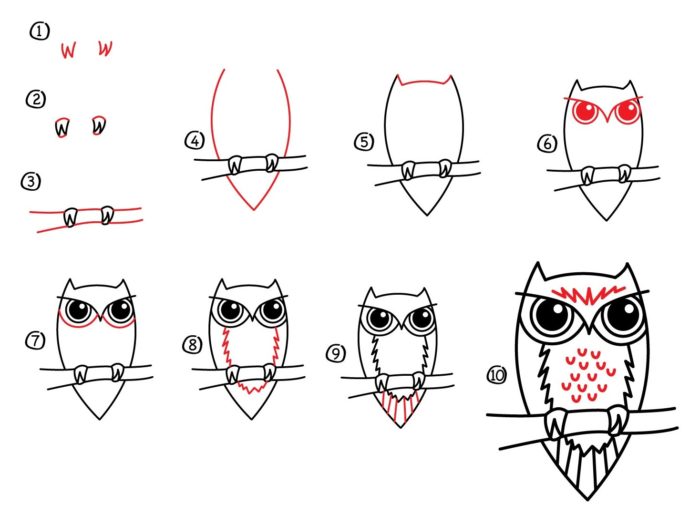
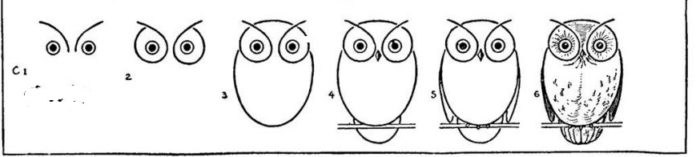
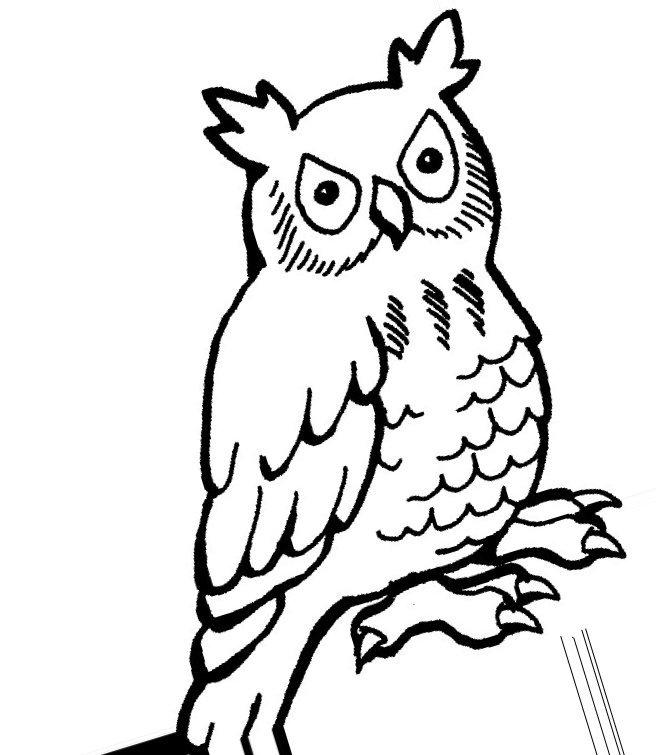
How to beautifully draw an owl with a pencil in stages for children and beginners?
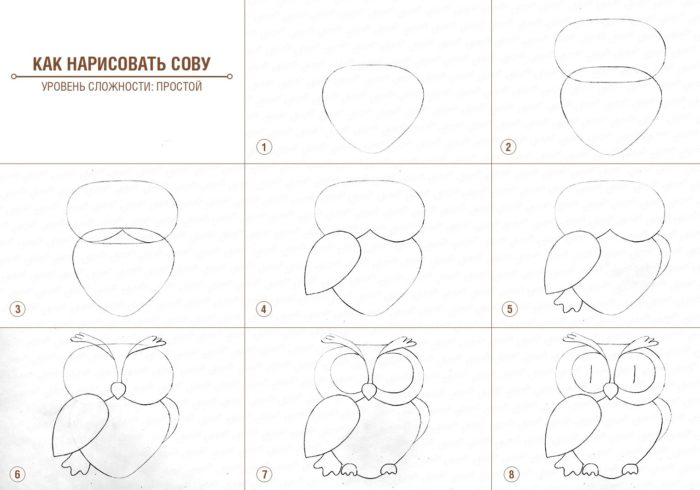
we draw an owl with a pencil step by step on the pictures for beginners
Prepare:
- sets of hard and soft simple pencils. They are needed to draw different types of feathers in the owl, as well as light transmission and shadow,
- eraser,
- paper
Drawing order:
- designate 2 ovals in the center of the sheet. One elongated from the right to the left is the head, the second is from top tooths for the body,
- add a triangle extended from left to right and down for the future wing,
- draw a couple of ovals of different sizes at the bottom of the body, these will be paws,
- on the head, mark the V-shaped sign, from which the beak, eyes, eyes,
- add more details for the paws and a stick on which the owl sits,
- detail the wing consisting of small feathers in the upper half and large, long - in the lower,
- draw semicircles for the eyes and pupils, plunge the rims of eyeballs with a softer pencil,
- designate the hooked beak,
- replace the head contour with a toothed edge that imitates small feathers in this part of the owl,
- add accents on the paws of poultry covered with small feathers.
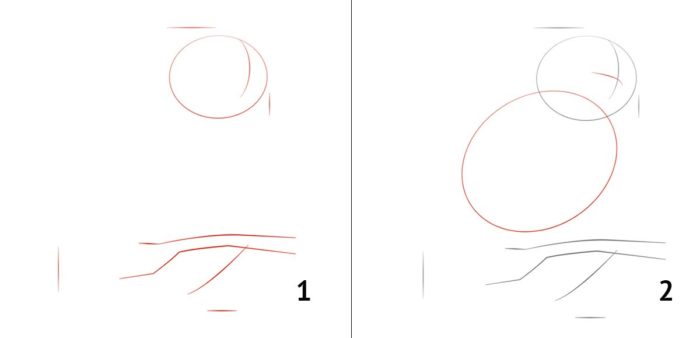
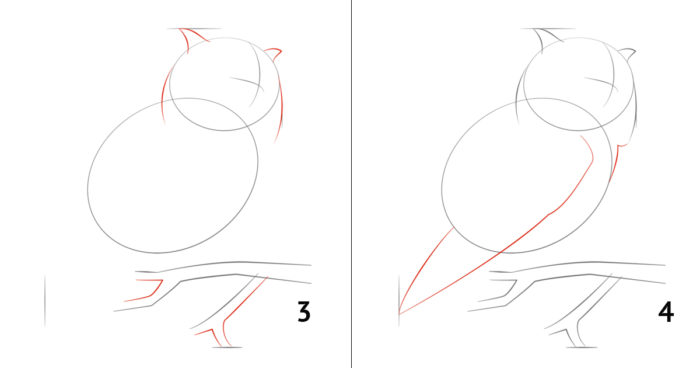
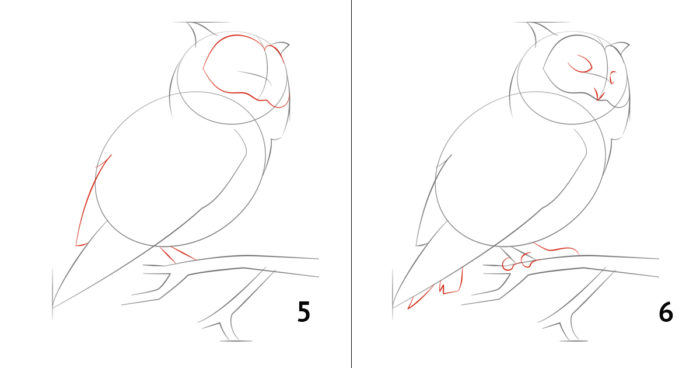
The better you have a pencil, the more accurately and more detailed draw feathers, the game of shadow and light on them. If your skills are less pronounced, then use such tips:
- picture a circle and an oval attached to it,
- add bends of owls folded on the body of wings,
- draw a triangle on the head, turning into wide eyebrows of owls. Fluff him at the ends
- add sketches for the eyes and beak,
- detail them. Draw the pupils to your eyes, the beak is a bend that divides it into the upper and lower parts,
- with zigzag movements, depict lush feathers around the face of the owl and on her chest,
- add scales on the wing located closer to you,
- pull the lines of the wings thicker,
- complete the drawing with a drawing of thin paws holding onto the branch.
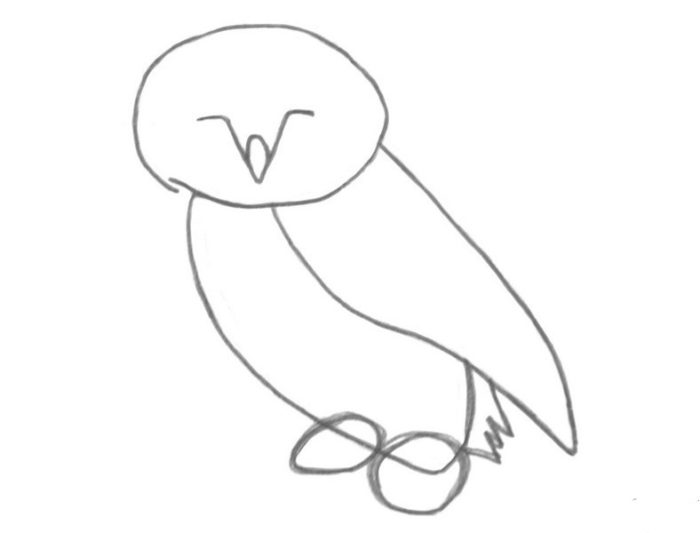
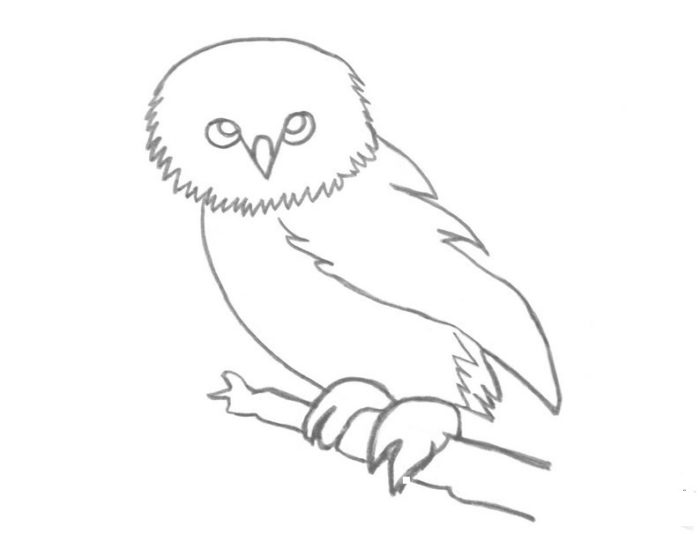
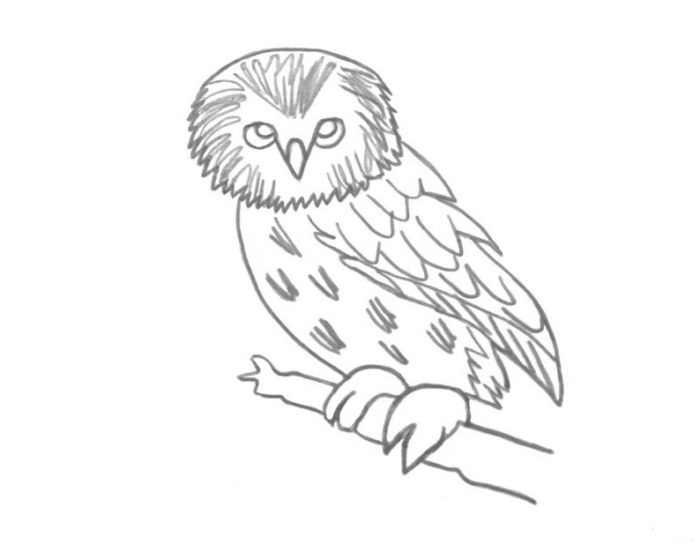
Below photo instructions for drawing owls from different angles with a pencil:
owl step -by -step drawing, example 1
owl step -by -step drawing, example 2, step 1
owl step -by -step drawing, example 2, step 2
owl step -by -step drawing, example 2, step 3
owl step -by -step drawing, example 2, step 4
step -by -step drawing of owl, example 3
step -by -step drawing of owls, example 4
owl step -by -step drawing, example 5, step 1
owl step -by -step drawing, example 5, step 2
owl step -by -step drawing, example 5, step 3

owl step -by -step drawing, example 5, step 4
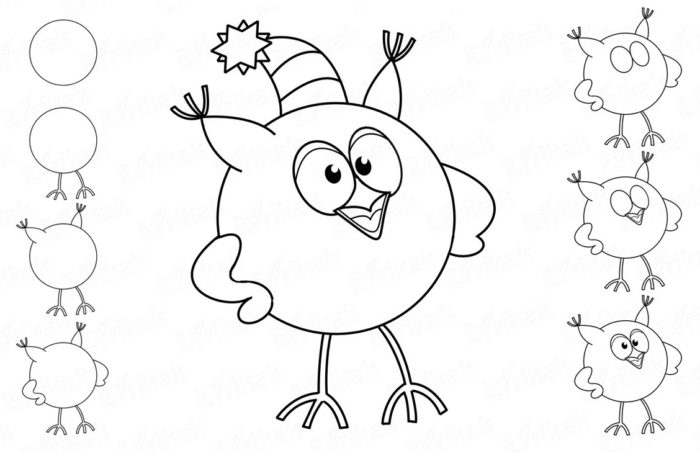
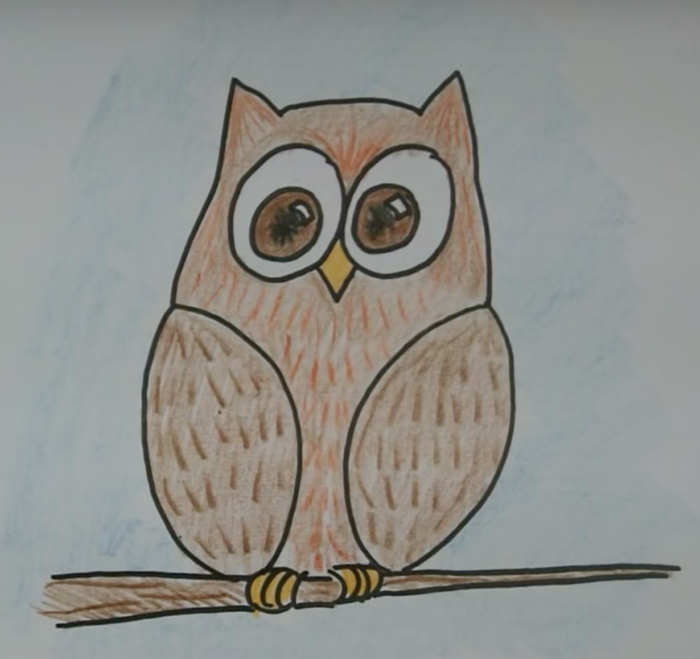
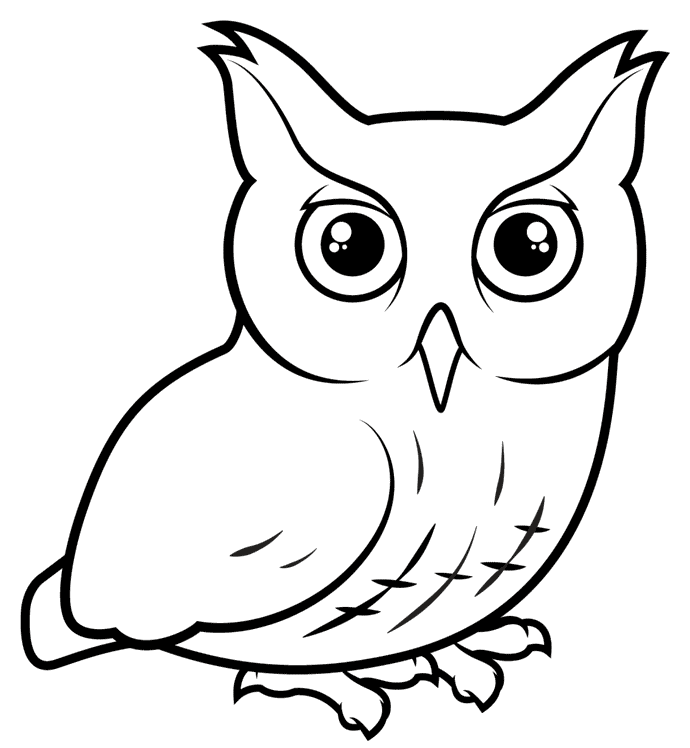
How to draw a sweet, cartoon owl?
cute owl painted with colored pencils
If you plan to please the child with a cheerful cartoon owl painted with a pencil, act like this:
- picture a circle with a cross -shaped marking
- dream at the top ears flattened to the head
- designate the area of \u200b\u200bthe eyes and the oval for the beak
- divide the eyeball into pupils and proteins, shake the first
- draw a rhombus trimmed to the head on top and below the head
- add the lines of folded wings on the sides of it
- draw 3 strips on the head and wave -shaped lines on the chest
- wipe the auxiliary lines
- at the request of the child, paint the finished drawing with him
Or another option for an owl:
- depict 2 circles that will be the eyes of the bird
- highlight in every pupil and shake it
- get the beak between the eyes below the eyes
- add the contour body-head, which is similar in shape to a medieval shield
- on the sides of the body, draw soft bent in the line, noting the places of the folded wings
- pull the rim around the eyes of the owl
- on the head, mark your ears, below the body - paws
- garnish the body and wings of the bird imitating the plumage
Below in the pictures step -step photos of Owls:
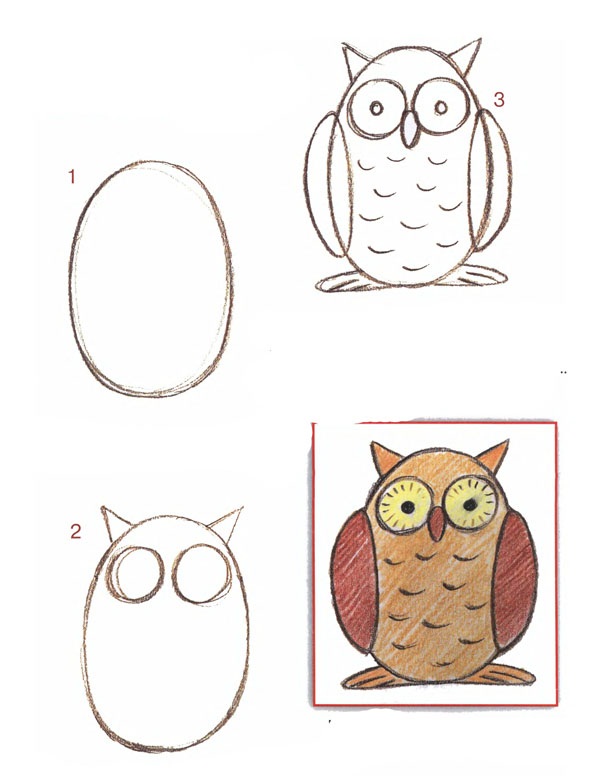
figure of a cartoon owl by steps, example 1
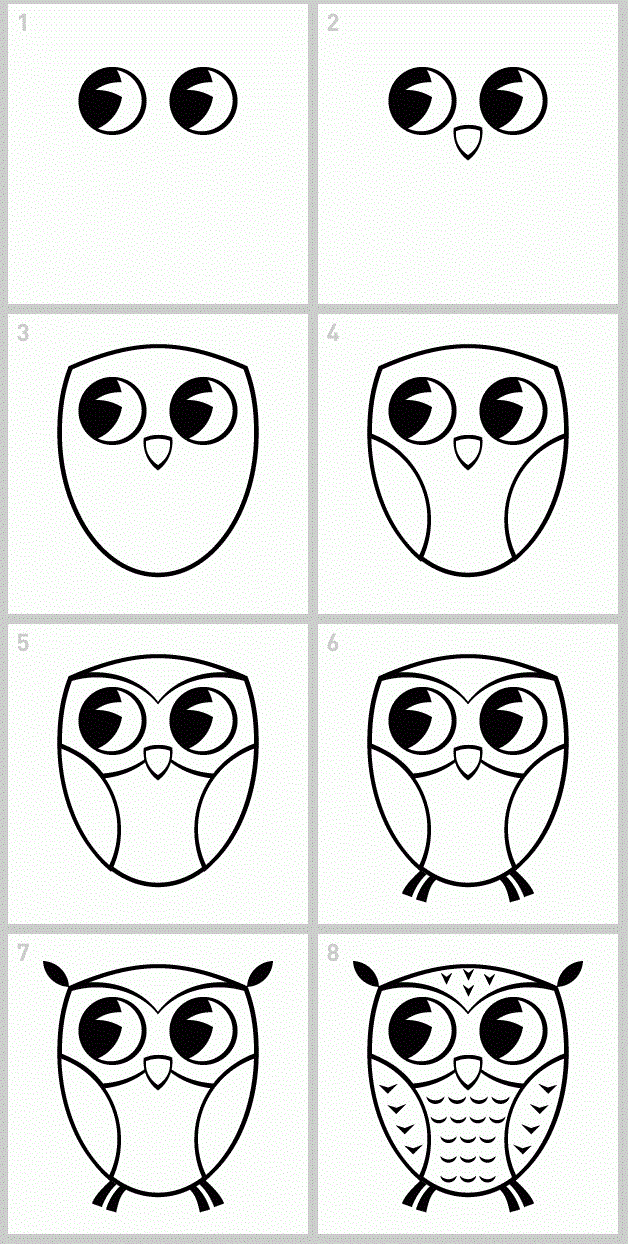
figure of a cartoon owl in steps, example 2
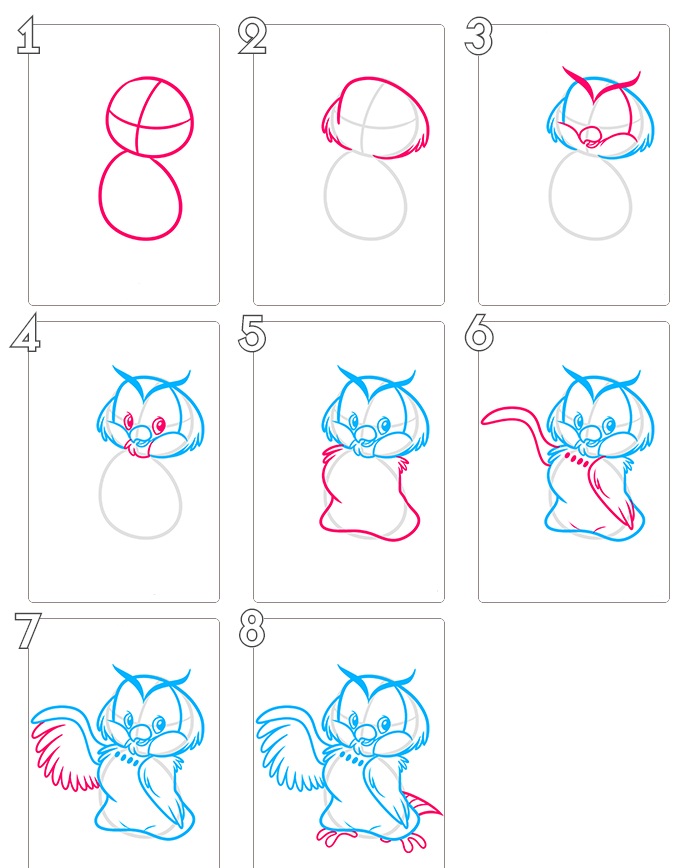
figure of a cartoon owl in steps, example 3
drawing cartoon owl in steps, example 4
drawing cartoon owl in steps, example 5
drawing cartoon owl in steps, example 6
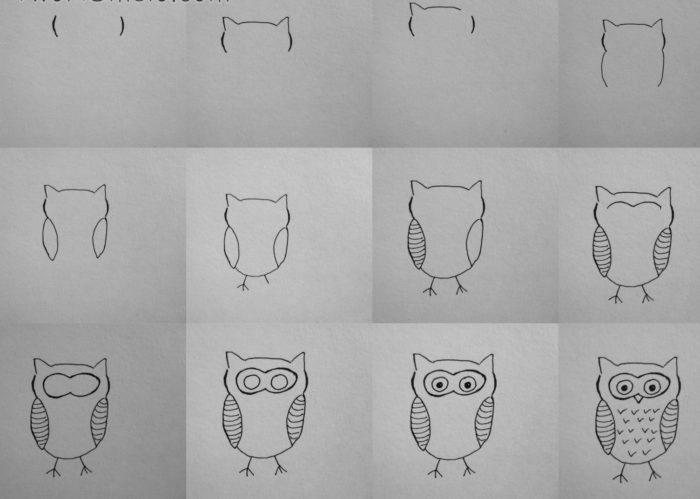
figure of a cartoon owl in steps, example 7
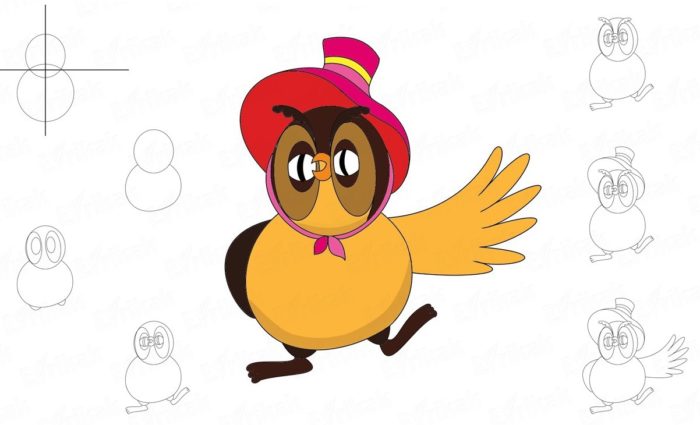
figure of a cartoon owl in steps, example 8
drawing cartoon owl by steps, example 9
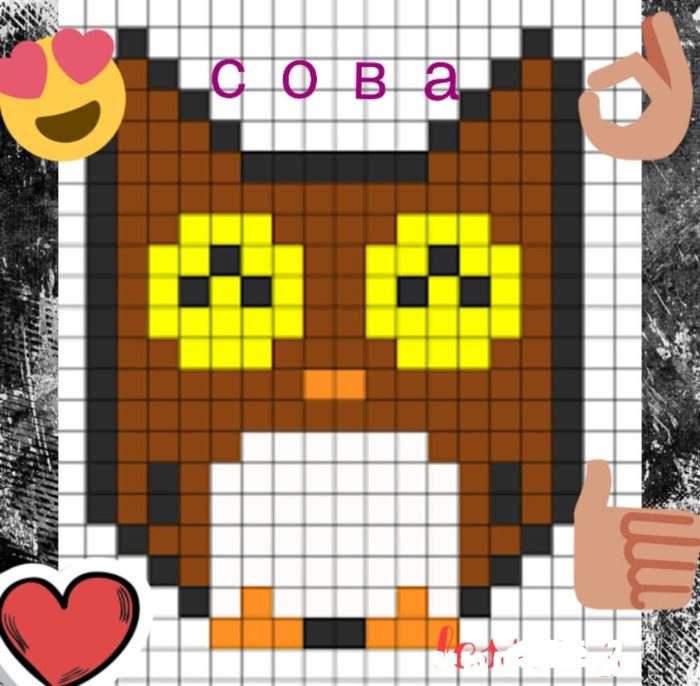
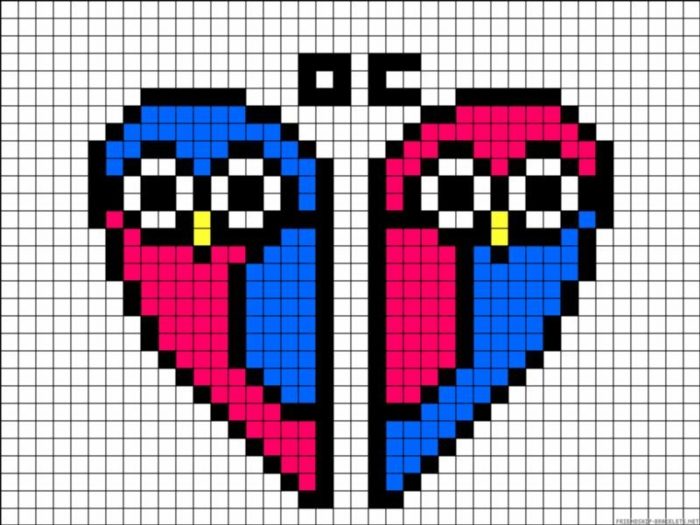
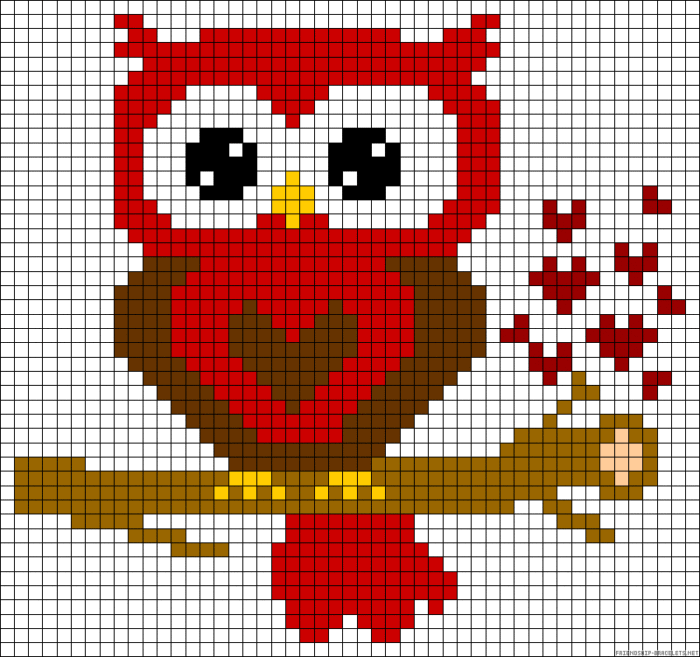
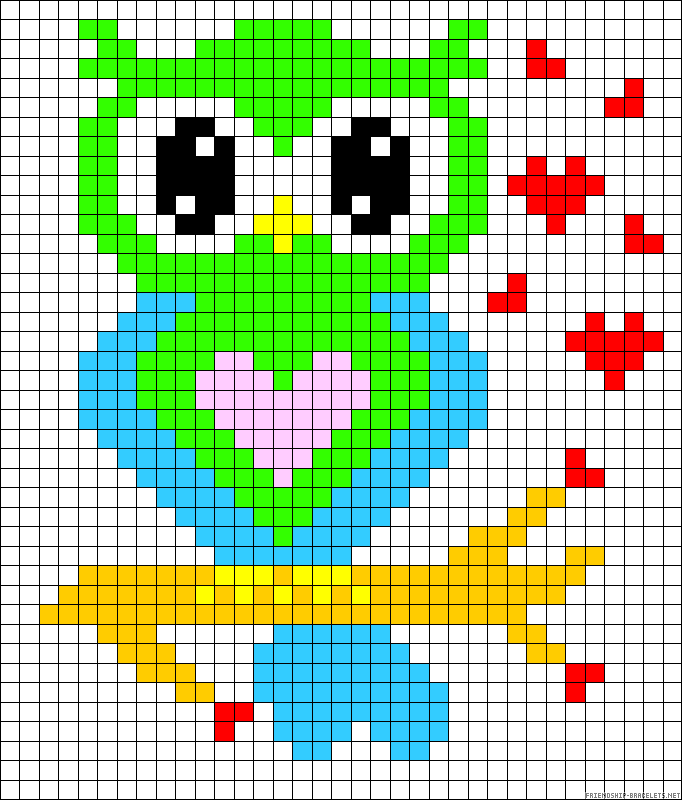
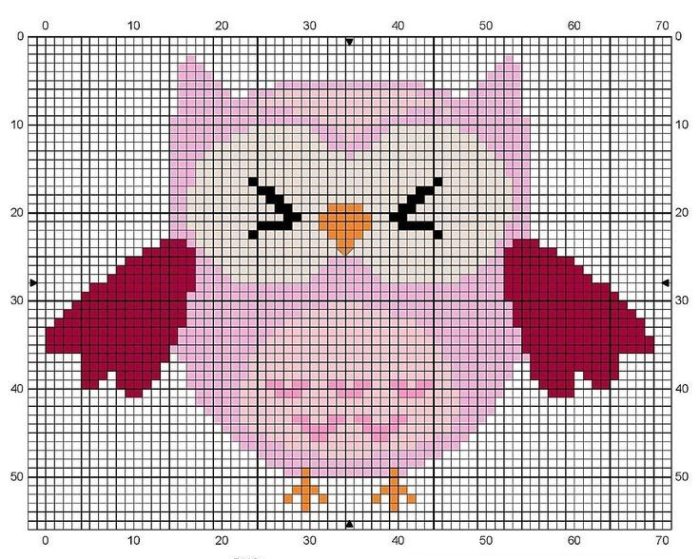
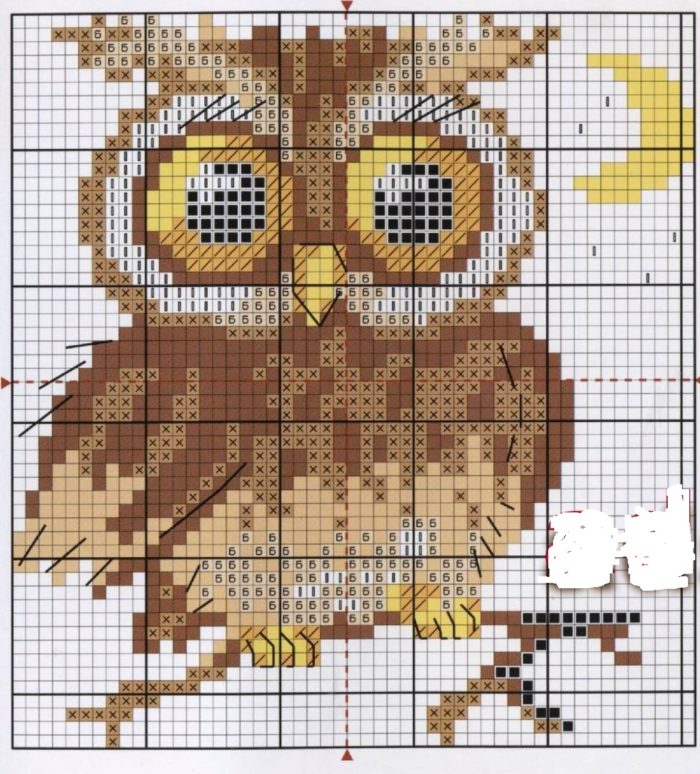
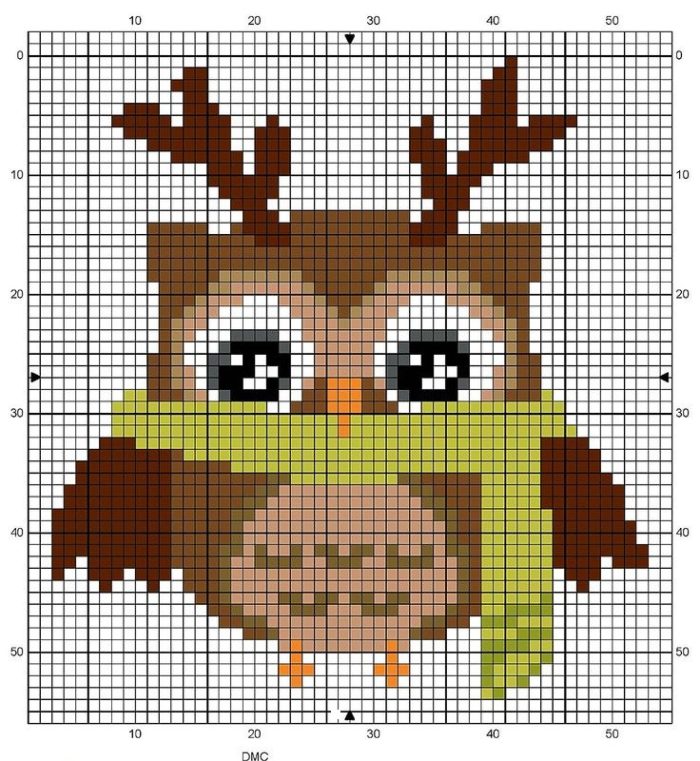
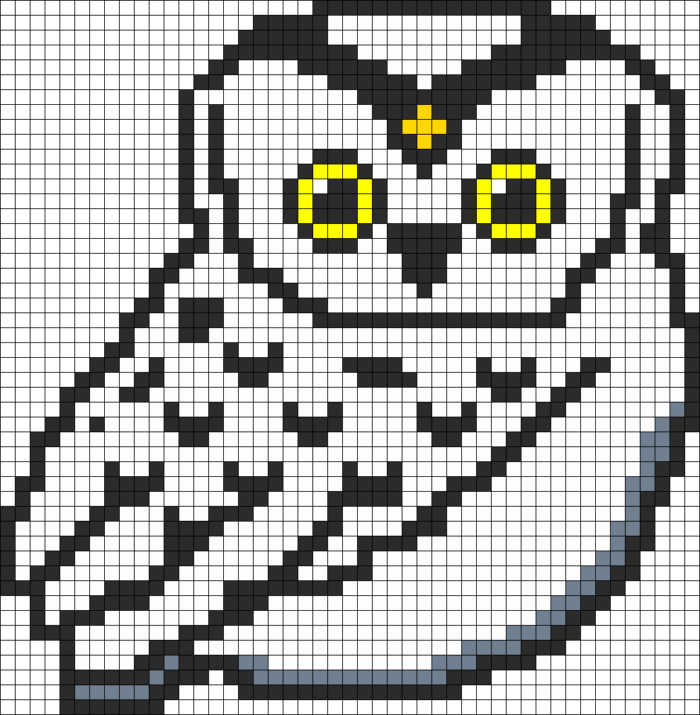
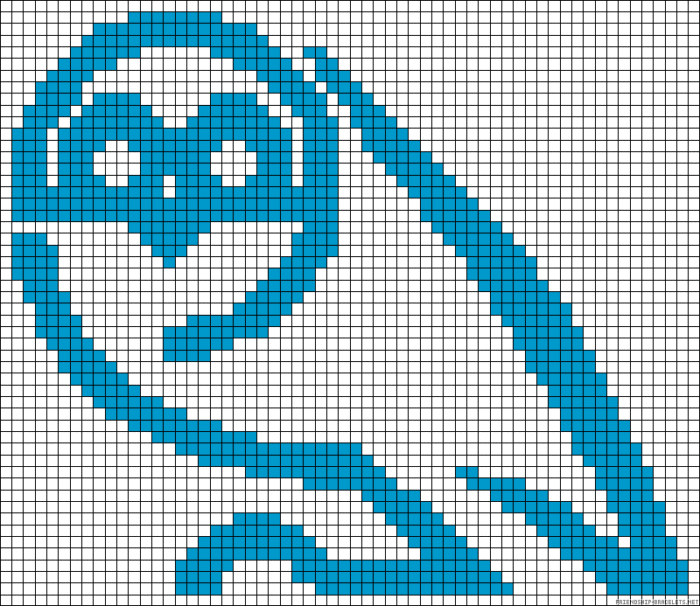
How is it easy to draw an owl on cells?
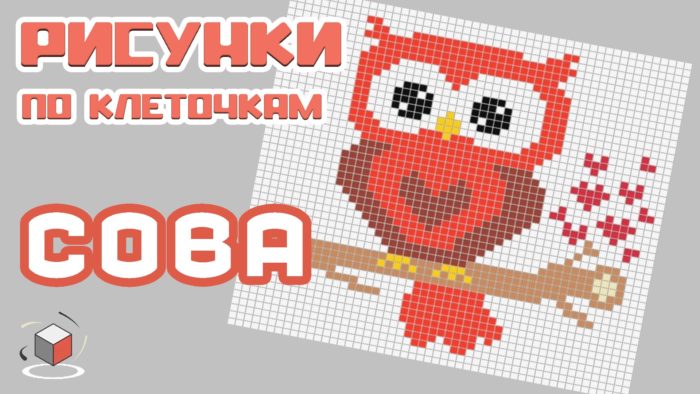
owl drawing by cells and inscription
- Firstly, decide on the level of complexity of the picture and time to create it. The fewer requirements at this stage, the easier and faster you will draw it.
- Secondly, consider the presence/absence of details that are not inherent in the bird in nature. For example, dress, long legs, multi -colored clothes.
- Thirdly, prepare a sheet of paper and pencil in the cells.
- Find the desired scheme or turn on your imagination.
- Start drawing from the paws or branches on which the owl will sit. That is, the direction of the image - from the bottom up.
As an inspiration, we add a number of finished schemes of owls made in cells:
owl drawing by cells, example 1
owl drawing by cells, example 2
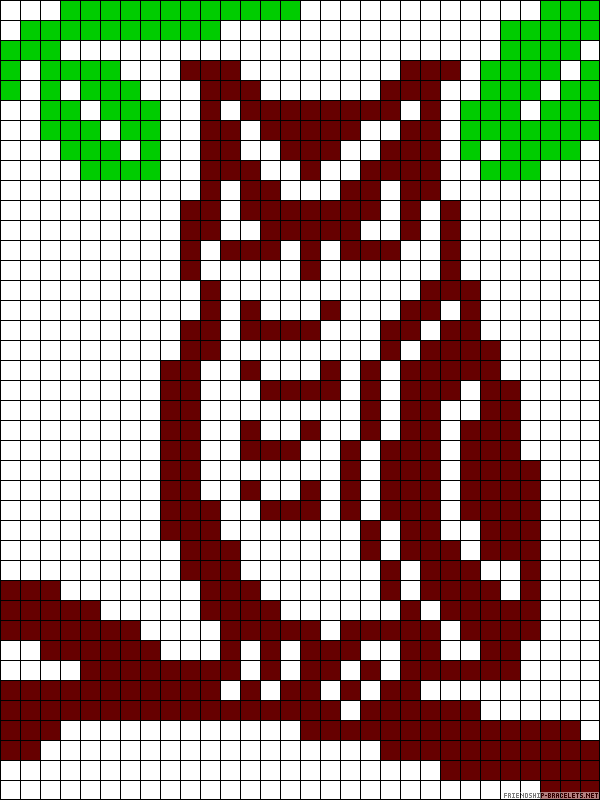
owl drawing by cells, example 3
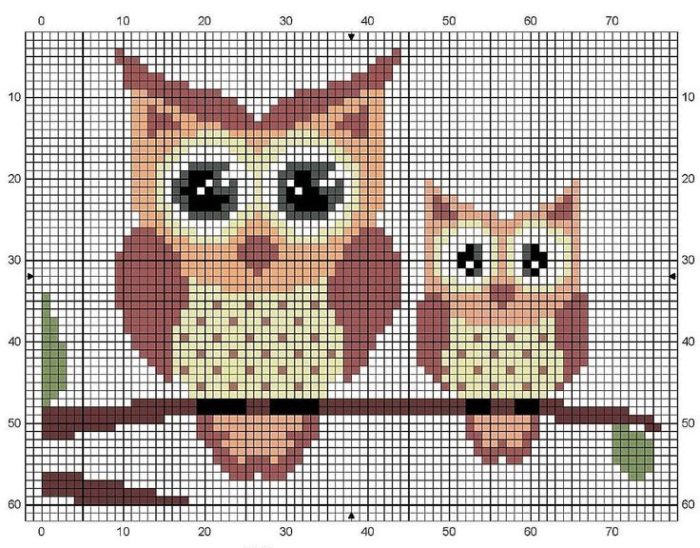
owl drawing by cells, example 4
owl drawing by cells, example 5
owl drawing by cells, example 6
owl drawing by cells, example 7
owl drawing by cells, example 8
owl drawing by cells, example 9
owl drawing by cells, example 10
owl drawing by cells, example 11
owl drawing by cells, example 12
How to draw a flying owl?
drawing flying owl in nature
Having prepared the necessary materials for drawing, act like this:
- perform a sketch of the body in the form of an oval, an open tail - fan and wings - semicircles,
- at the top of the body, highlight the oval for the head and in it of the face circle,
- designate your eyes, beak, ears, small feathers on the head,
- go to the details of the wings. On their very edge there are a number of large feathers, portray them,
- closer to the body, feathers on the wings become smaller, show it with a pencil,
- draw a tail consisting of well -visible large feathers,
- add the paws whose fingers are folded together,
- go through the drawing with a solid pencil and finish the feathers in more detail.
Step -by -step photos of the image of the owl in flight, see below:
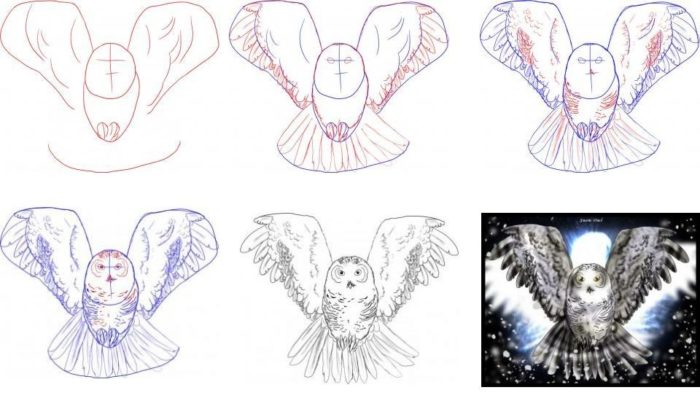
step -by -step photos of drawing a flying owl with a pencil
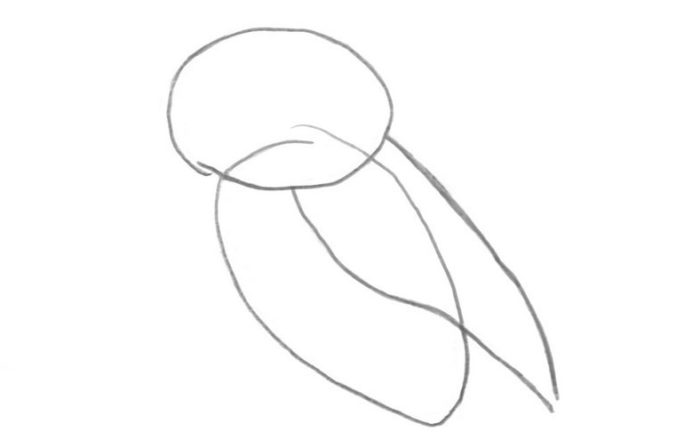
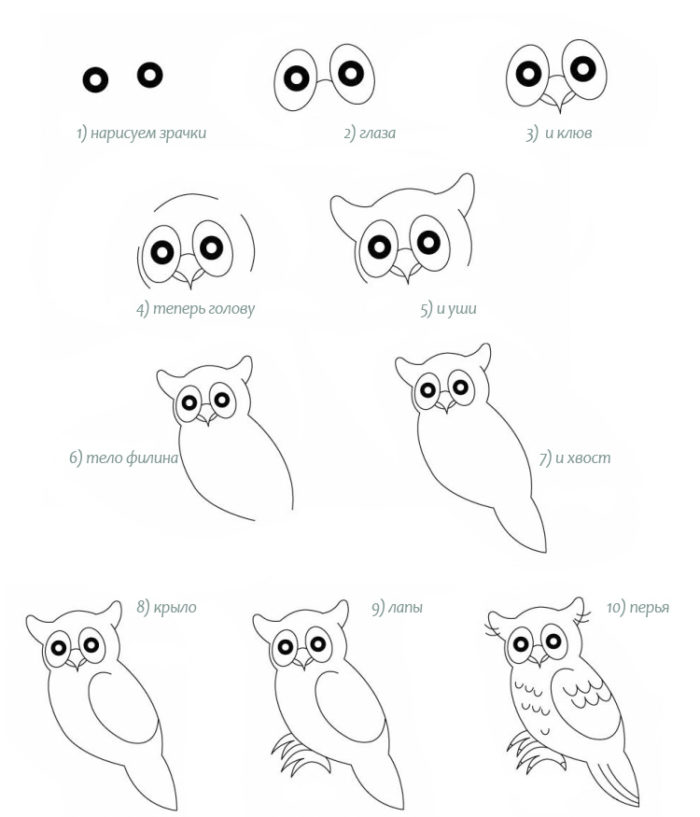
How to draw a owl head?
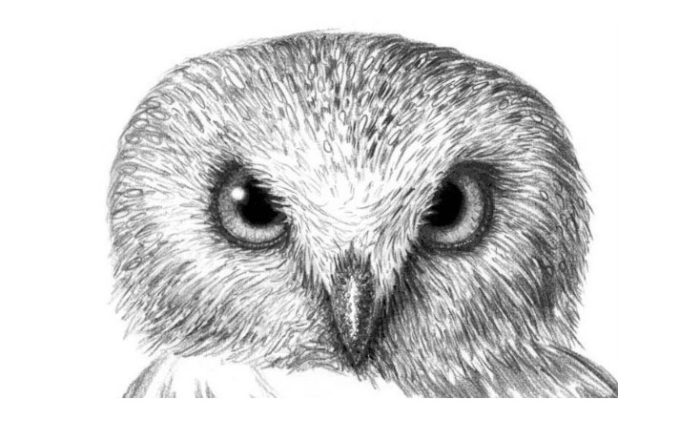
pencil -drawn head of owl
The head of an owl can be portrayed easier or more detailed.
In both cases, be sure to portray:
- eyes
- beak
- front from small feathers framing the face
In a more detailed version, finish:
- ears,
- small feathers and playing shadows in them,
- the darkened triangle in the middle of the head, starting from the beak and exciting areas above the eyes.
In the case of creating a pattern, a novice artist or cartoon owl for a child of a bird is often one with a body. Therefore, just highlight the accents so that the bird is recognizable.
As an example, add a sequence of drawing a simple head of an owl:

step -by -step drawings of the head of an owl with a pencil
How to draw an owl with gouache?
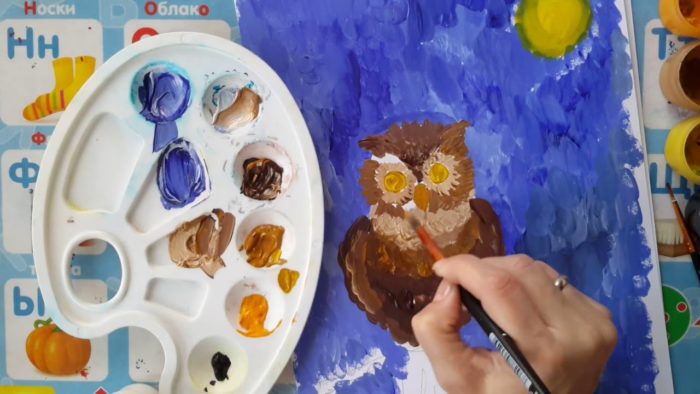
intermediate stage of drawing owl with gouache
You need:
- paper
- gouache of those colors that are suitable for owls
- water
- testes of different diameters
- rag
- mixing board
Owl drawing order:
- picture an oval for the body and head with brown color,
- highlight 2 circles for the eyes in the same tone,
- put black dots in their center, and draw rays to the sides with yellow-brown paint,
- add one or 2 wings in the shape of leaves. Keep in mind that they are false to be of different sizes. The one that is closer to the viewer is more. Take the wings color darker, but not black,
- mark the tail with a triangle, paint it,
- add 2 small triangles for paws of light brown tone,
- draw your claws 3 pieces on each paw in black,
- in free order, indicate the feathers all over the owl body. Be sure to mix and combine the colors of the paint,
- the last bar is an image of a branch on which an owl sits.
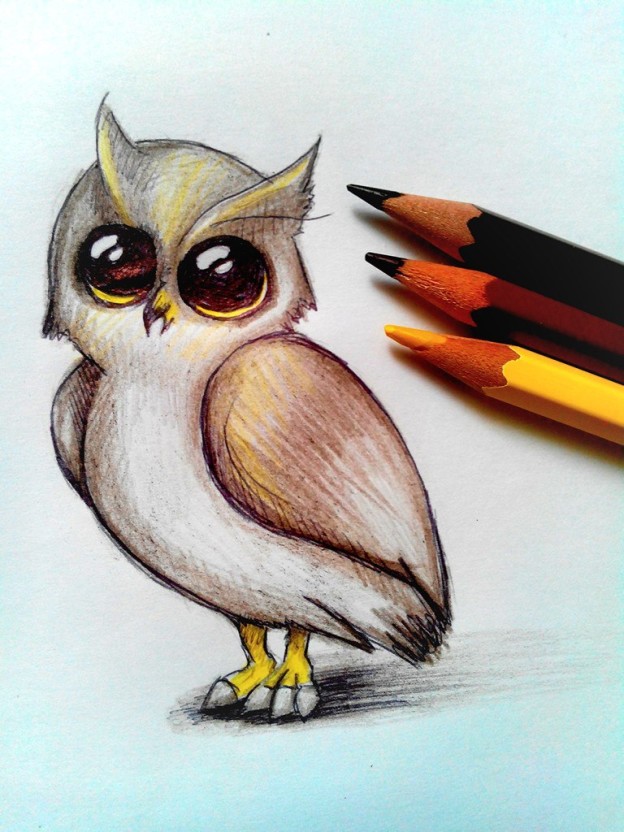
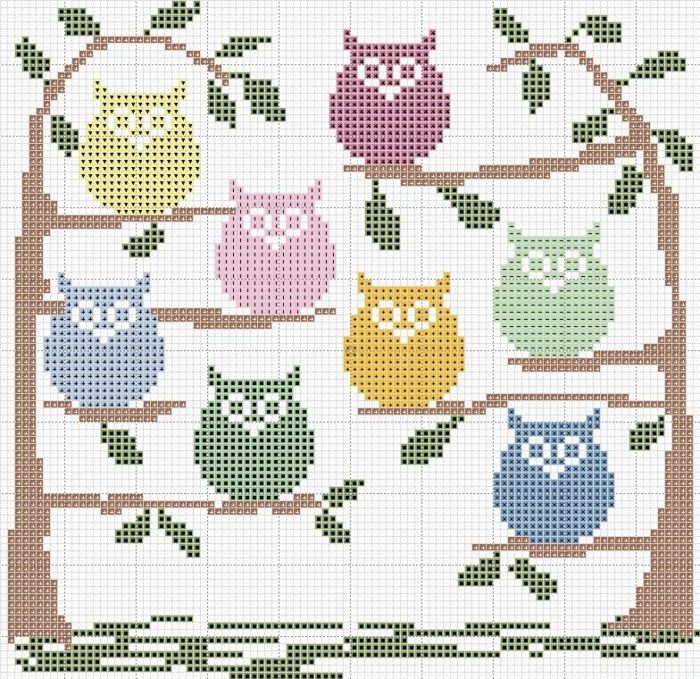
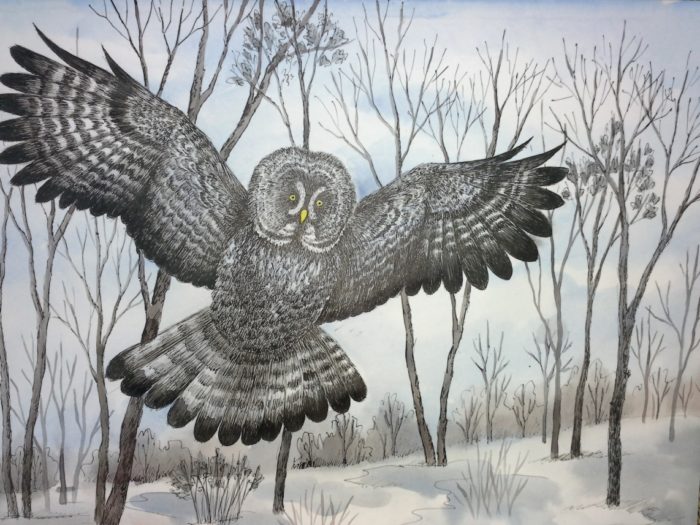
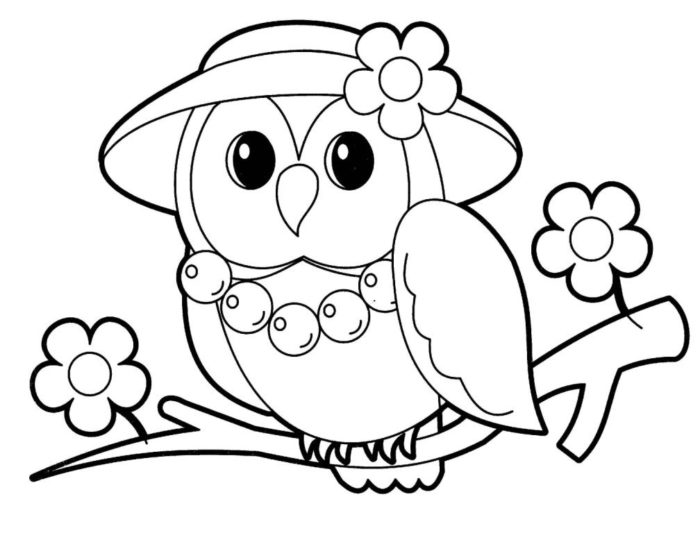
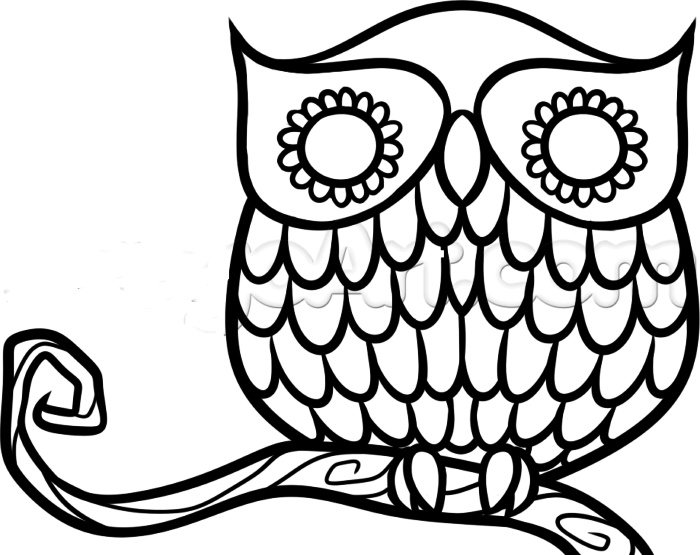
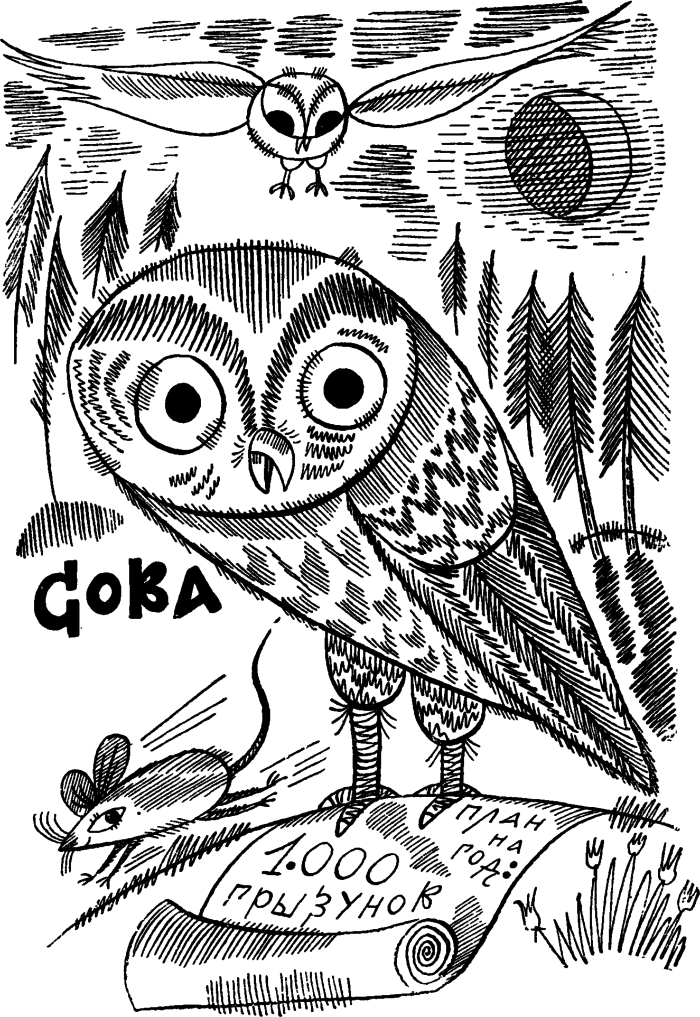
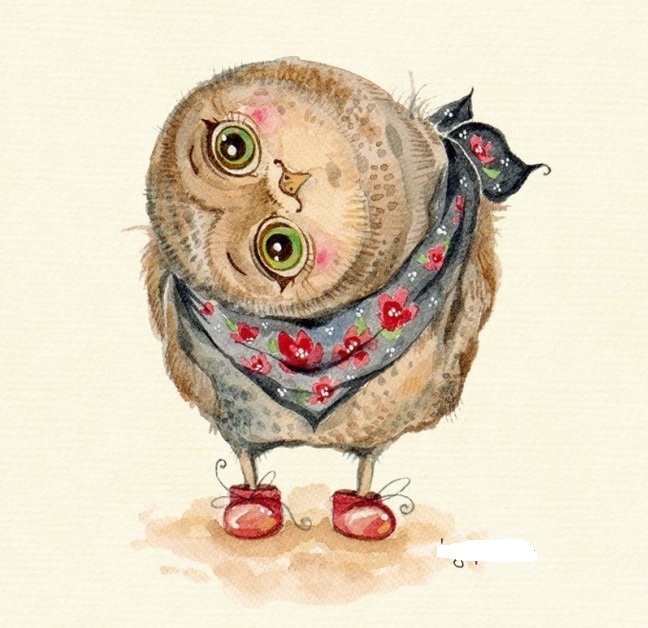
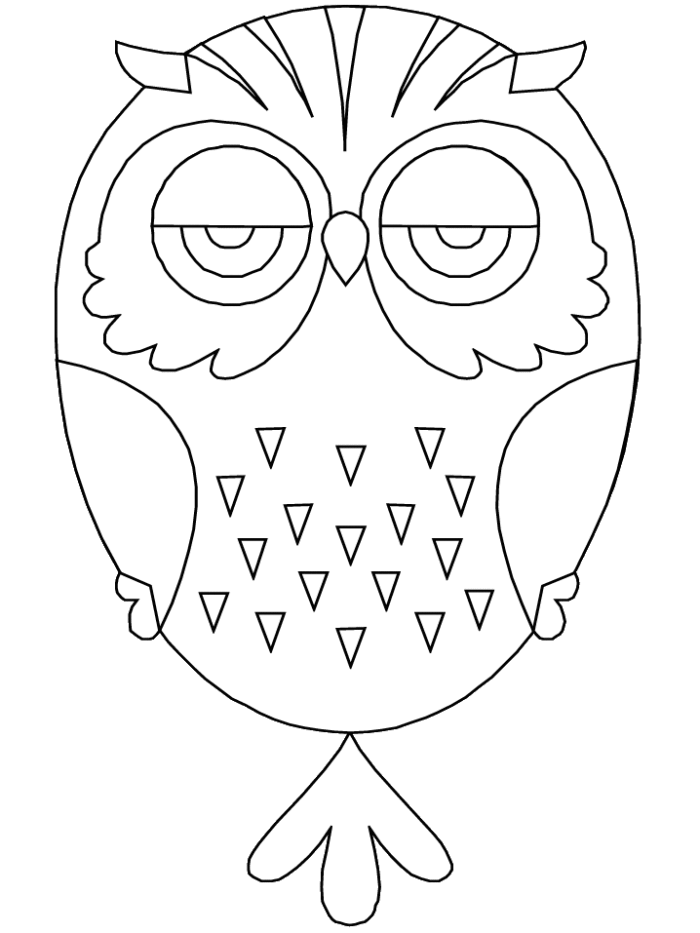
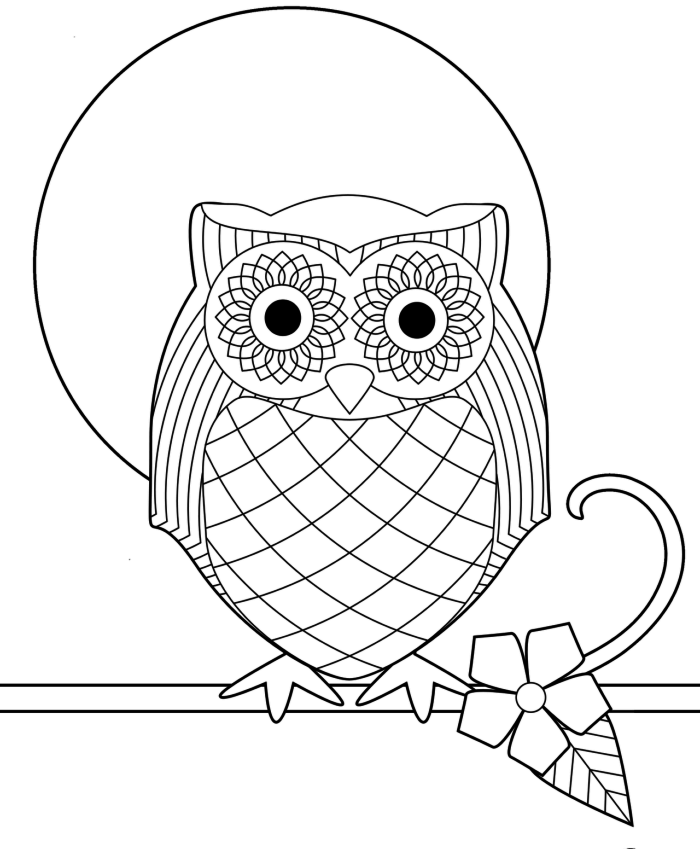
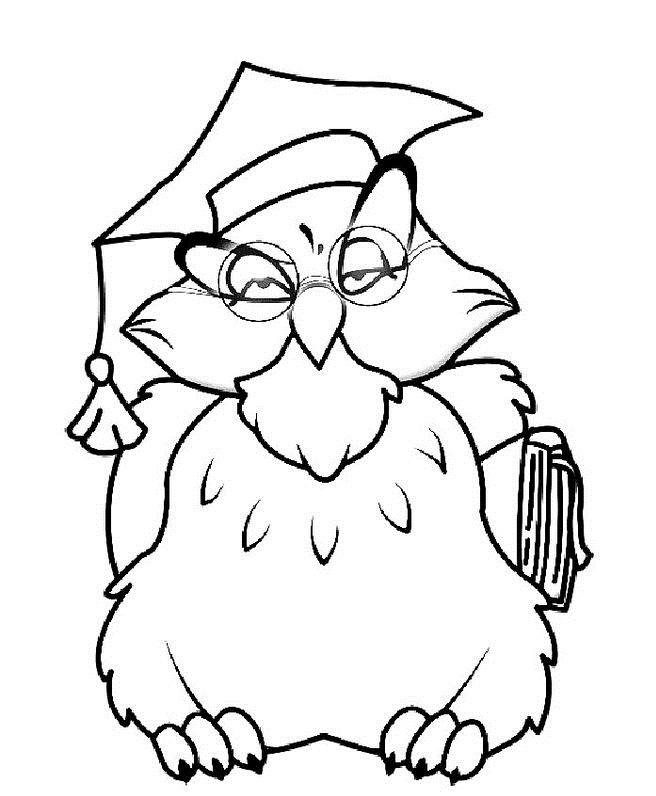
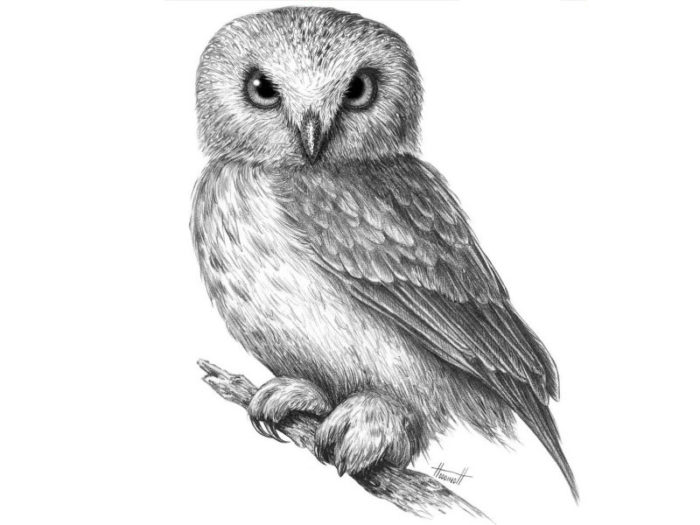
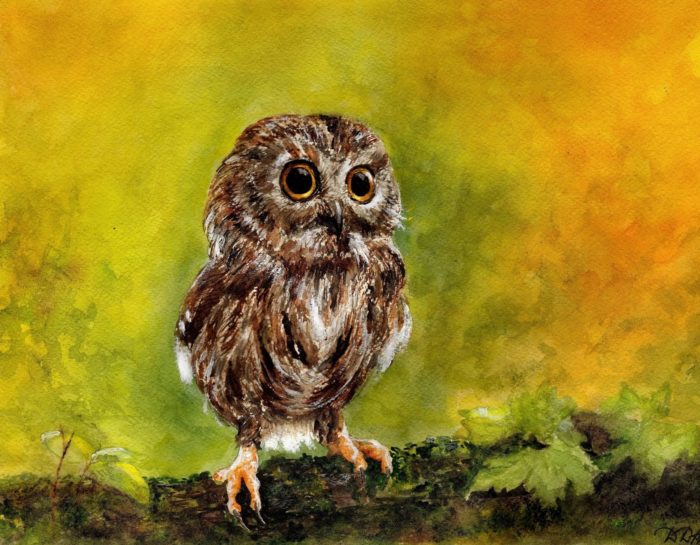
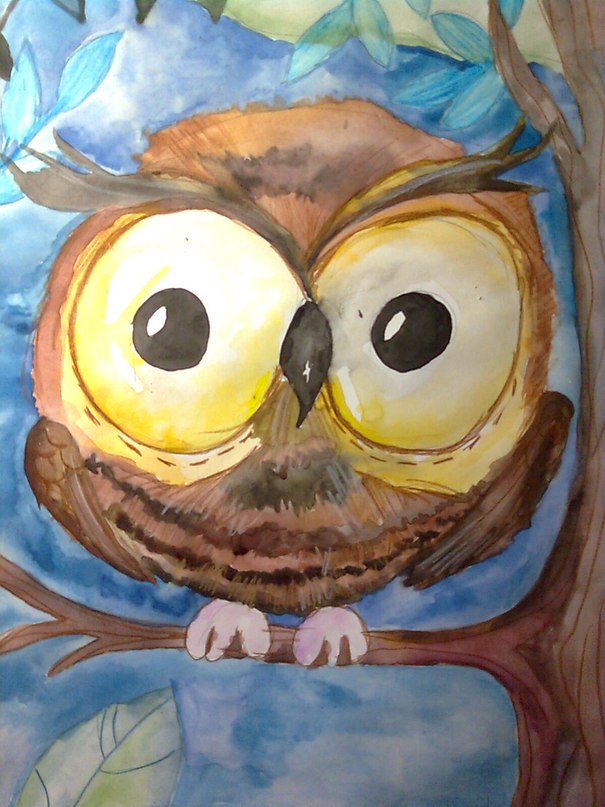
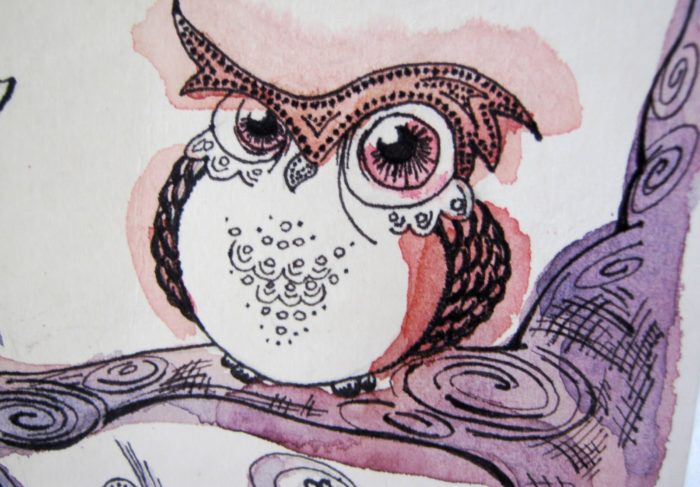
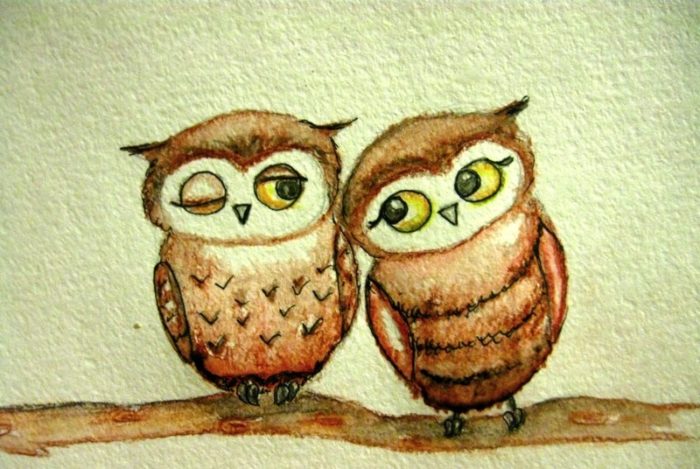
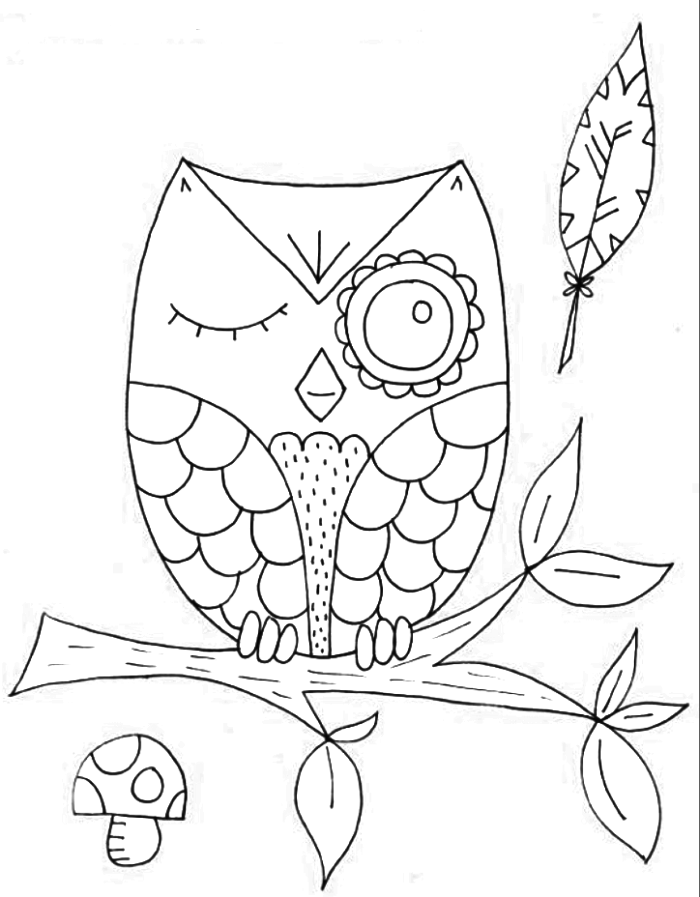
Drawings of owls for children with pencil and watercolor for sketching: photo
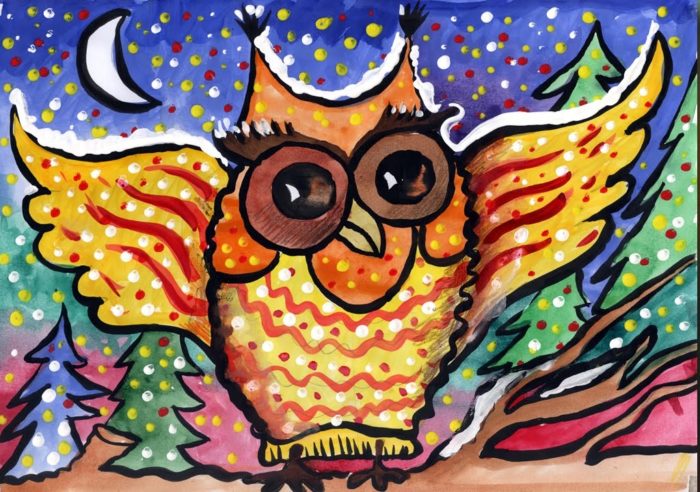
photo of the finished children's picture of the owl performed by paints
In order not to write for a long time step by step instructions in drawing owls, look at the finished paintings of birds made by pencil and watercolor. Choose your favorite option and draw with your child at leisure.
ready -made owl drawings, sample 1
ready -made owl drawings, sample 2

ready -made owl drawings, sample 3
ready -made owl drawings, sample 4
ready -made owl drawings, sample 5
ready -made owl drawings, sample 6
ready -made owl drawings, sample 7
ready -made owl drawings, sample 8
ready -made owl drawings, sample 9
ready -made owl drawings, sample 10
ready -made owl drawings, sample 11
ready -made owl drawings, sample 12
ready -made owl drawings, sample 13
ready -made owl drawings, sample 14

ready -made owl drawings, sample 15
ready -made owl drawings, sample 16
ready -made owl drawings, sample 17
ready -made owl drawings, sample 18
So, we examined several techniques for the image of an owl sitting on a branch and with open wings, learned to draw the details of the head, secured the skills with gouache.
If your baby is interested in the world around him, introduce them through drawing. Come up with interesting stories in the process of creating a drawing and at its end. These moments will remain in the child’s memory for life.