You can make a machine gun simply and quickly from Lego. In this article you will find instructions that help collect simple weapons for the game.
The content of the article
- How to make a simple automatic to a toy for children and beginners from the designer of Lego: instructions, scheme, description
- Video: M4A4 Automatic from a crumb designer
- How to make a small machine from the Lego designer: instructions, diagram, description
- Video: How to make a pistol from a crumb designer?
- How to make a large machine from the Lego designer: instructions, scheme, description
- Video: A machine gun from a crumb designer
- How to make a Kalashnikov assault rifle from the designer: instructions, scheme, description
- Video: AK-47 Automate from the Constructor of the Baby
- Do -it -yourself automatic machines: photo
- Video: Lego automatic
Homemade weapons are a favorite toy of any boy. Of course, you can play a war with plastic pistols that are sold in children's stores, but much more interesting to your own toys are much more interesting. In addition, such creativity develops fine motor skills and develops useful skills in the baby.
How to make a simple automatic to a toy for children and beginners from the designer of Lego: instructions, scheme, description
Our ancestors made children's toys, including pistols and automatic machines, made of wood and other improvised materials. But, when the Lego designer appeared in the life of children, everything changed. Now you can collect any toy, and when you get tired of playing it, it is easily versed and gathers again, but something new and interesting. Here are the instructions and descriptions that will help make a simple automatic to a toy for children and beginners from the designer of Lego:
Prepare the following details:
- 18 large
- 12 medium
- 2 small
- 8 medium blocks of any other, for example, white
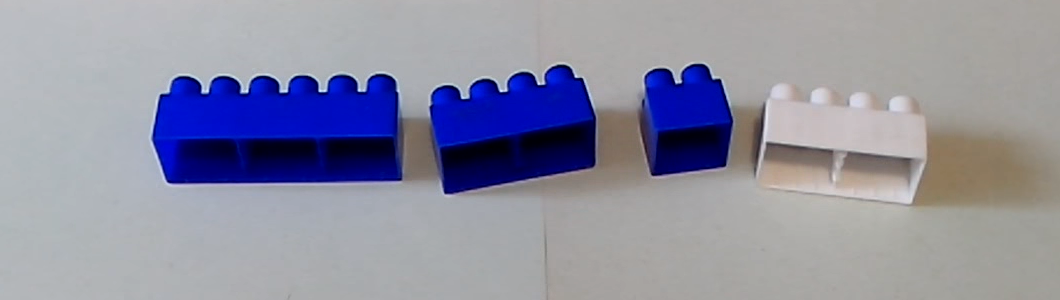
Prepare the details
Combine 8 medium white parts.
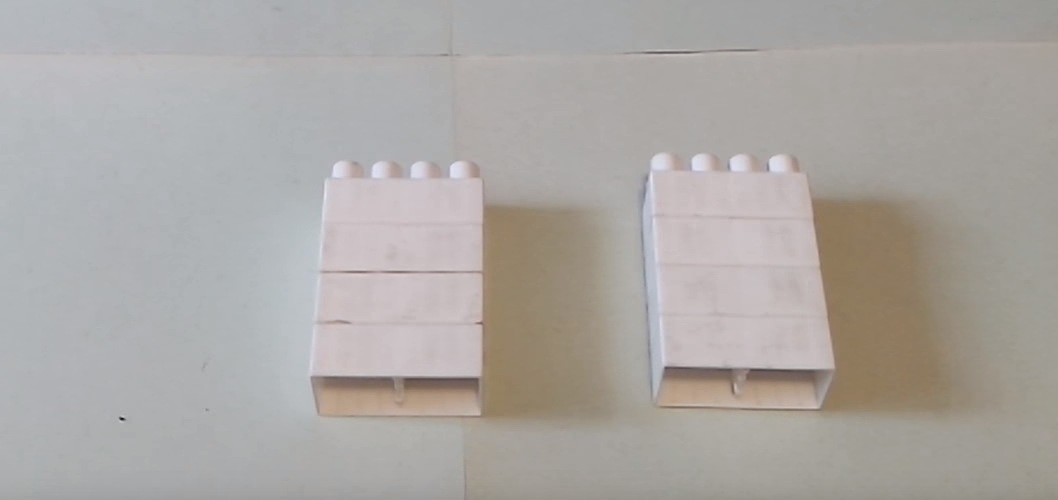
Connect 8 parts
Now attach 2 medium and one large part of the blue color from above, as shown in the picture below.
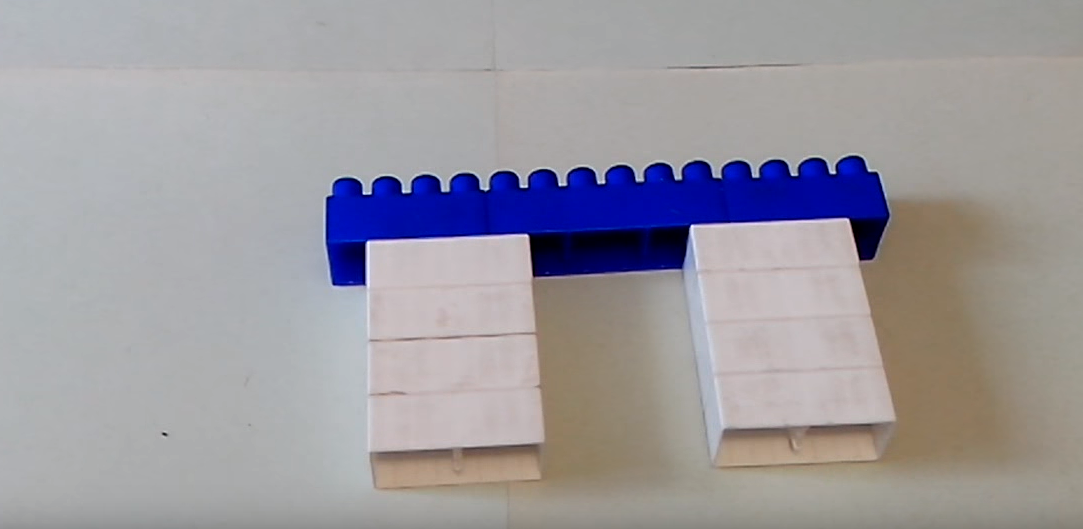
Attach another 3 details
At the top of the blue details, attach three blocks of the same color again: 2 large and one medium.
Continue to connect the blocks
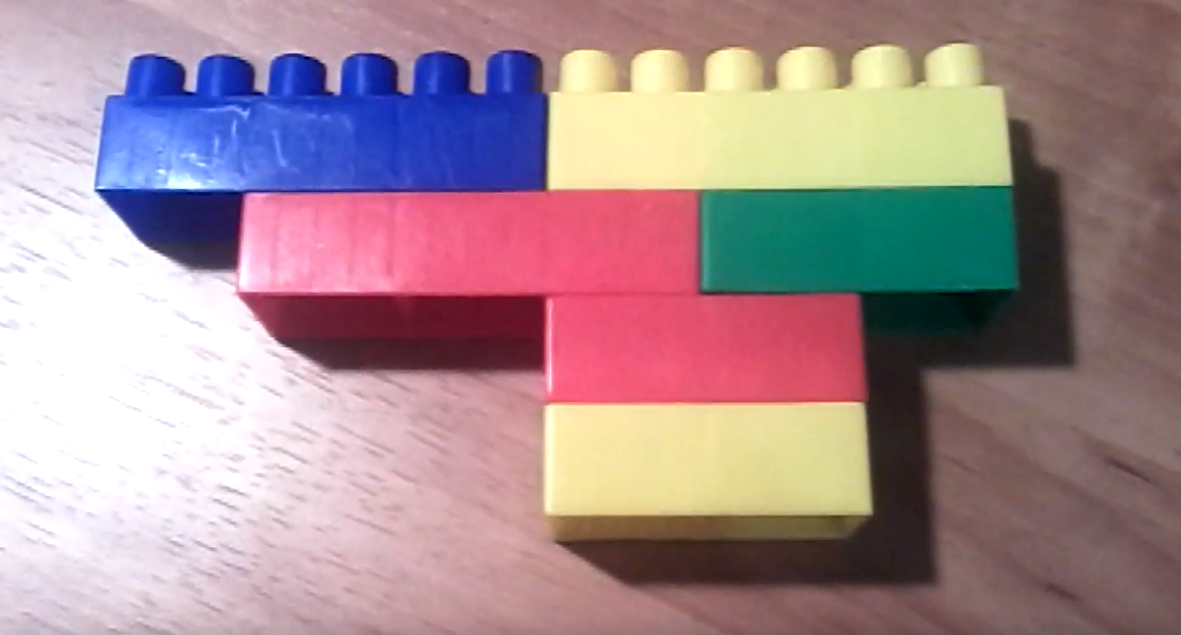
Attach one small part, two medium and one large. A large block is installed in the middle, the middle - along the edges, and on the right - the smallest detail.
Third row of blue blocks
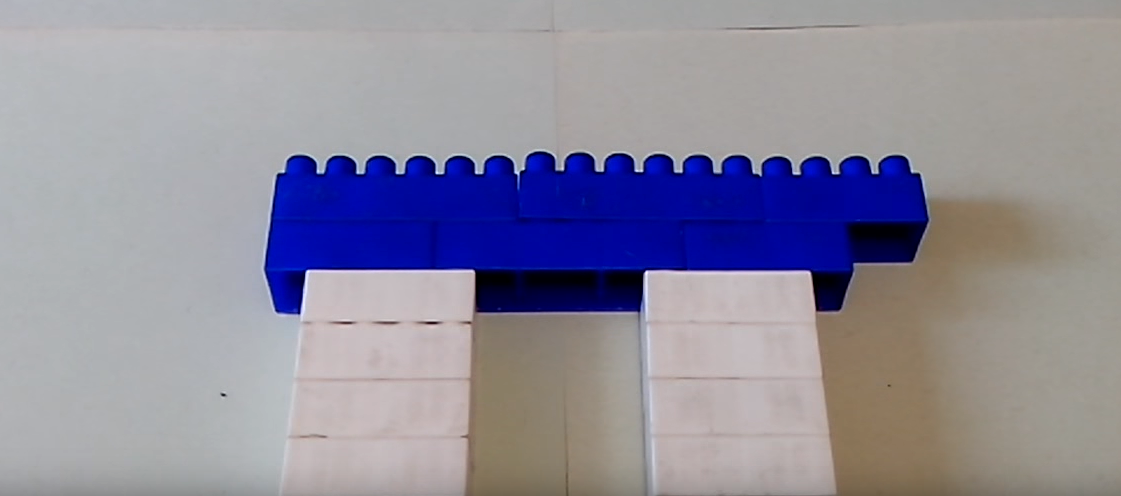
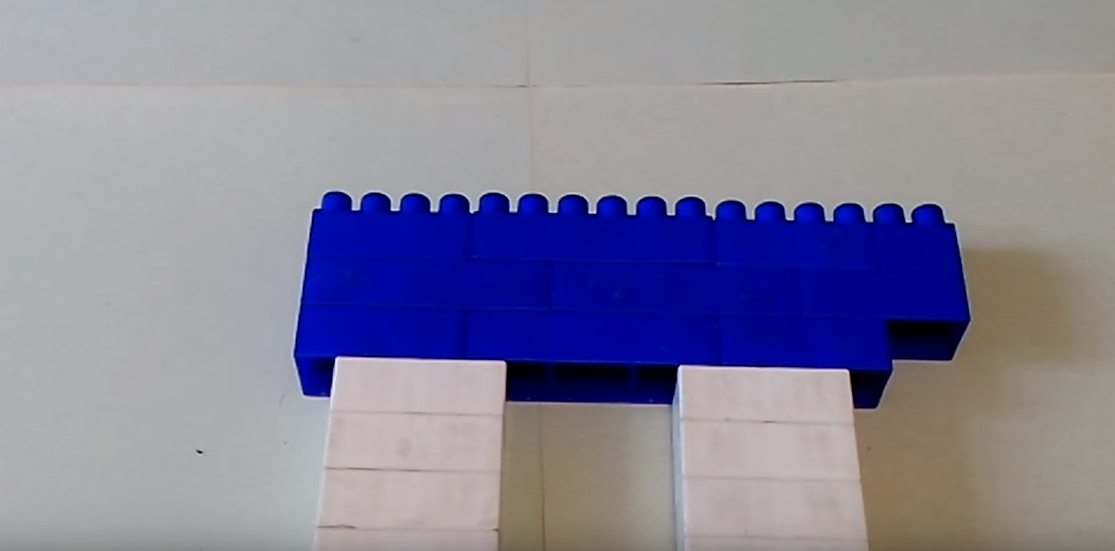
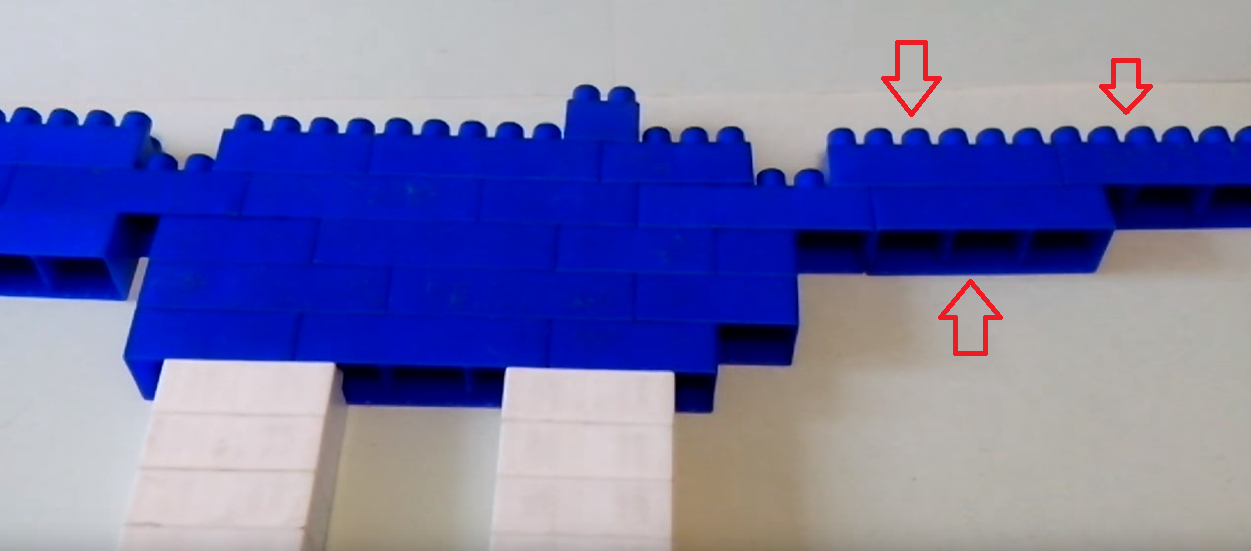
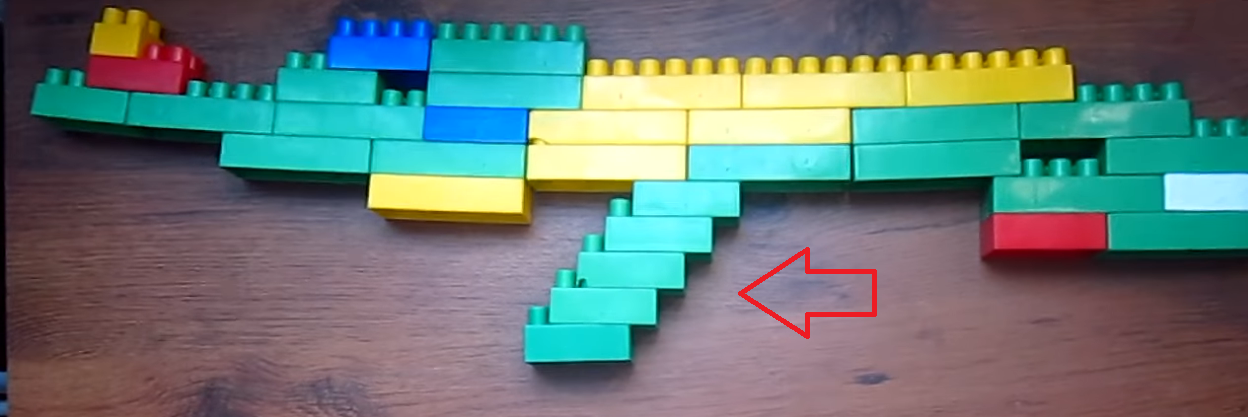
Then, attach one large part to the left, and put two more large blocks next to it. Fix them, as shown in the picture, with the help of two large and two medium blocks - from above and below.

Gather the muzzle of the machine gun
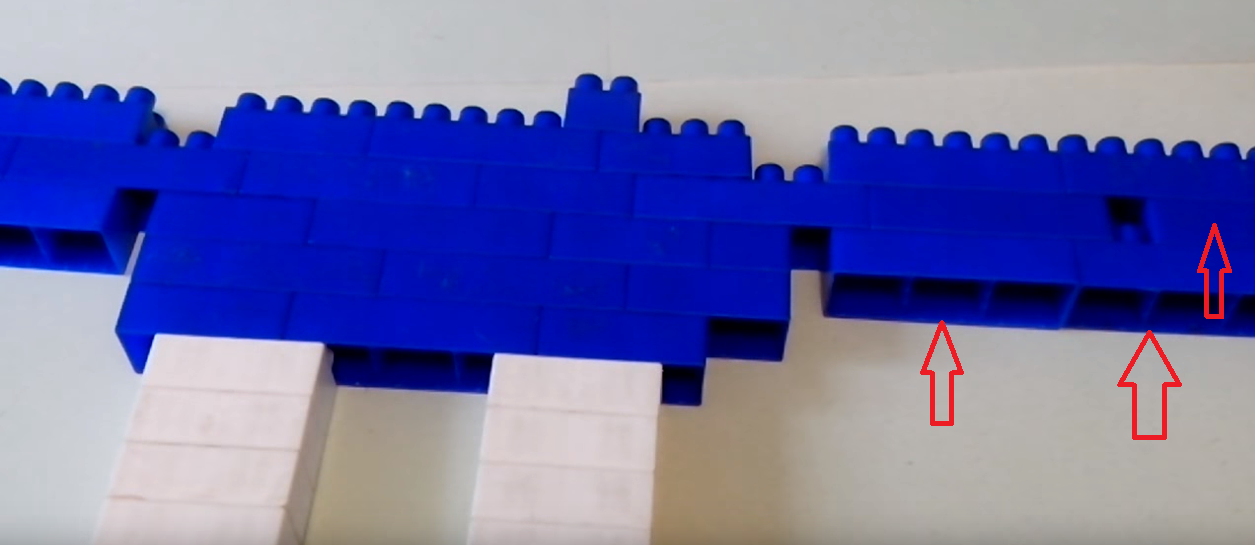
Now we move on to assembly of the machine from the other side. Attach two large details and one average, as shown by arrows.
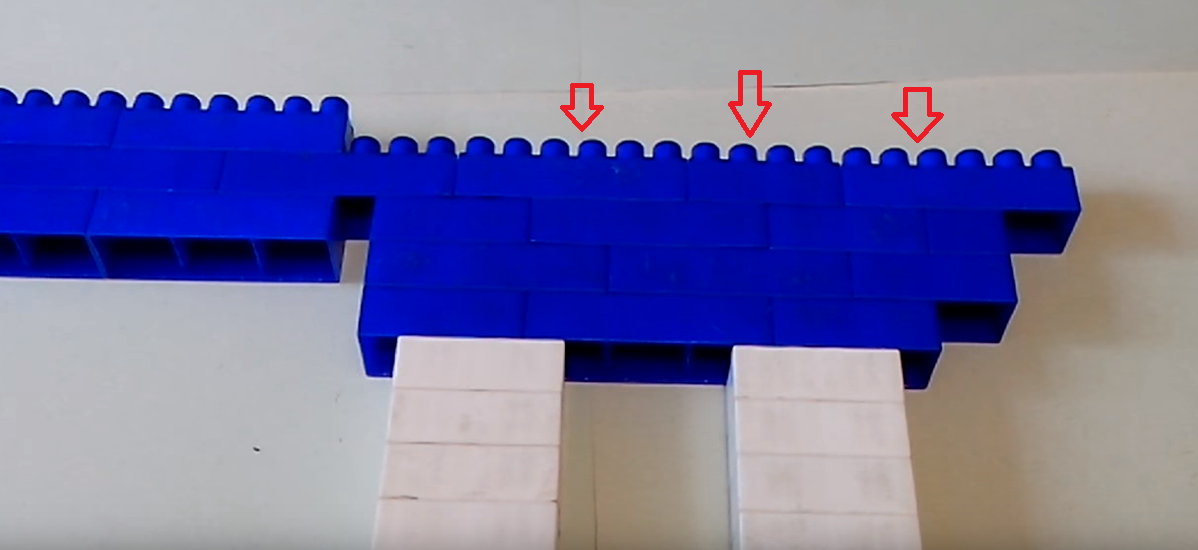
Gather on the other side
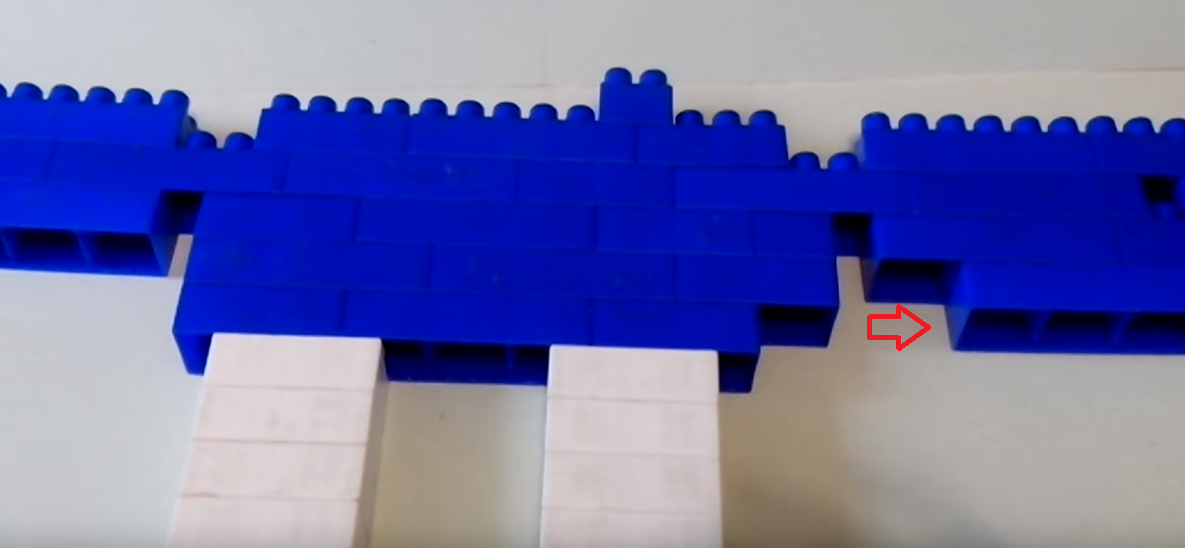
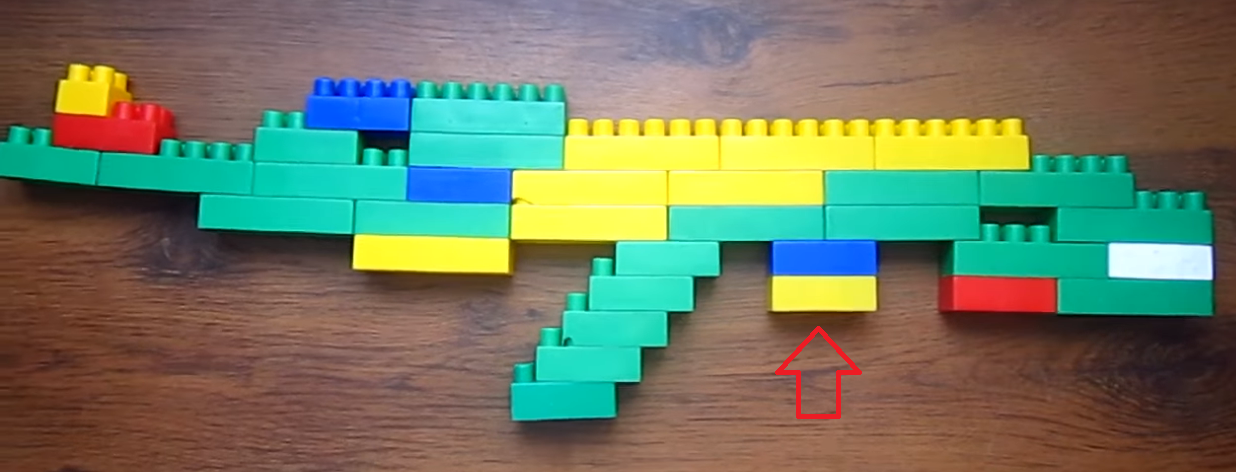
Two medium, one large and one small attach again on top.
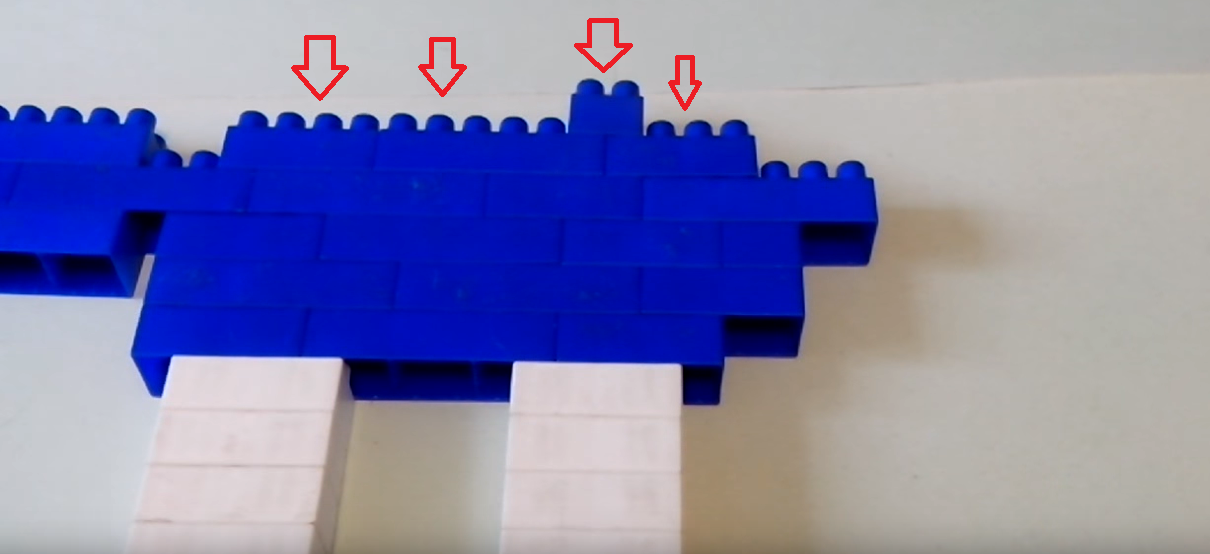
We finish the assembly of the structure from this side
Attach 3 large details, as in the picture.
Collect the butt
Two large and one average part attach from below.
Collect a few more details of the butt
The row is even lower - this is one large and one average.
Collect the last details of the butt
The machine is ready. It can be assembled from details of a different color, when to get tired of playing a blue toy.
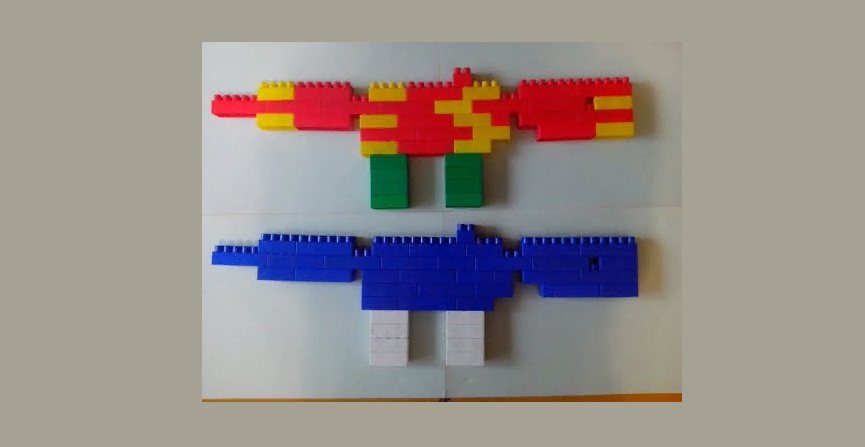
The machine is ready
Video: M4A4 Automatic from a crumb designer
How to make a small machine from the Lego designer: instructions, diagram, description
As you can see, making the machine is easy. Even a 10-11-year-old boy can gather it on its own. But, if your baby is even smaller by age, and you want to teach it to collect a toy without your help, then offer to make a small machine or gun out of the designer of Lego. Here are the instructions, scheme and description:
Three large details and two medium blocks will be needed.
Small machine gun
Now connect the details as shown in the picture. First 3 large, then fasten them with three average blocks alternately.
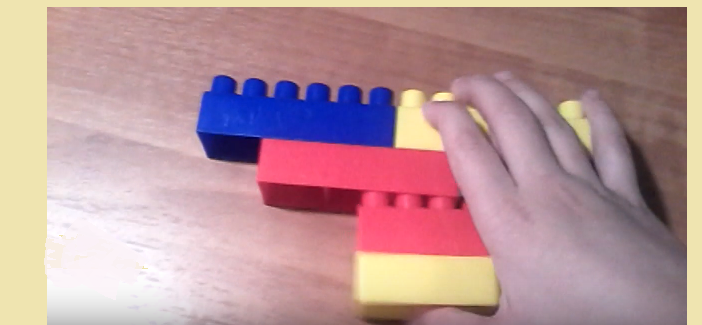
Assembly of a small machine gun
Watch the video how the boy collects such a gun literally with one hand (with his second hand he holds the camera) in a few seconds - simply and quickly.
Video: How to make a pistol from a crumb designer?
How to make a large machine from the Lego designer: instructions, scheme, description
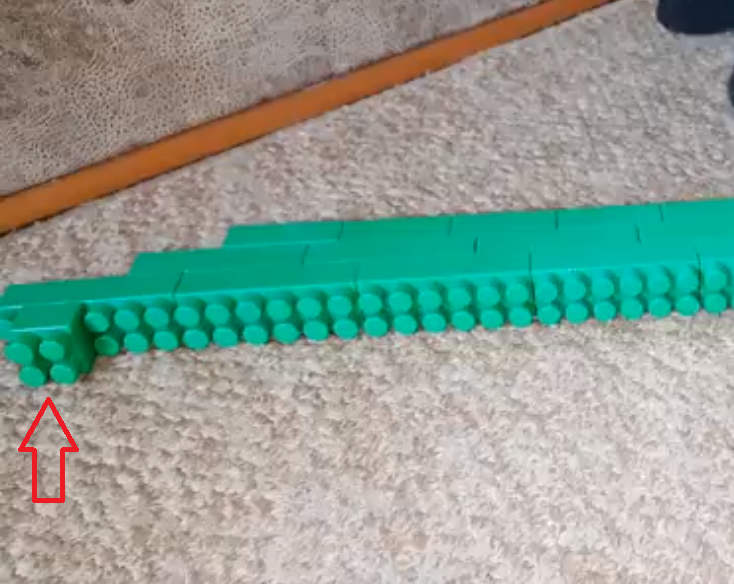
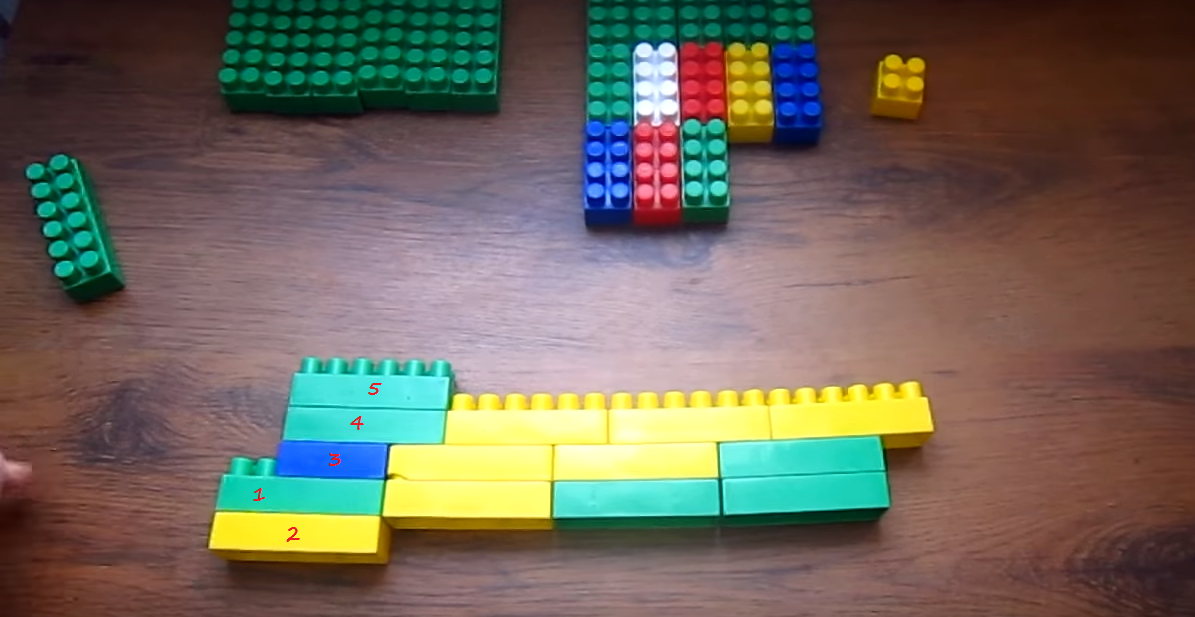
A large machine gun is a dream of every boy. Such a toy can be done independently. It is simple, fast and interesting for any child. Here are the instructions and descriptions that help make a large automatic machine from the designer:
Of the thirteen large blocks, collect two rows, as shown in the picture.
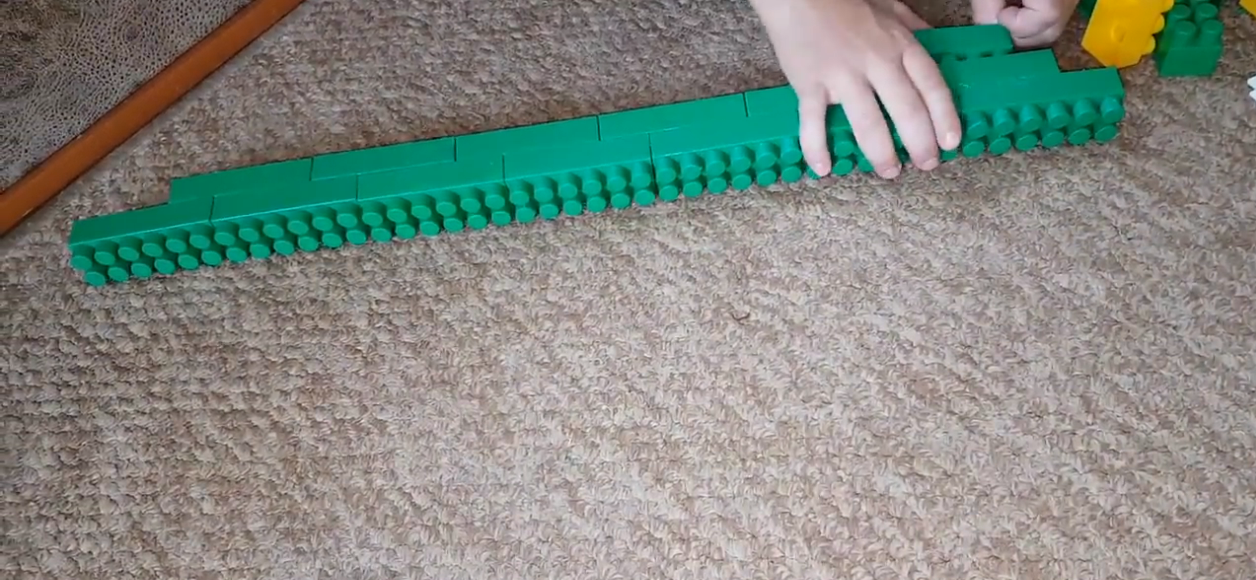
Collect 2 rows
Then attach the third row consisting of 8 average parts.
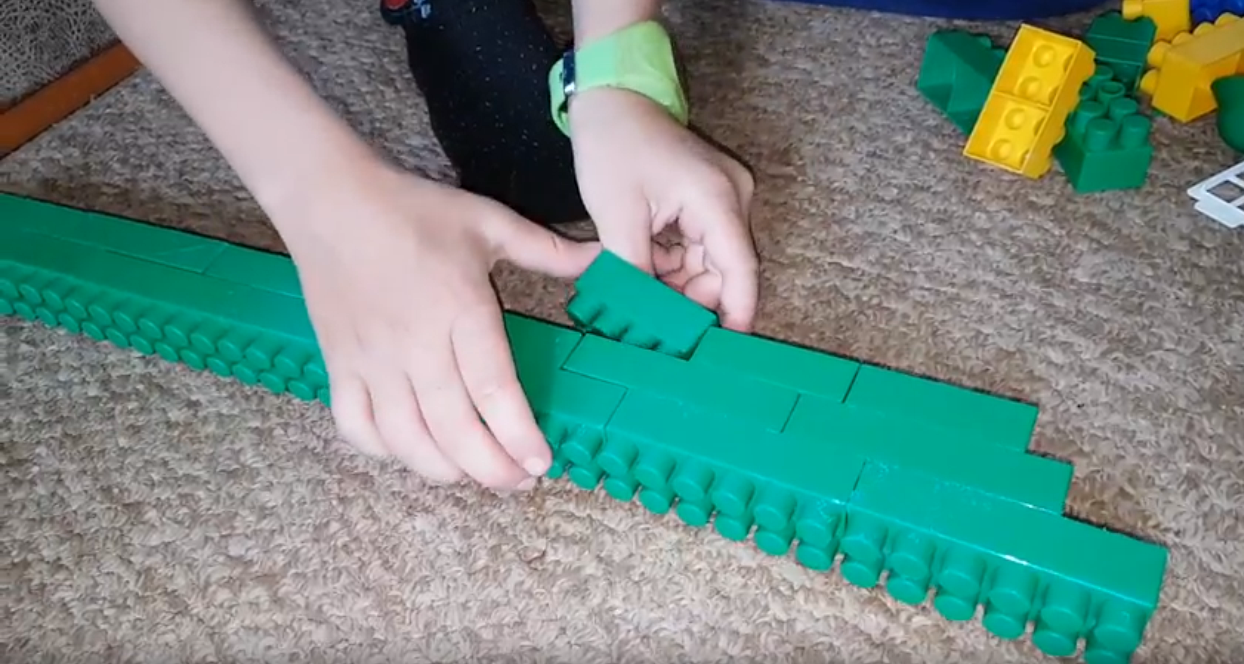
Another row of details
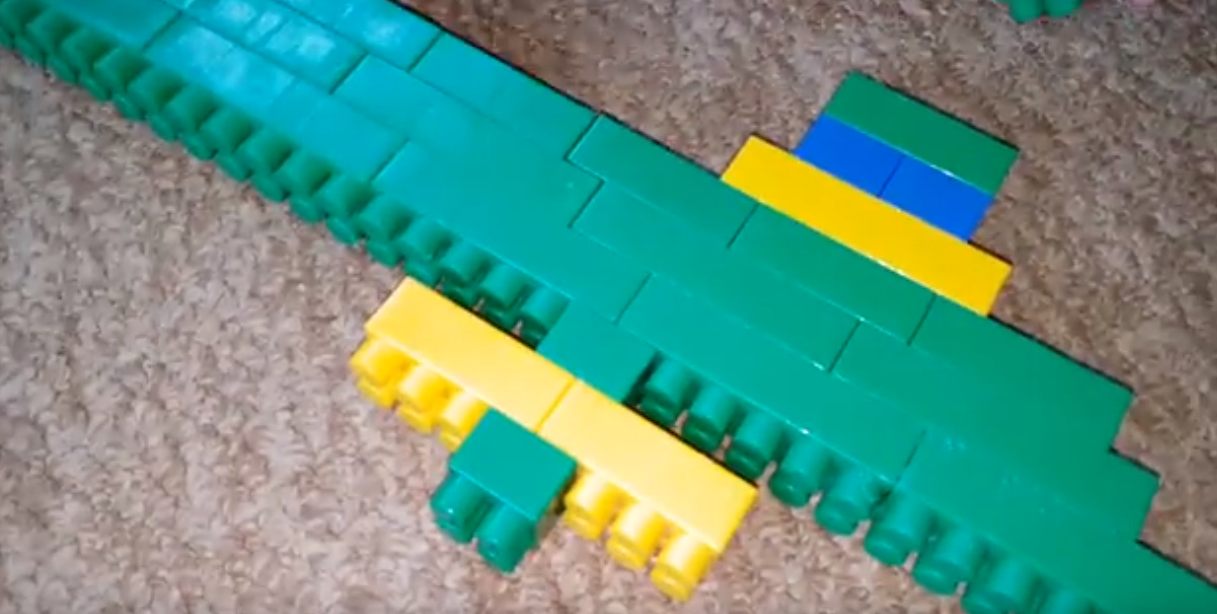
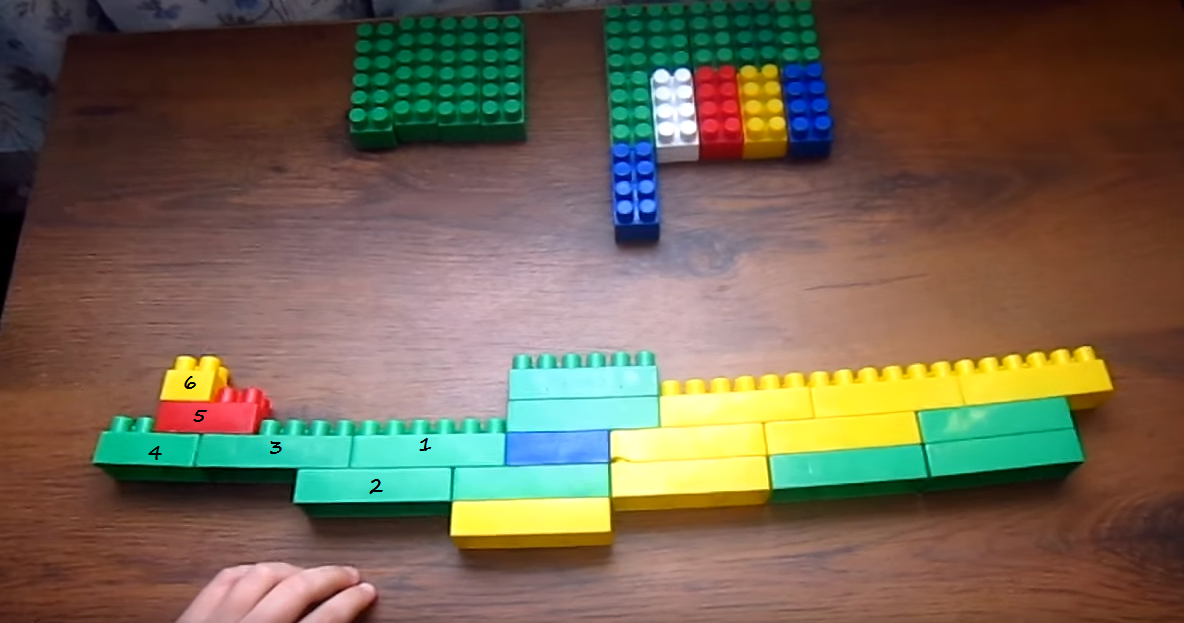
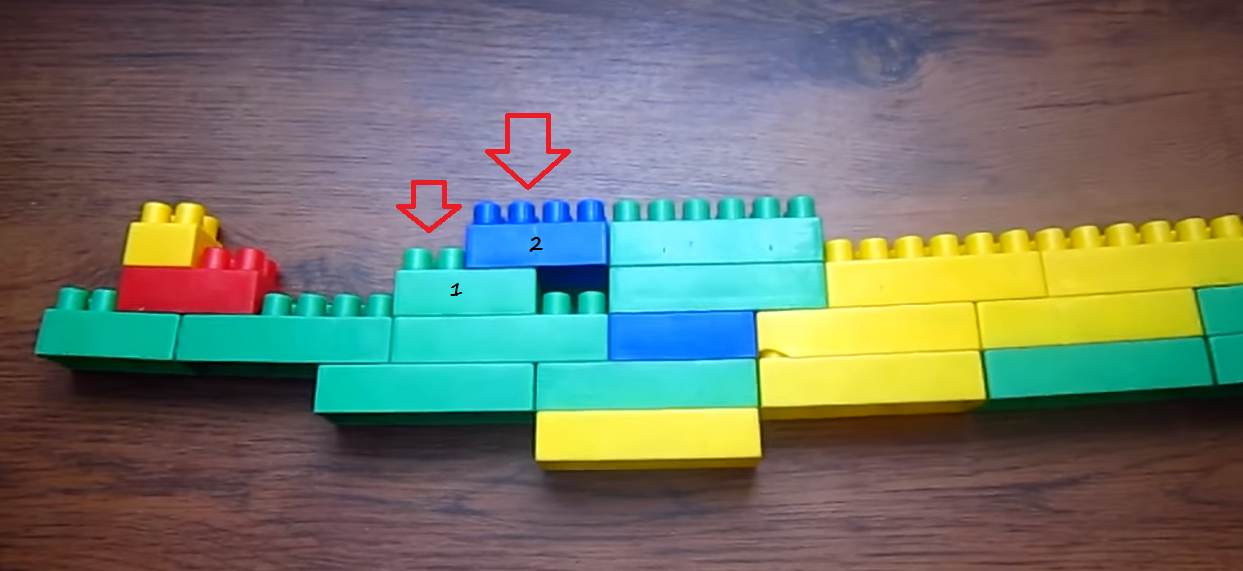
Now make the sight: take one small part and attach it at the end of the structure.
Connect the sight
Then collect another sight of two medium and two small blocks. Attach the sight on the 2nd large block of the upper row of the machine, as shown in the picture.
Assume the second sight
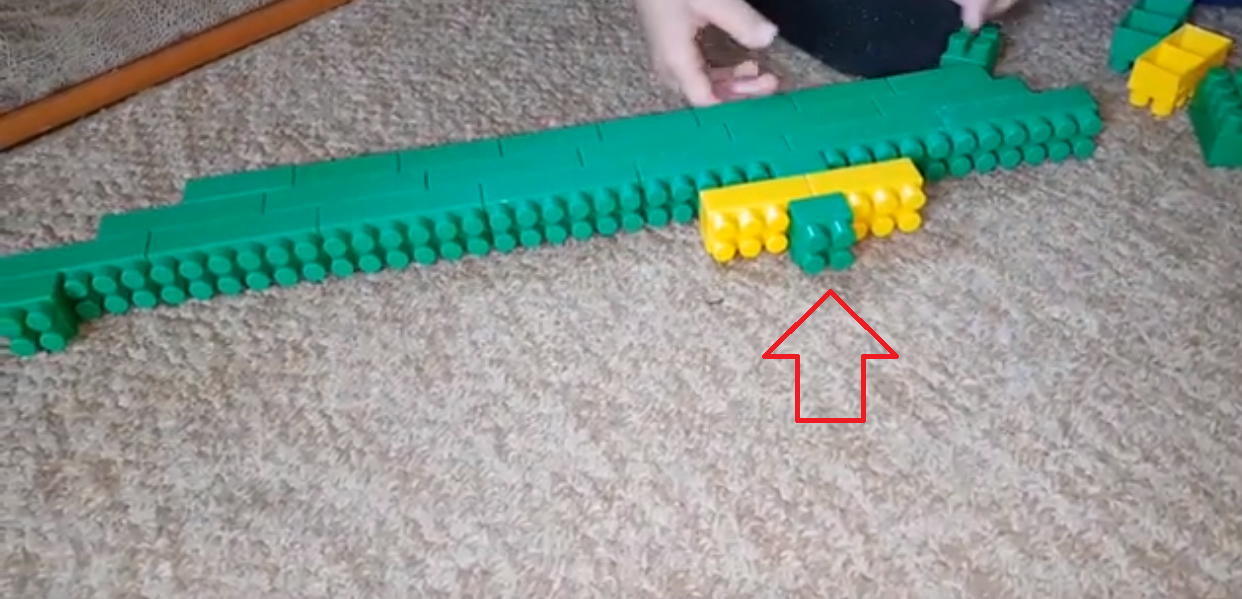
Then we collect the handle: first attach a large block (yellow), then fasten the structure with two small and one medium blocks.
Collect the handle
The turn came to make a "store". Collect it similarly to the handle, but closer to the other side. If necessary, then the second sight can be rearranged closer to the middle.
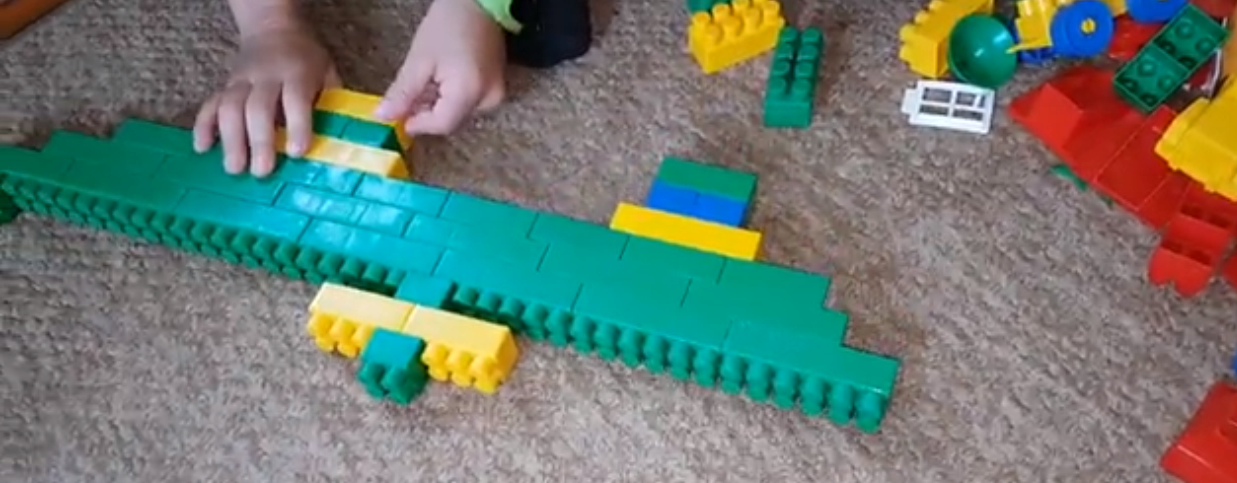
Collect the clip
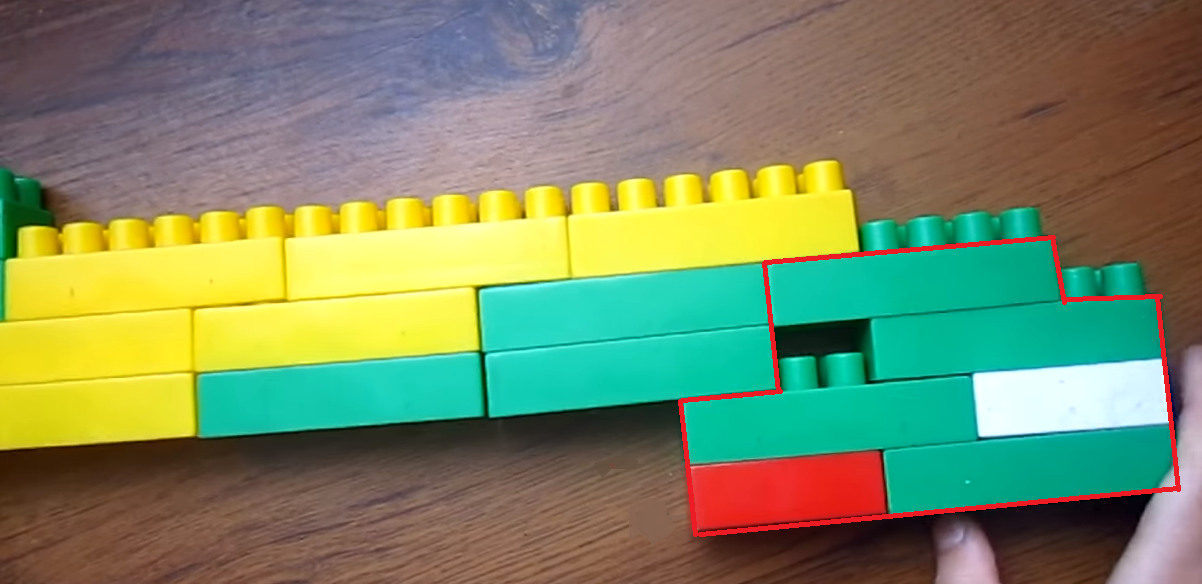
After that, collect the butt. Attach the blocks in the sequence that is indicated in the figure.
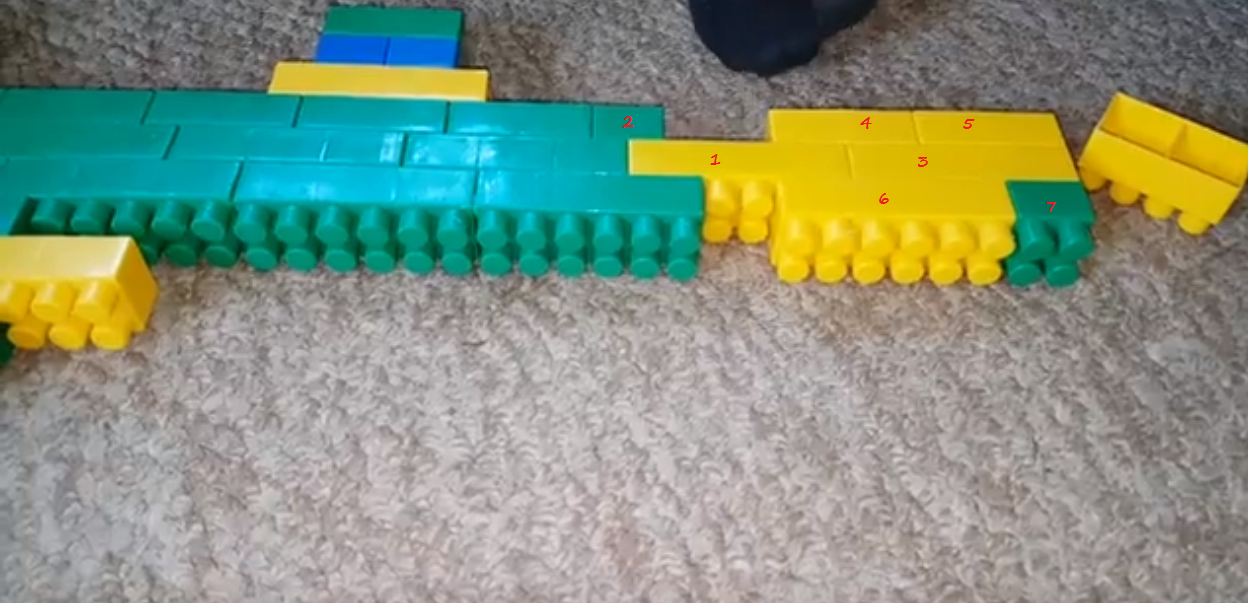
Attach the butt
The machine is ready! It turned out a real large machine gun. If you collect such a toy with your own hands, then playing it will be much more interesting.
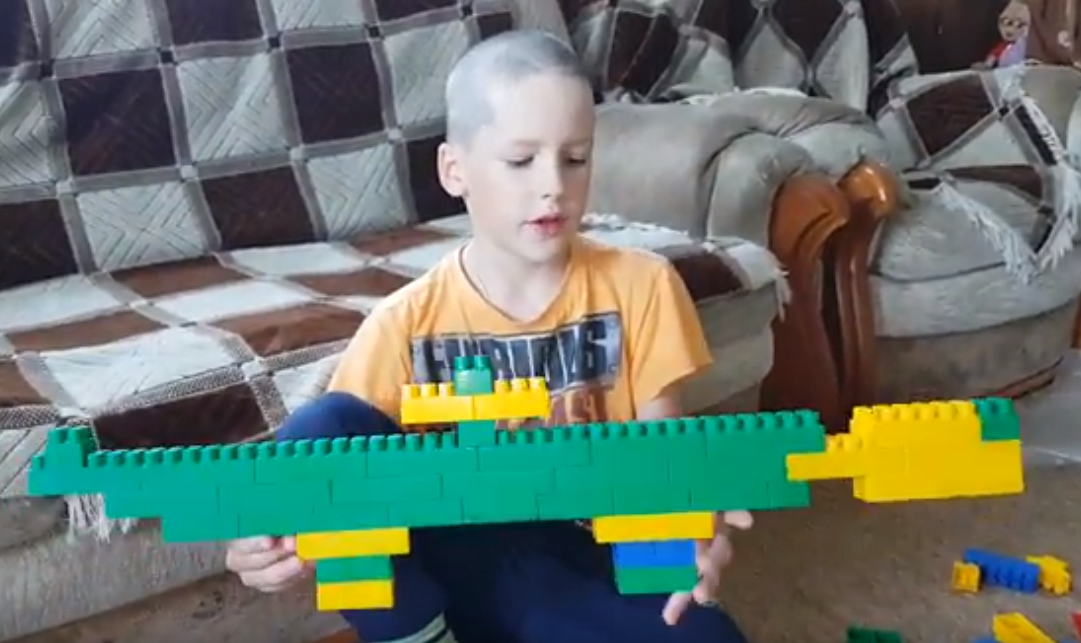
The machine is ready
Look clearly in the video how the child collects the toy on his own.
Video: A machine gun from a crumb designer
How to make a Kalashnikov assault rifle from the designer: instructions, scheme, description
So it was the turn to assemble a real Kalashnikov assault rifle. Instruction and description of how to make a Kalashnikov automatic machine from the designer:
You will need 20 large and 14 medium details of different colors. You can use blocks of the same color or as shown in the image - details of 5 colors.
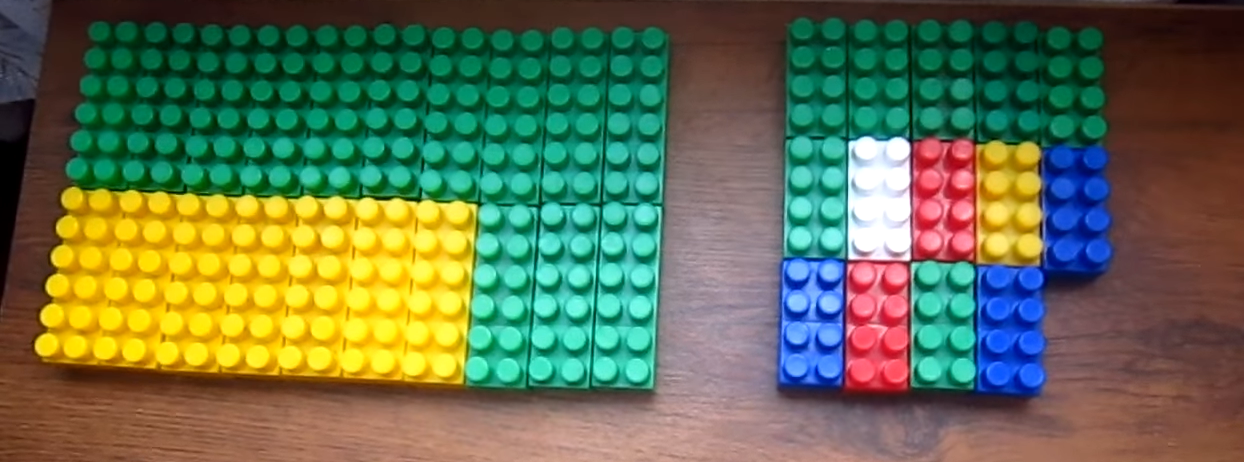
Parts for Kalashnikov Automat
Of the 9 large blocks, collect 3 rows, as shown in the picture, fastening each row with these details alternately.
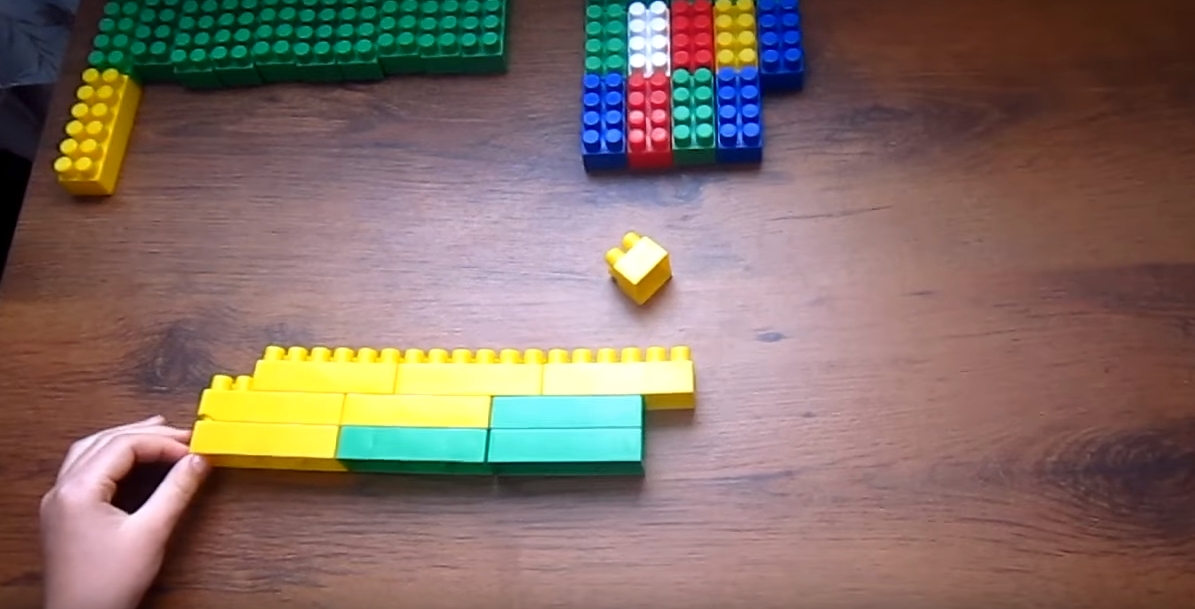
We begin to collect
Then attach 4 large parts and one average block, as in the image below. Steps, how to fasten, are numbered.
Keep collecting sequentially in steps
Continue to attach the details, performing all the steps according to the numbers.
The following details
Two more details of the machine gun attach to the structure.
Two more blocks
Four the large and two medium parts cross each other and attach to the future machine.
Attach 6 parts on one side of the future machine
Make a clip of 5 medium blocks and attach it to your place.
Clip
Attach 2 more details, as shown in the image below.
Attach the last 2 parts
Kalashnikov’s machine gun is ready.
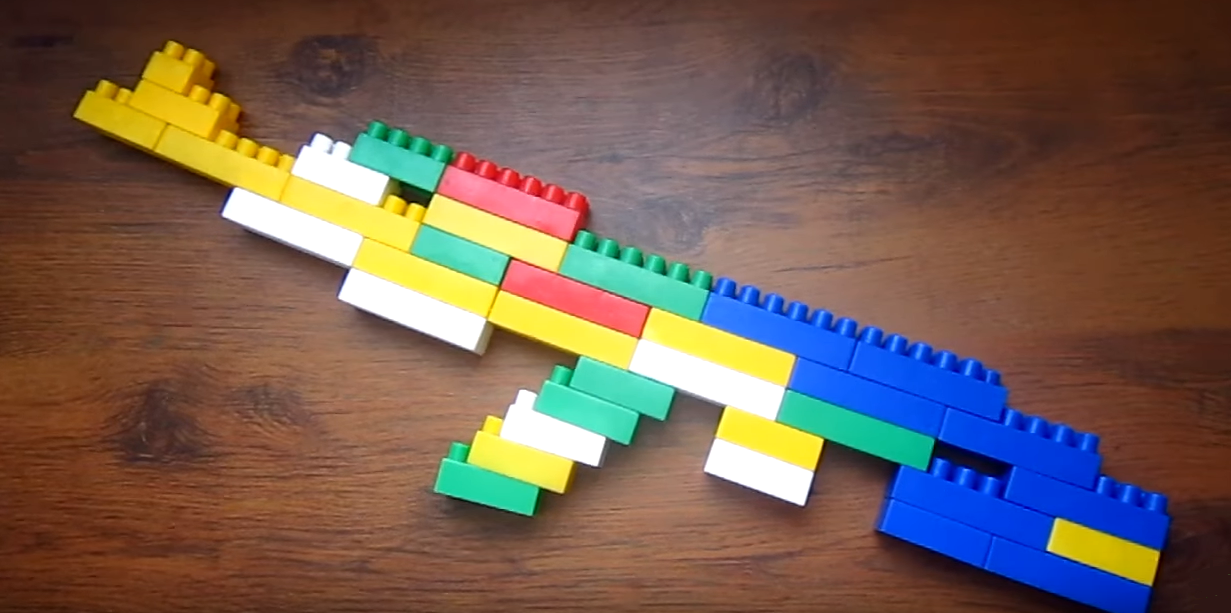
Kalashnikov’s machine gun is ready
Video: AK-47 Automate from the Constructor of the Baby
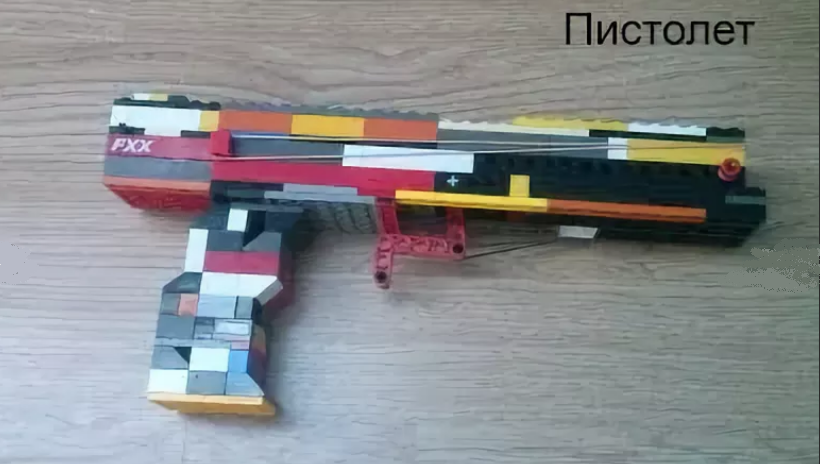
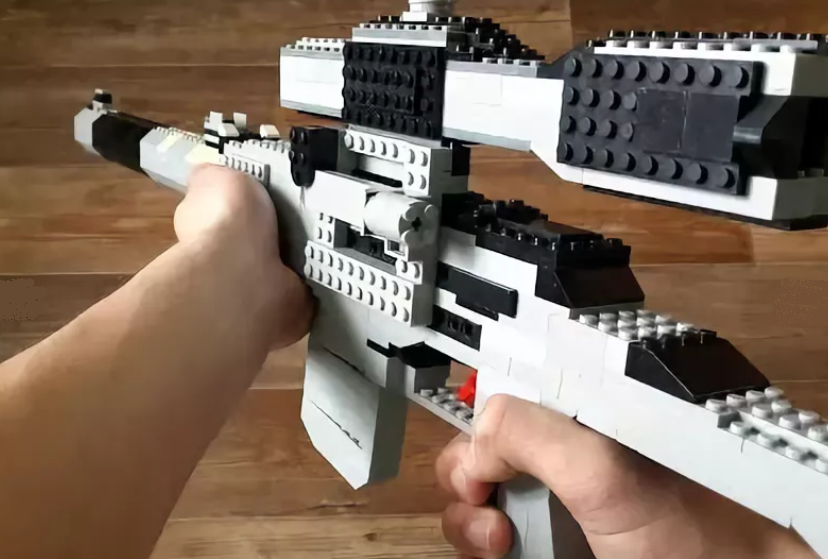
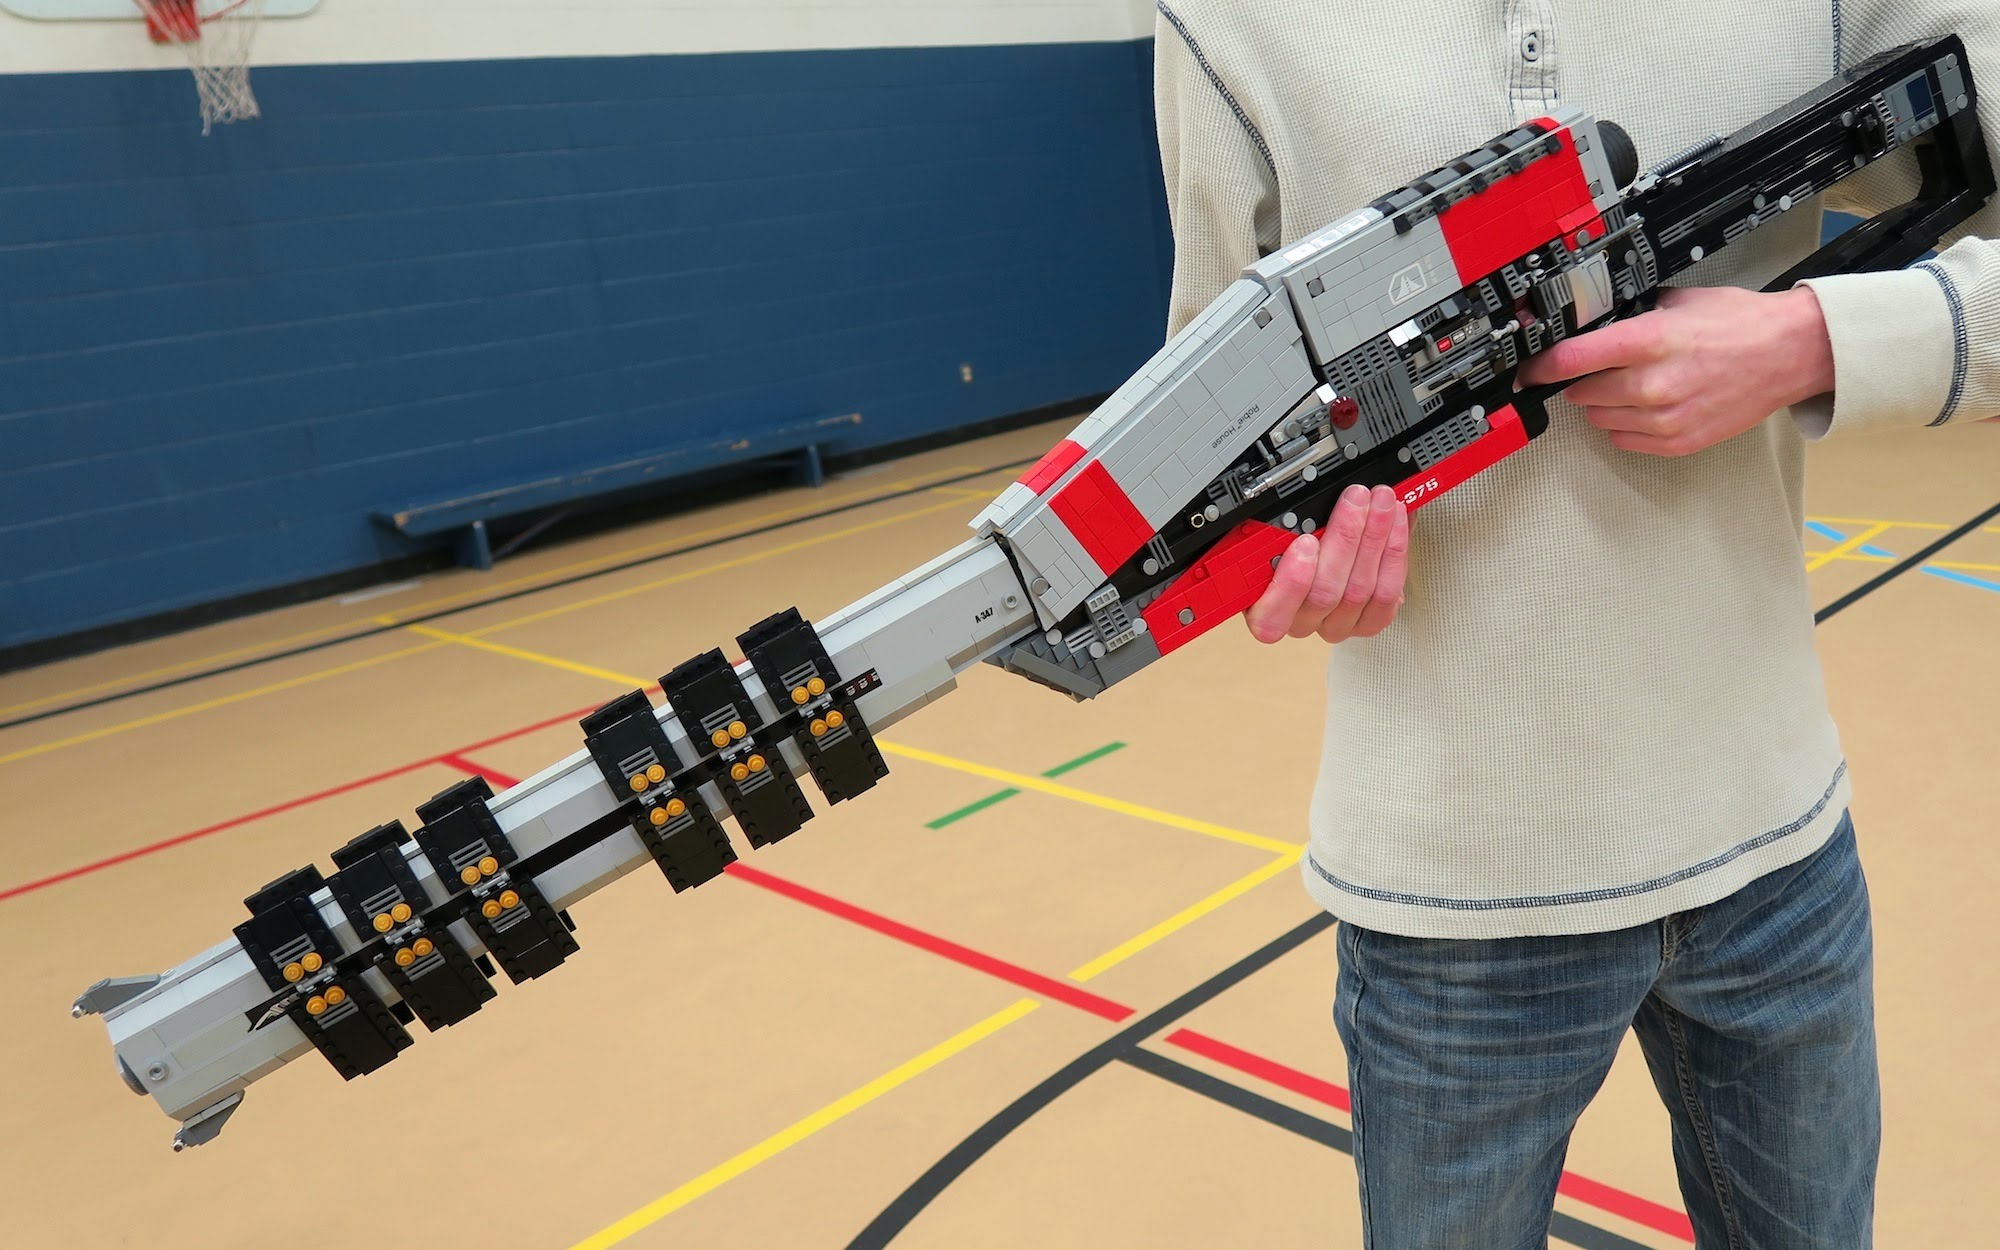
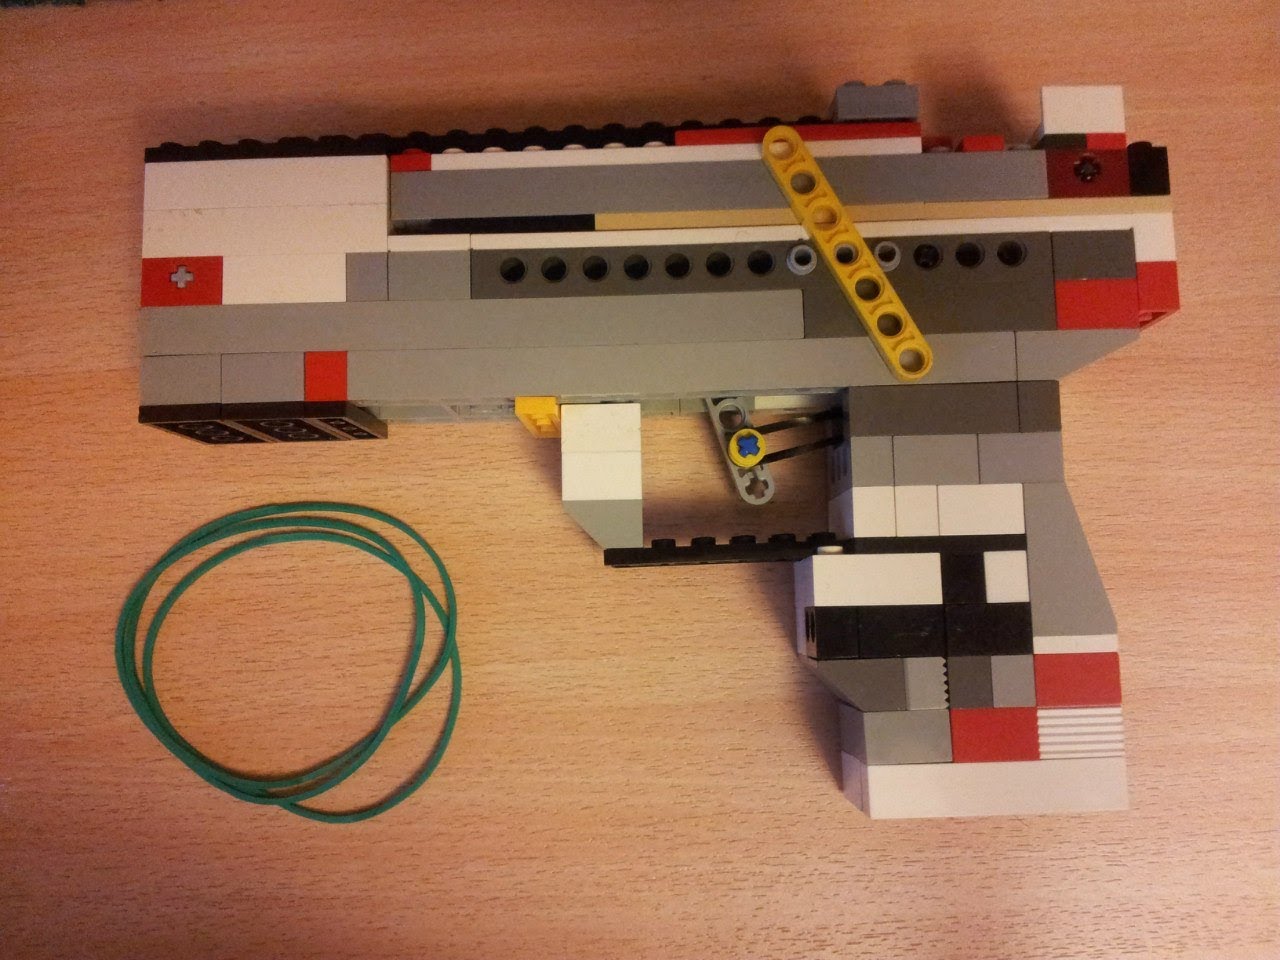
Do -it -yourself automatic machines: photo
Each child or adult collects the machine on its own in its own way, and each has its own model-unique and unique. Here are a few photos, how children and their dads are assembled with their own hands:
Automate from Lego
Automate from Lego
Automate from Lego
Automate from Lego
Automate from Lego
Automate from Lego
Automate from Lego

Automate from Lego
You can show imagination and collect your unique model of a machine gun, gun or machine gun. Such a toy will play fascinatingly. Experiment and create something new and your special-not the same as everyone, but this is always interesting.